The article listed the required steps to install Cosmic One Kodi Build on Firestick, Android TV Box, Google Chromecast, Firestick 4K, and Nvidia Shield.
Cosmic One is the well-known Kodi Build that covers all streaming categories, like movies, TV shows, and sports, on the Home page. Also, it offers different types of preloaded addons that need to be downloaded separately.
Some of the best add-ons are Alvin, KodiVerse, Genocide, The Oath, The Crew, and Seren. Moreover, the Build also provides the Real Debrid integration for high-quality streaming.
Installation Steps
Some of the necessary steps to install the Cosmic One Kodi Build are as follows:
Enable Unknown Sources
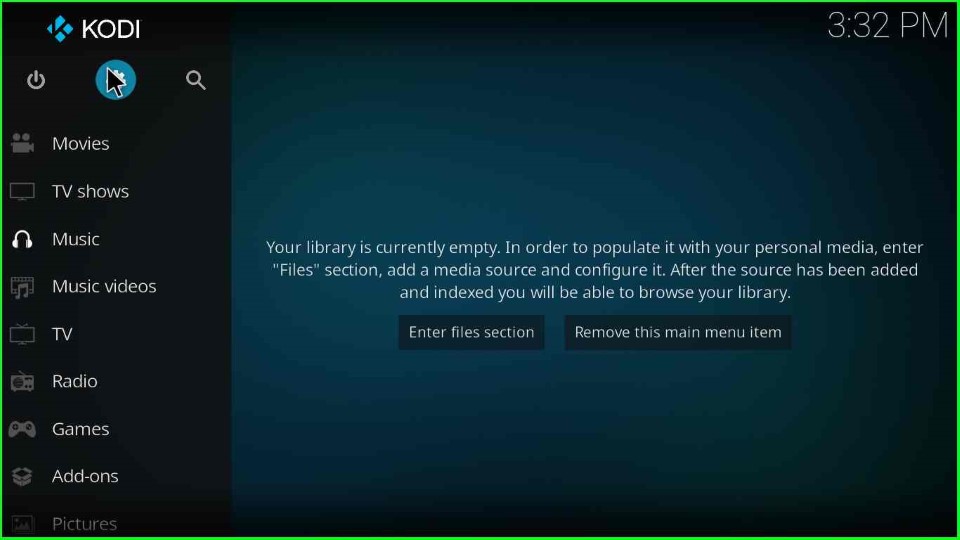
Go to the Kodi Home page and tap on the top-corner icon, Settings.
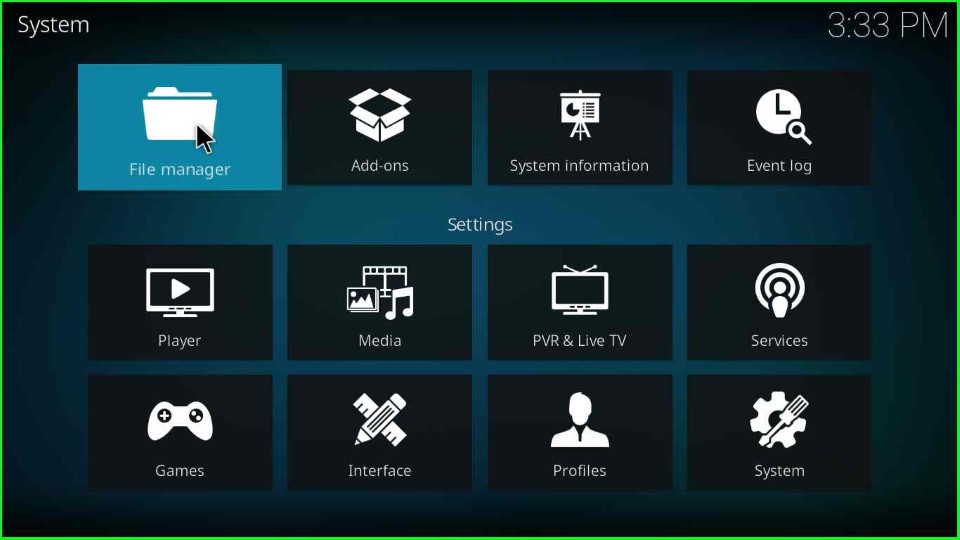
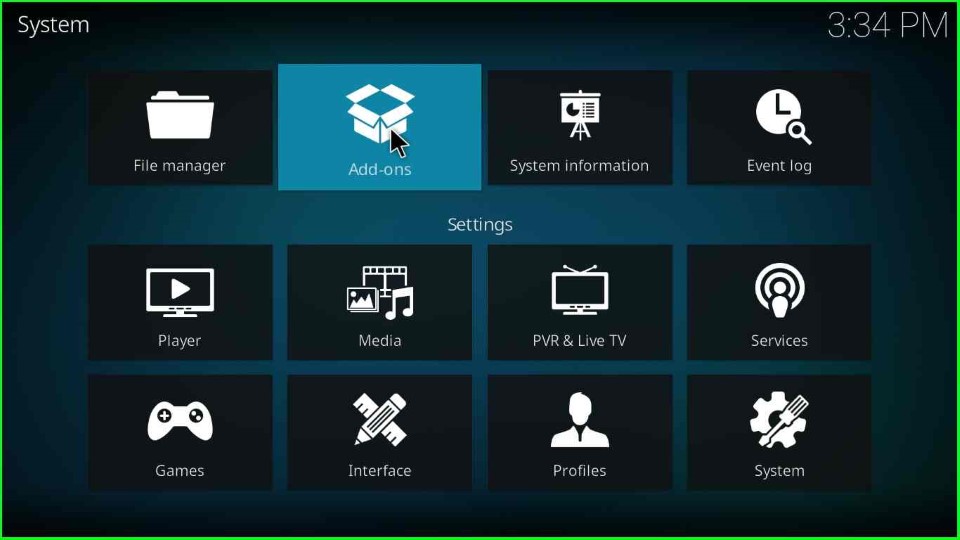
Now, click on the System tab from the bottom right corner.

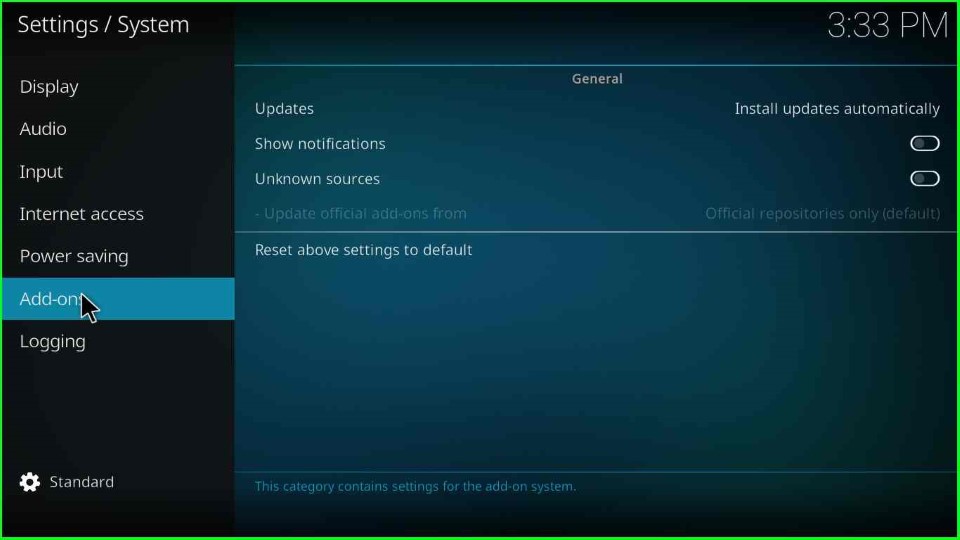
On this page, choose the last-second option, Addons.
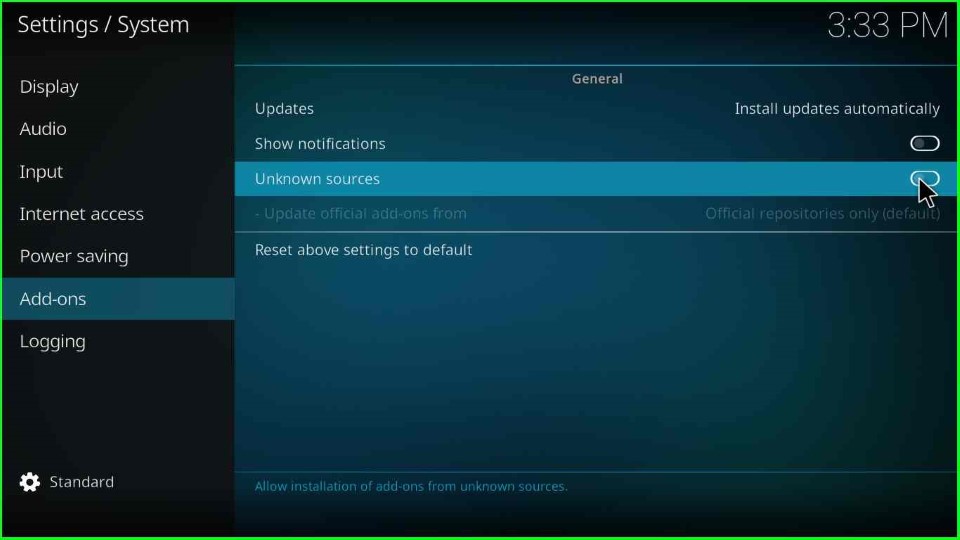
Thereafter, enable the Unknown Sources button as shown on the page.
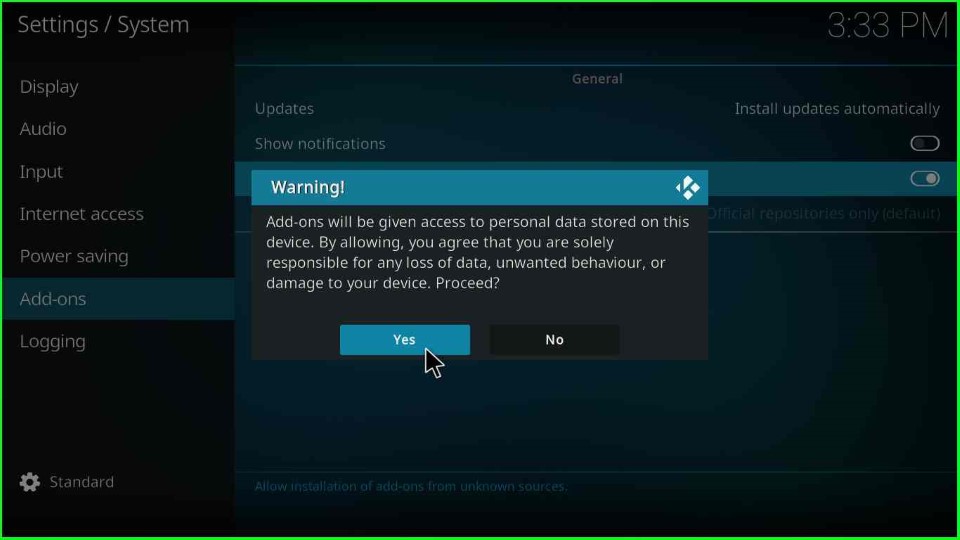
Now, the page shows a warning box where just press the Yes button and go ahead.
Add Media Source and Repository URL
Move back to the System Settings screen and click on the top icon, File Manager.
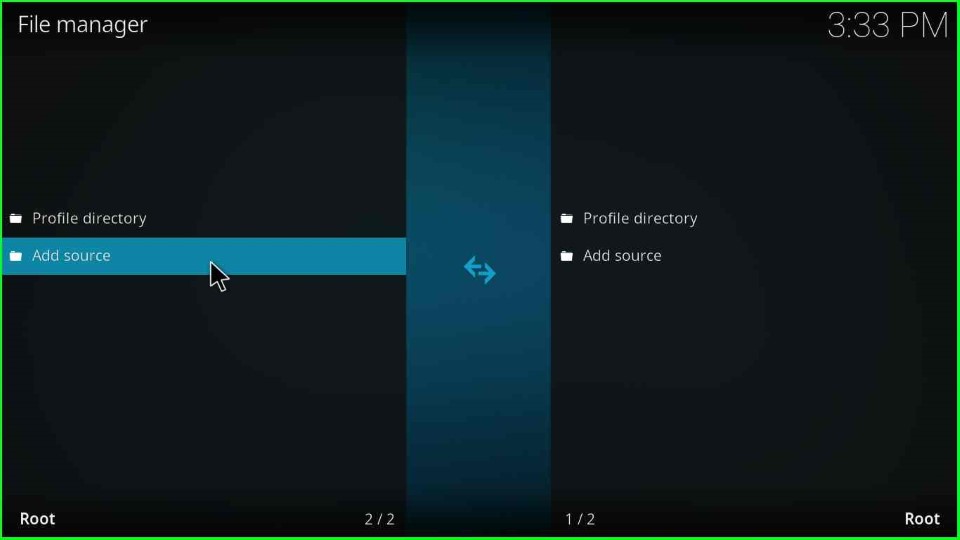
Inside it, choose the Add source option to add a new media source for the Cosimic One Kodi Build.
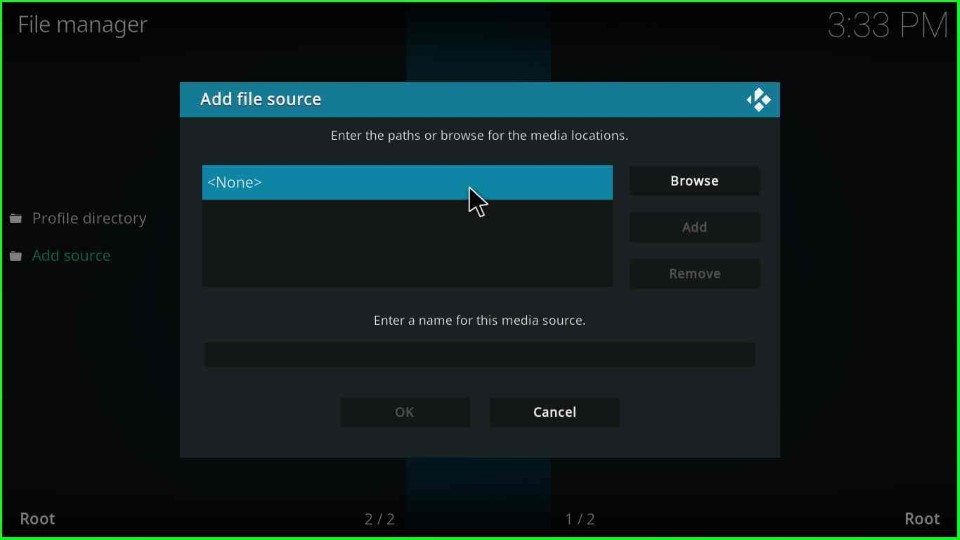
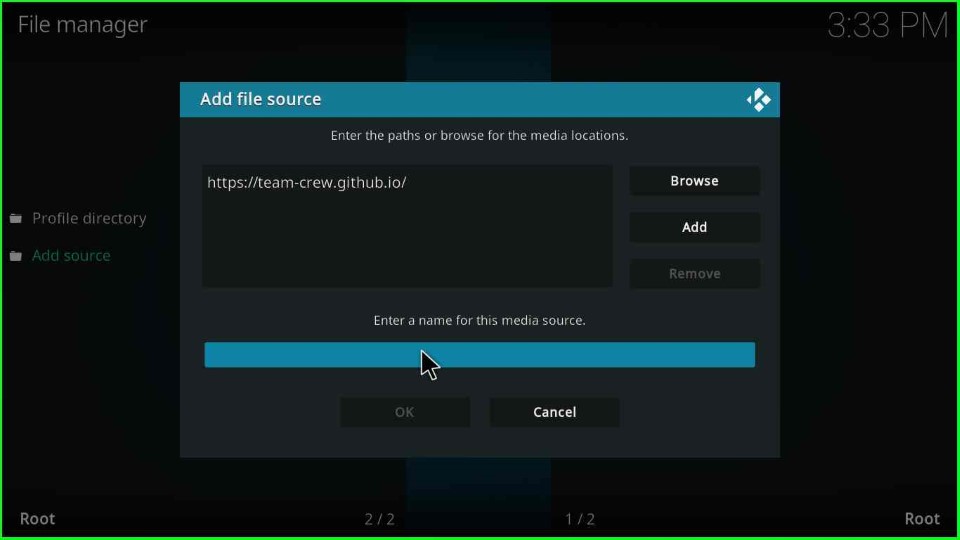
Tap on <None> to enter the new path for the media location.
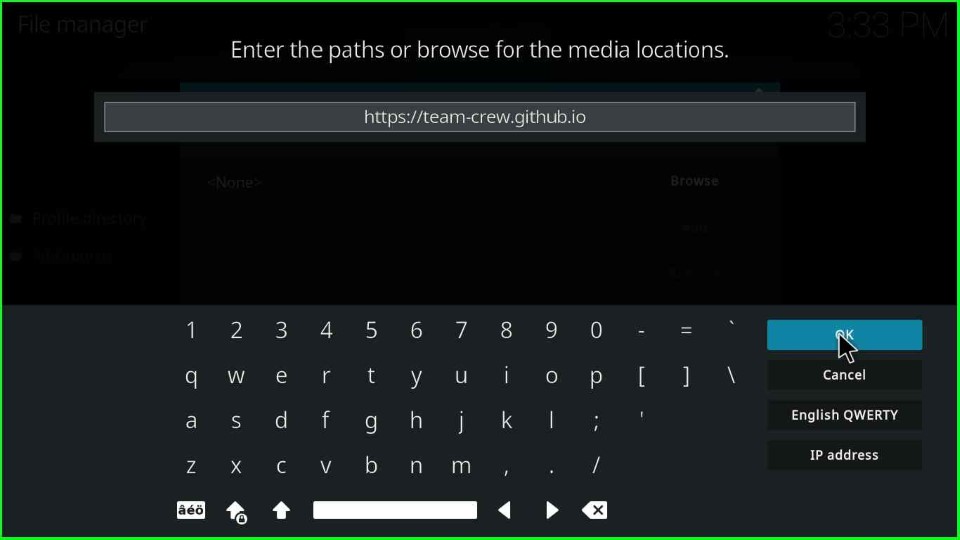
Type the media path here as https://team-crew.github.io and select the OK button.
In this step, scroll down the cursor and tap on Enter a name for this media source label text.
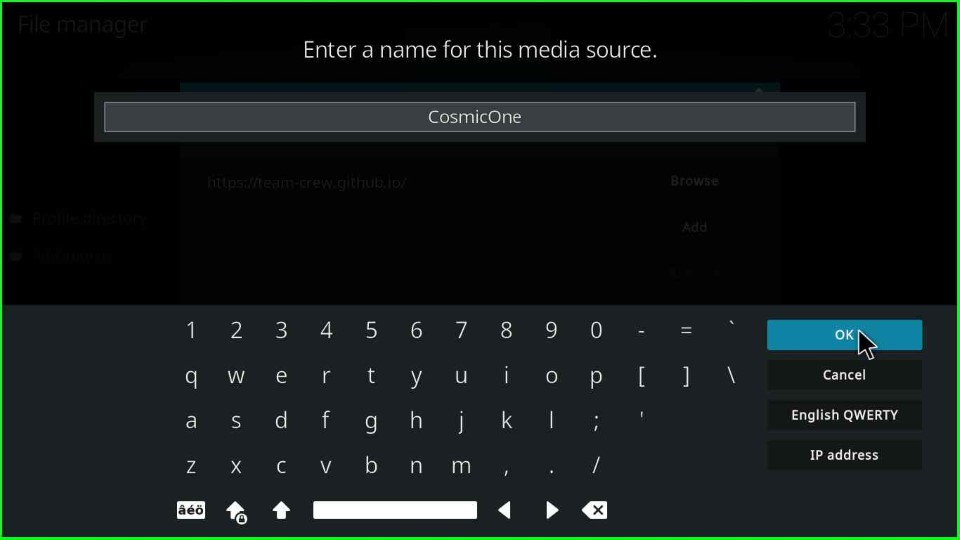
Write down the media source name, CosmicOne, and hit the OK key.
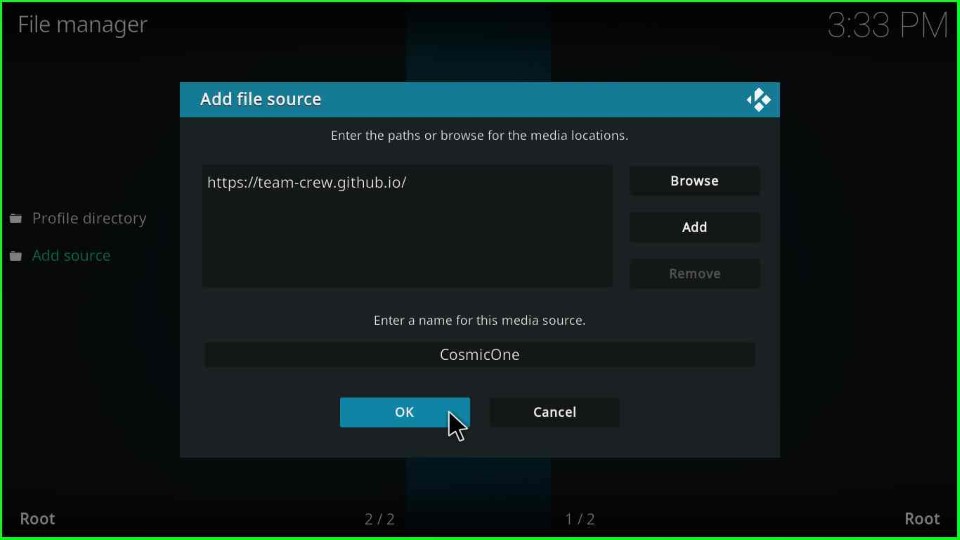
Check once the details are entered inside the Add file source window and submit the OK button.
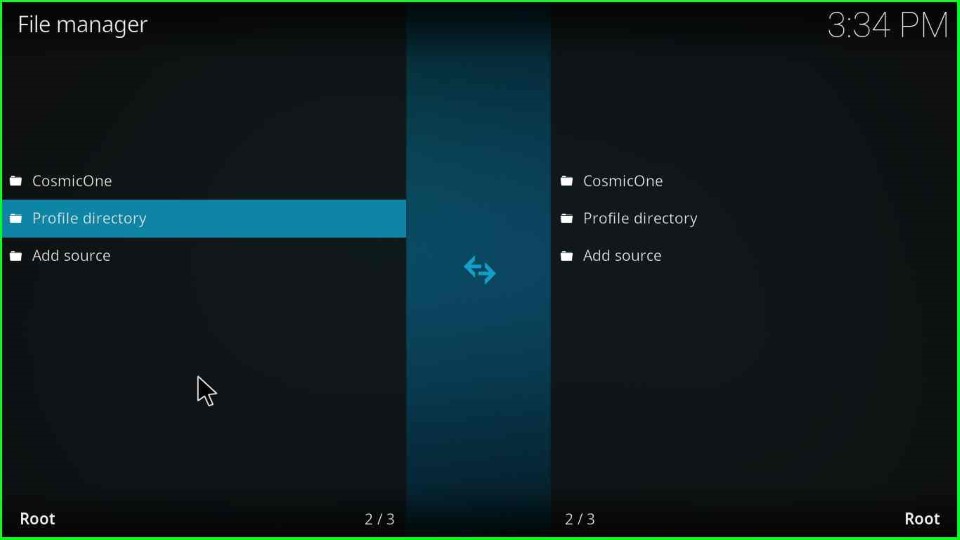
You can see the CosmicOne media source at the top of the File Manager page.
Install from Zip File
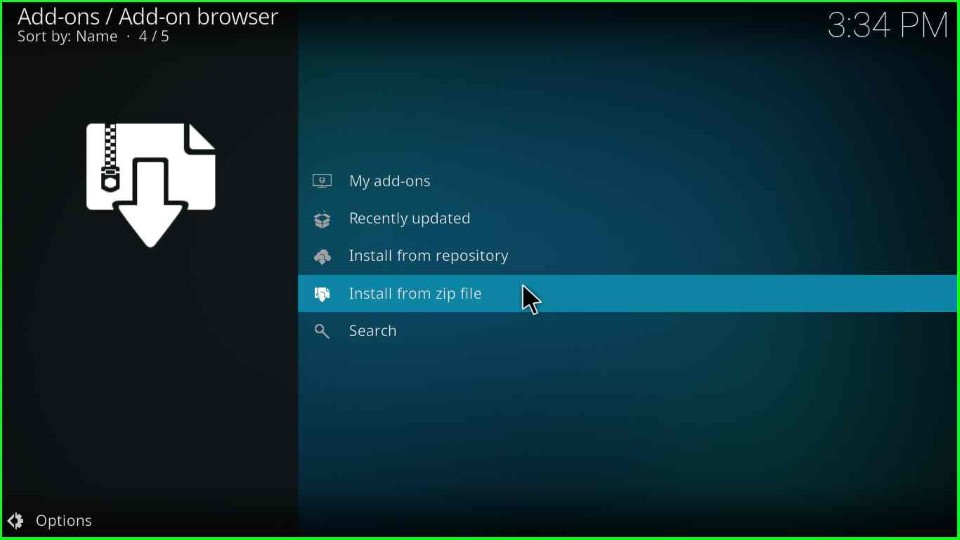
Return to the System page and click on the Add-ons tab.
Here, choose the Install from zip file option.
Now, click on the recently added media source, CosmicOne, and hit the enter key.
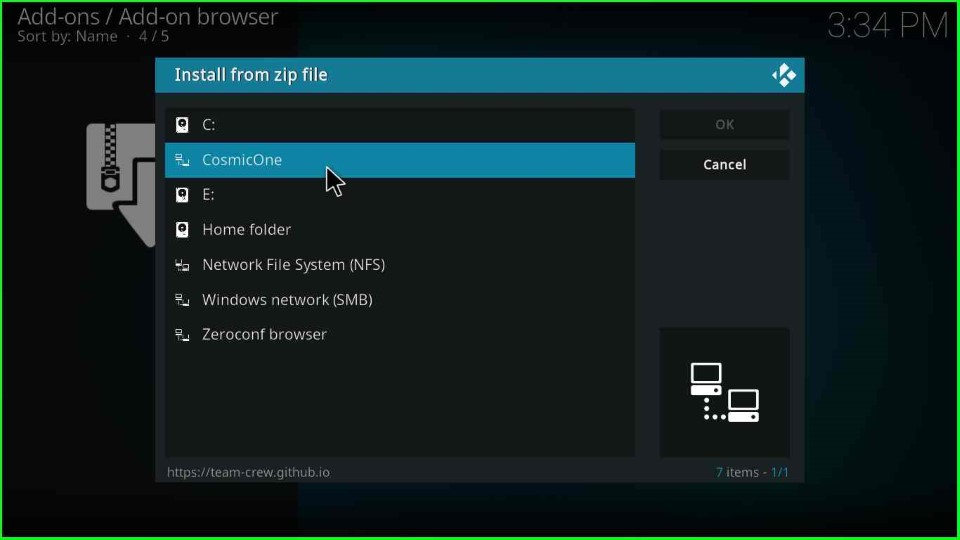
Tap on the repository.thecrew-x.x.x.zip file.

Wait for the installation of The Crew repository.
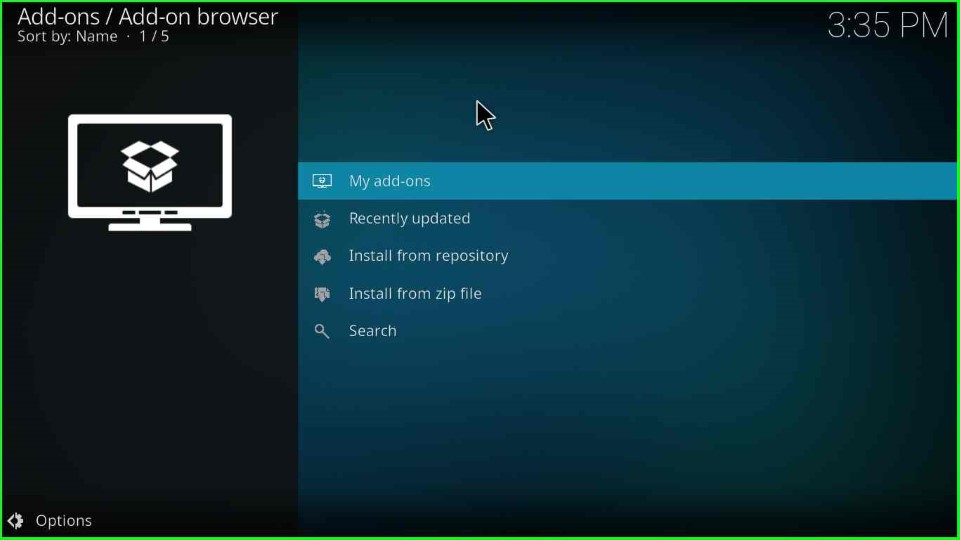
Install from Repository
The Crew Repo Add-on was installed successfully. Now, go ahead and select the next option, Install from the repository.
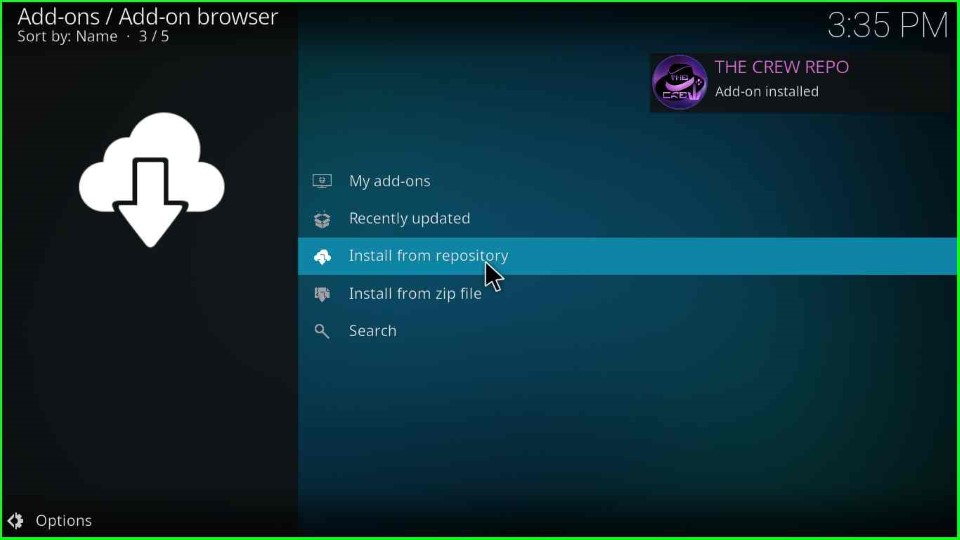
Click on The Crew Repo option.

Install Chains Build Wizard
Select the last second tab, Program add-ons.
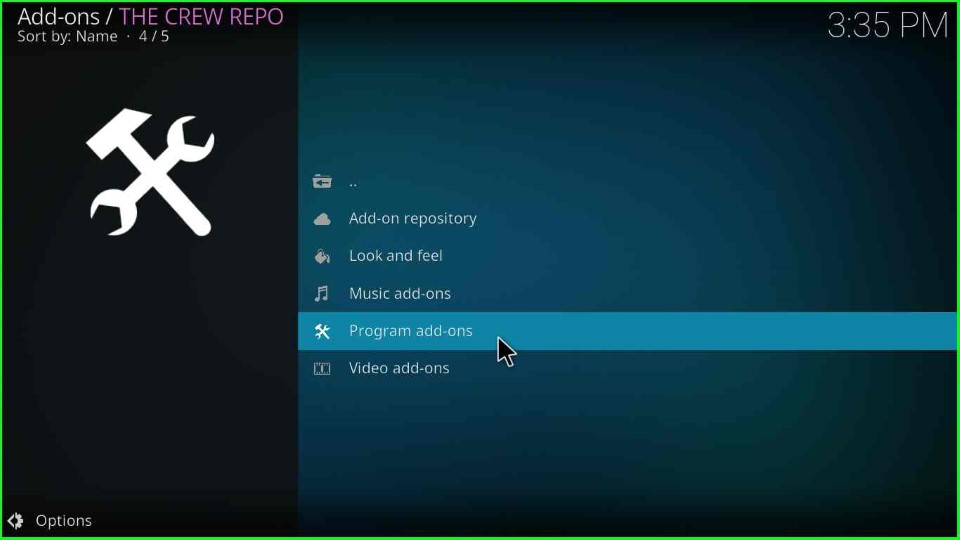
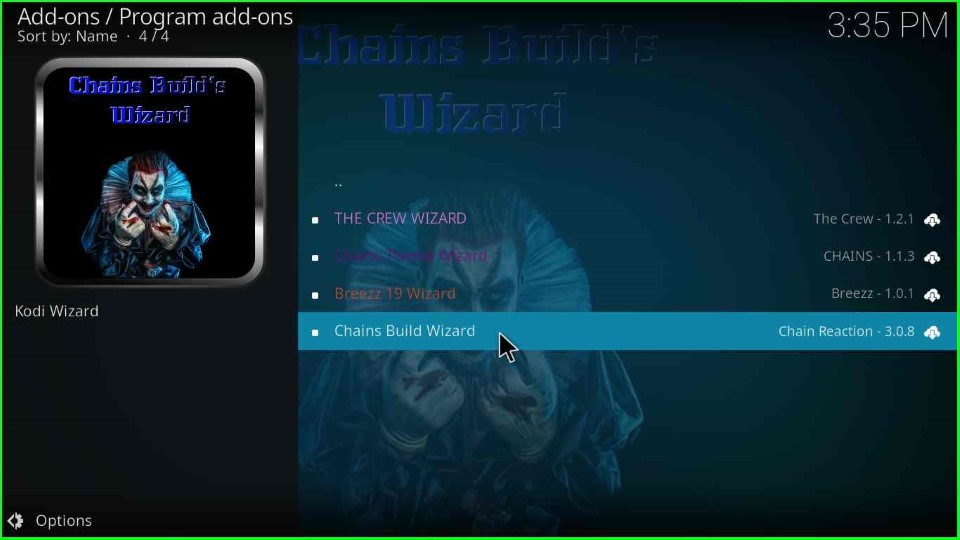
Thereafter, choose the Chains Build Wizard.
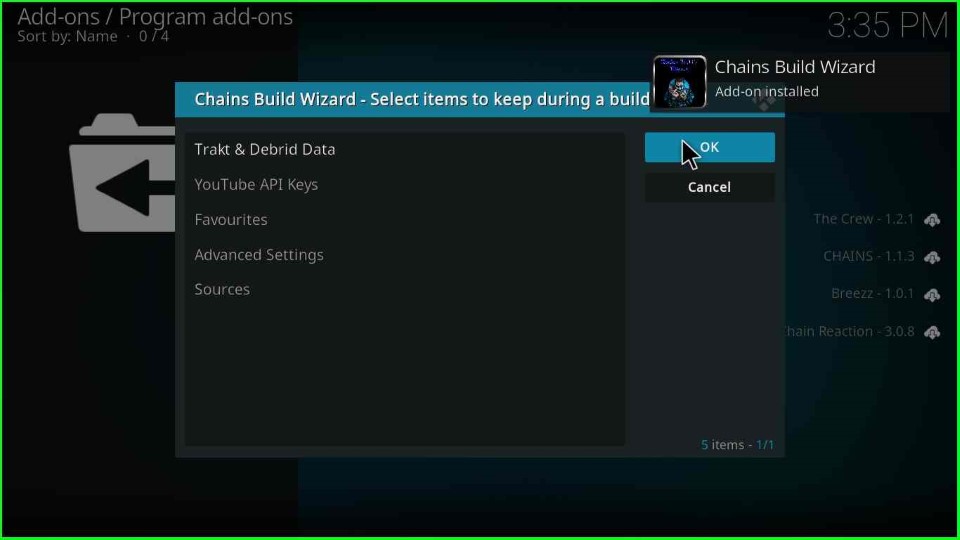
Hit the Install key as shown on the Chain Build Wizard screen.
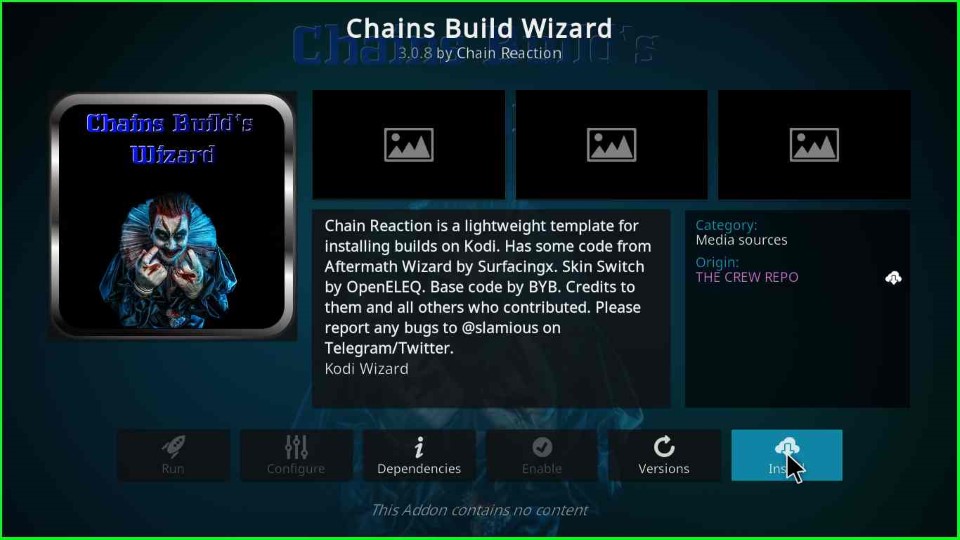
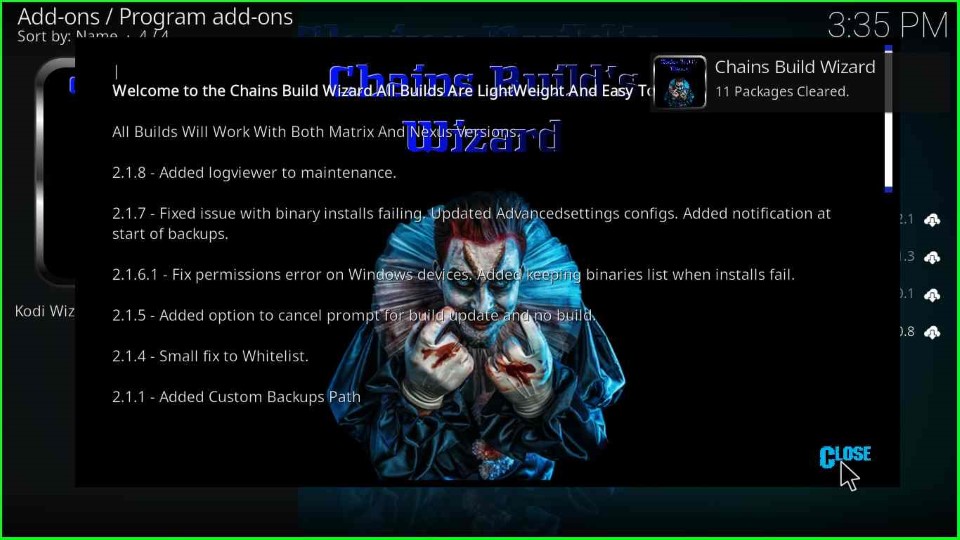
As you click on the Install button, it shows a Chain Build Wizard pop-up window. Here, press the OK button. After a few seconds, the Chains Build Wizard Add-on was installed successfully.
Click Close to move ahead to the Chains Build Wizard dashboard.
Install Cosmic One Kodi Build
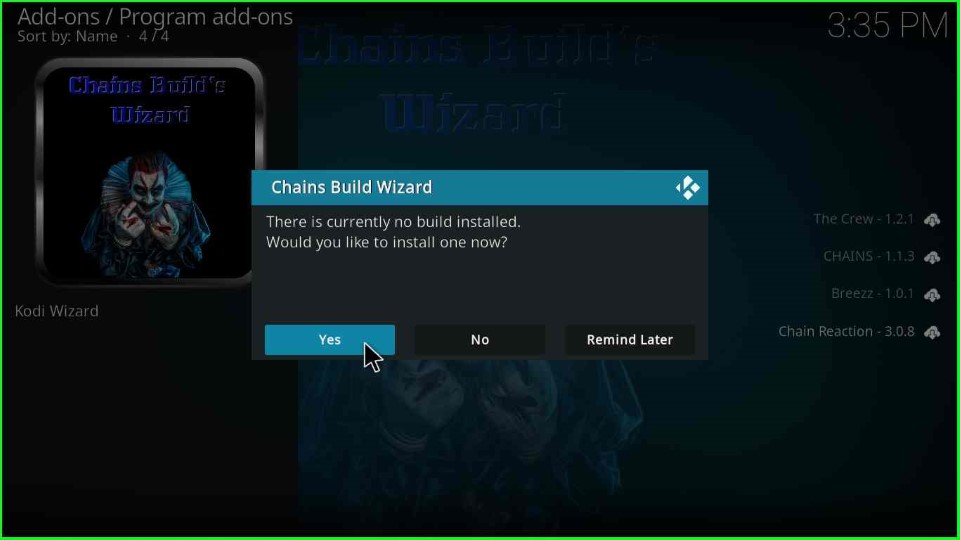
Click on the Yes key to install the Build on Chain Build Wizard.
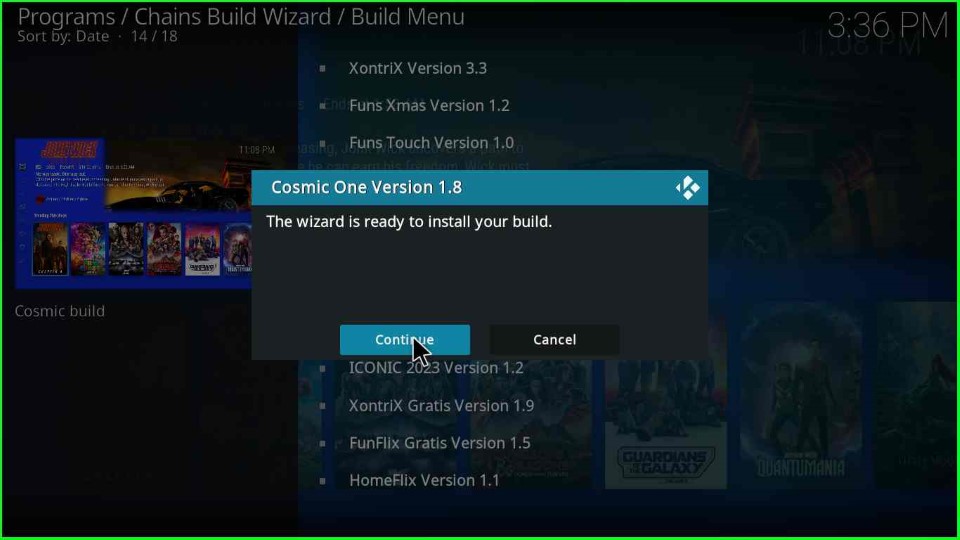
Select the Cosmic One Version x.x. from the Build Menu.
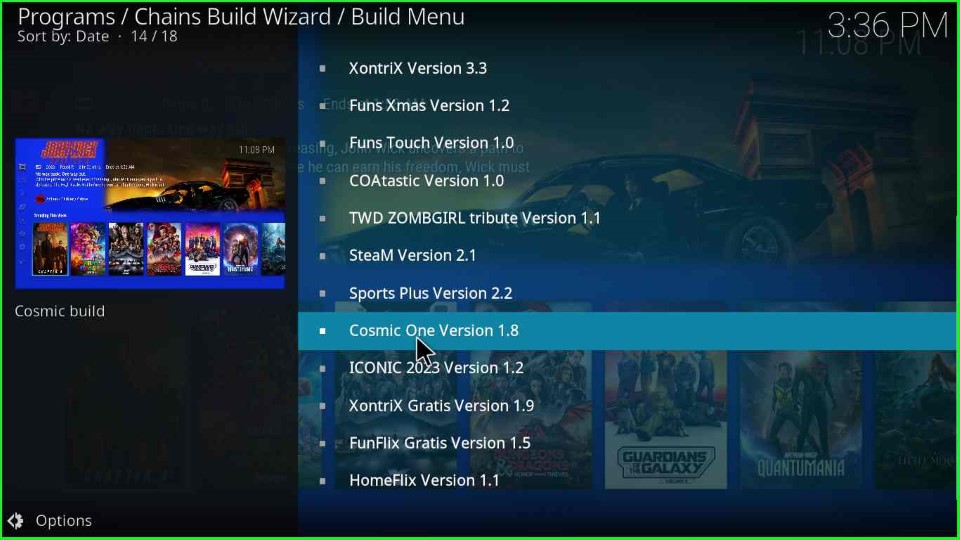
Tap on the Continue button and move ahead.
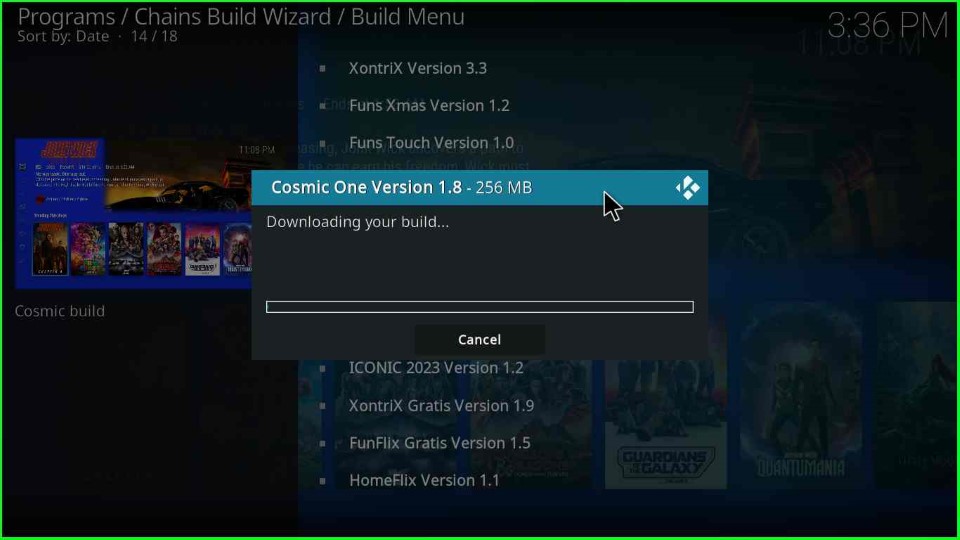
Wait for the complete download of the Cosmic One Build.
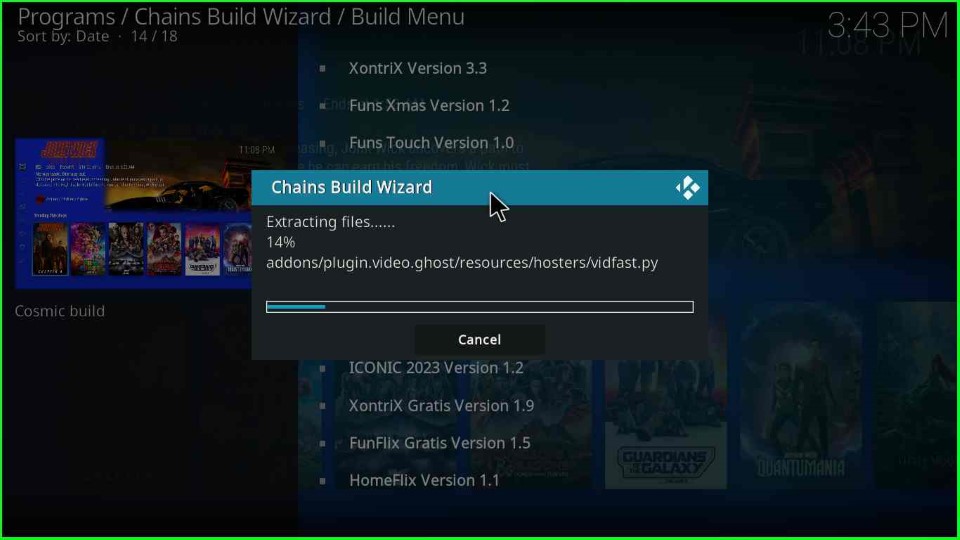
Wait for some time until the file extraction for the Cosmic One Build is completed.
After a few seconds, you can see the installation complete message on the screen. Here, select the OK button to close the Kodi screen.
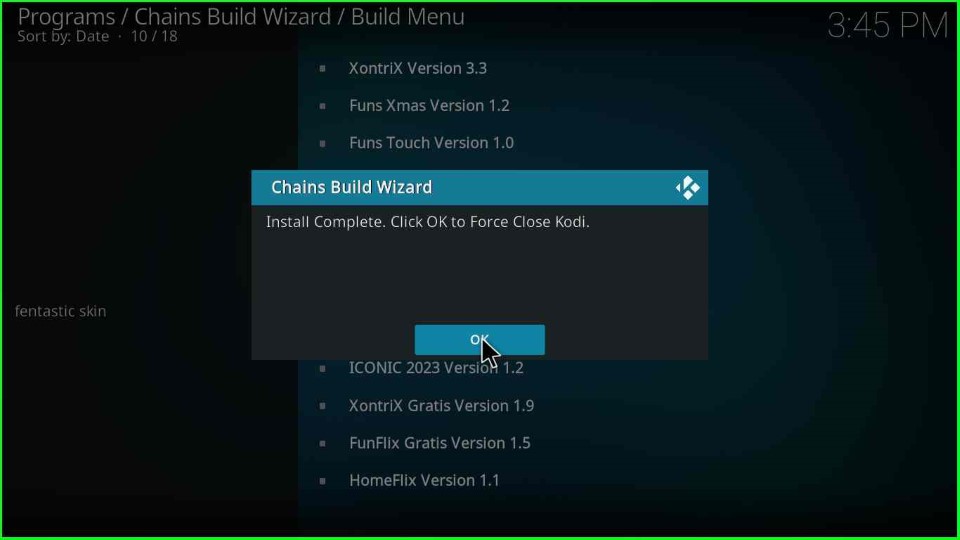
Open the Kodi app again and start streaming on the Cosmic One Kodi Build.
Final Words
I hope the article clears up all your doubts about how to install Cosmic One Build on the Kodi. So, just install the Cosmic One Build using the listed steps available with screenshots, and ask anything related to the article in the comment section below.
