In this guide, we will provide information about the steps to install Chains Genocide addon on Kodi Omega. These steps support all Kodi devices, including Android, Mac, iOS, Linux, Firestick, Nvidia Shield, Chromecast, Raspberry Pi, etc.
Chains Genocide is an all-in-one Kodi addon that belongs to the popular Crew repository. On its home page, you can look for different navigating sections, i.e., new movies, my TV shows, my movies, new episodes, people, tools, search, etc.
However, the addon provides lots of free streaming links, but integrating with Real Debrid and Trakt provides a buffer-free experience. Overall, the add-on contains a very friendly interface to search for your desired content quickly.
Installation Steps
Enable Unknown Sources
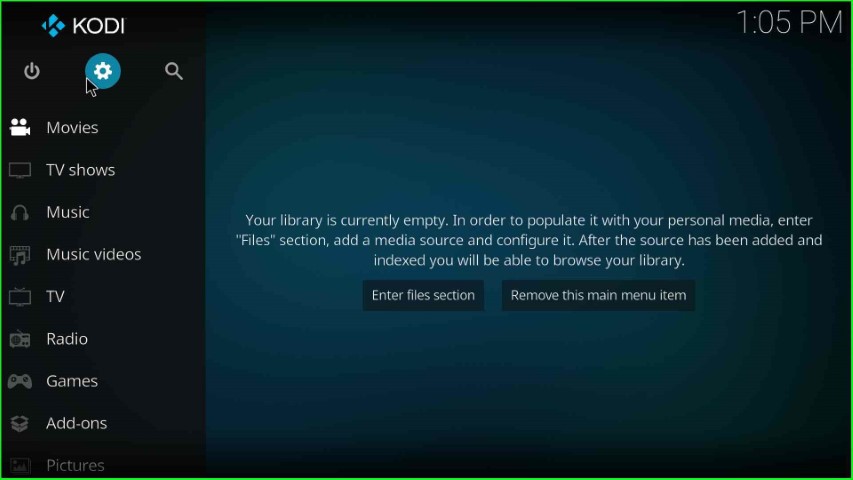
First, open the Kodi Home page and select the Settings button.
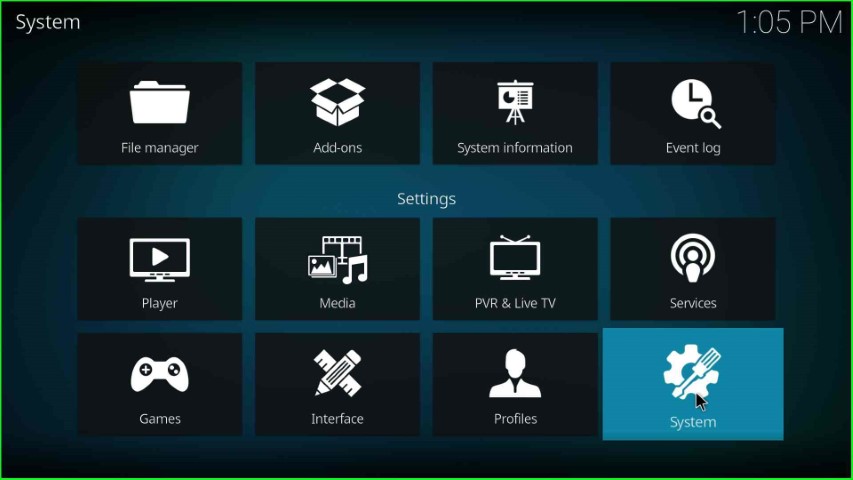
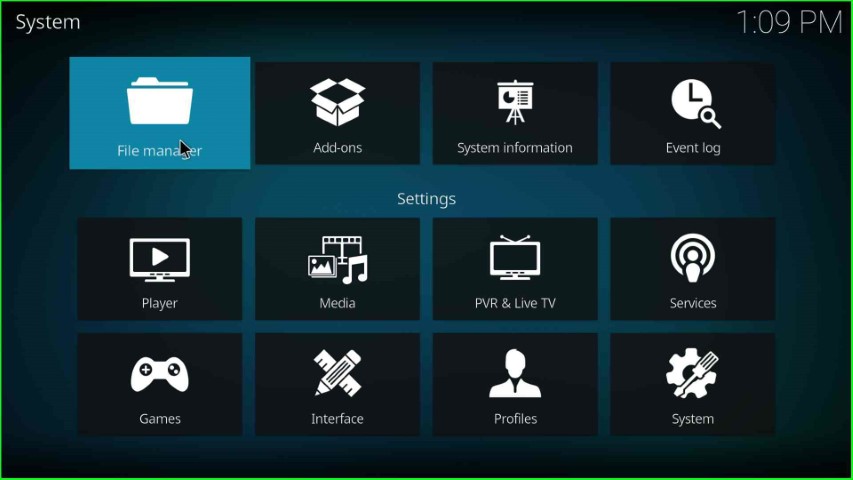
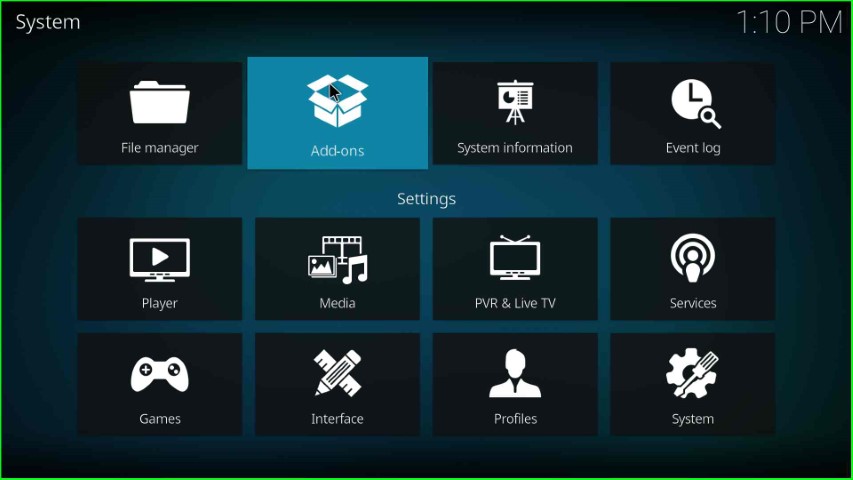
Choose the System tab from the group of icons.
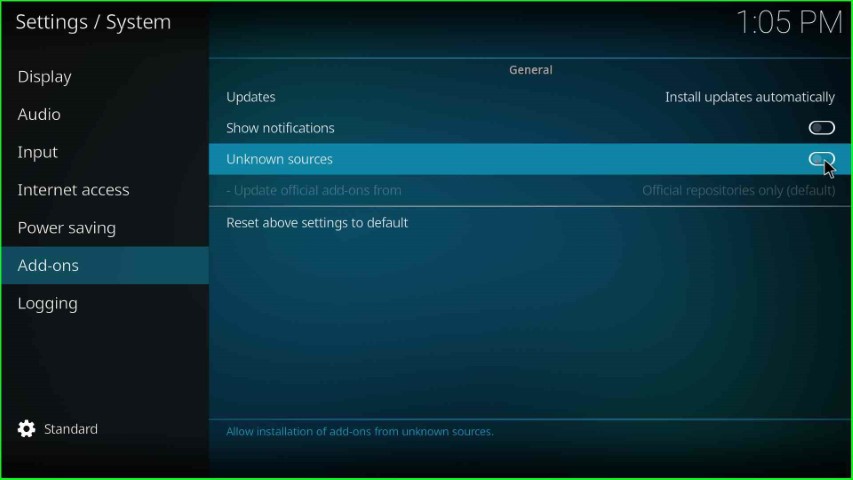
Click on Addons from the left side of the System page.

After clicking on Add-ons, you can see the Unknown Sources option; slide it to the right side and go ahead.
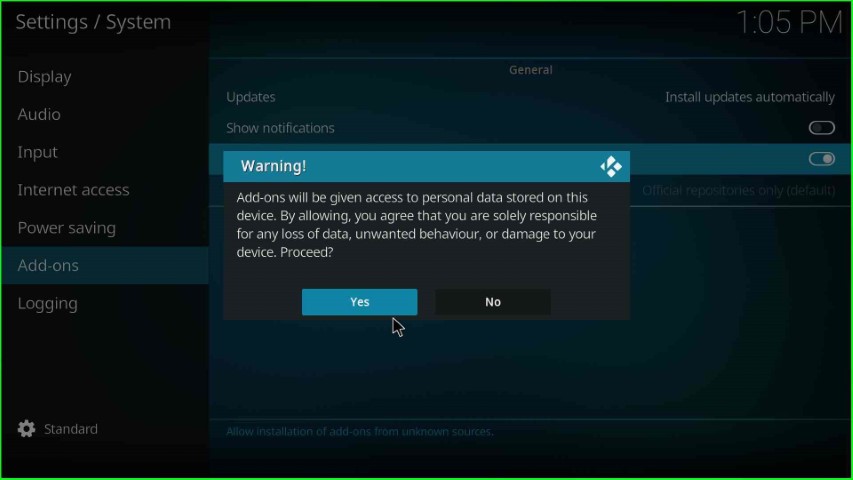
The page displays a warning sign that asks you to allow the installation of an unknown source on your device. Here, tap the Yes button and move further.
Add Media Source Repository and URL
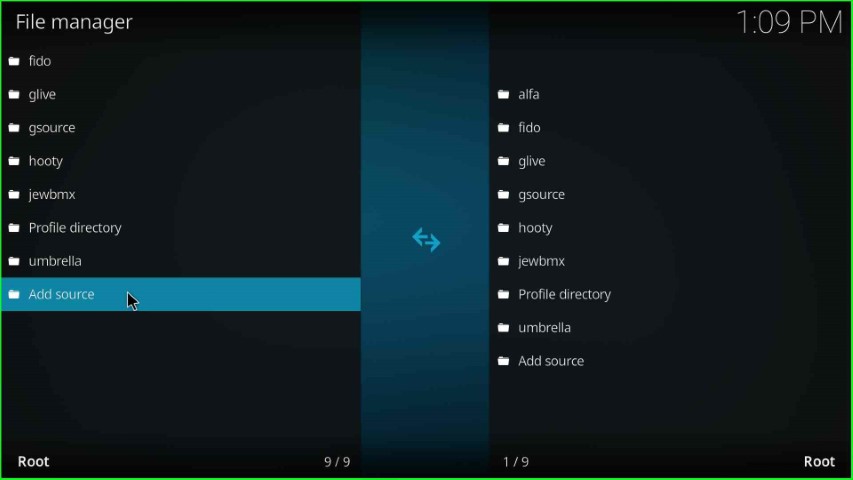
Press the ESC key to return to System Settings, then select the top icon, File manager.
Here, choose the Add source option.
In this step, just click on the <None> tab that appears on the Add file source window.
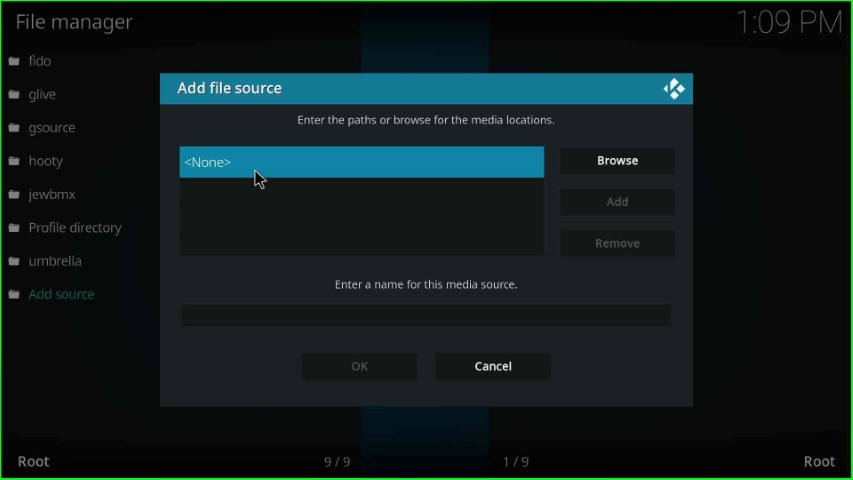
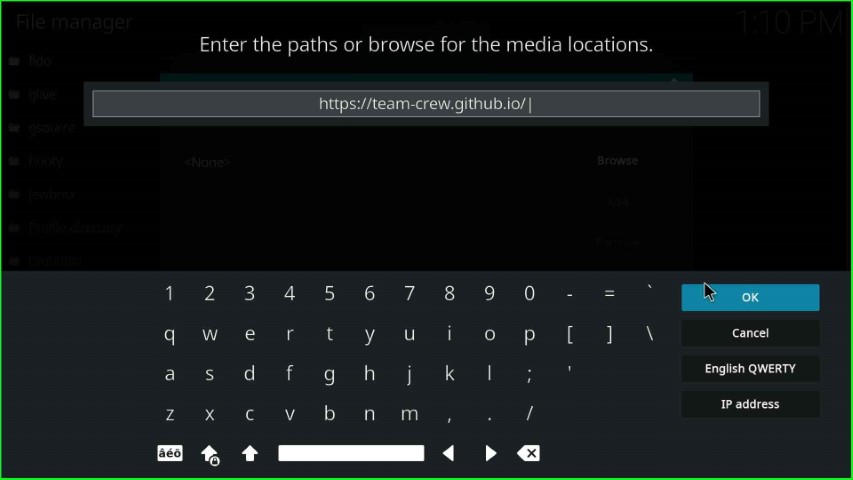
Now, you need to enter the path to the media location page.
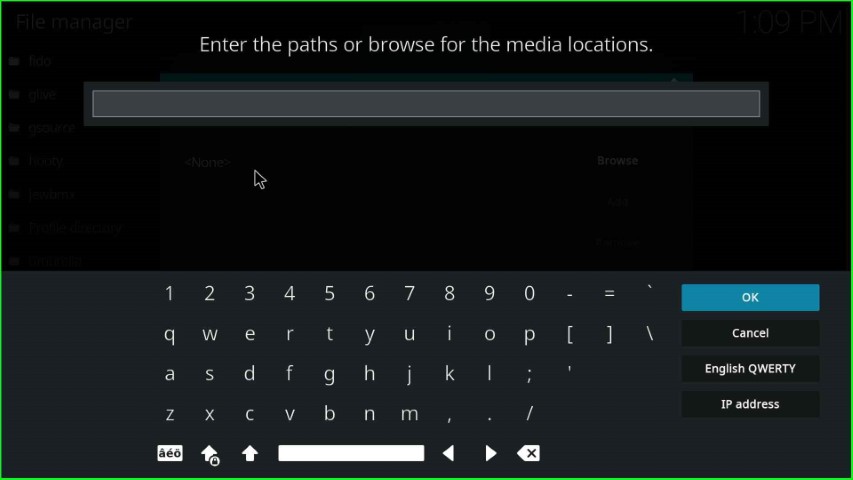
Just write the path of the media URL as https://team-crew.github.io/ and hit the OK sign.
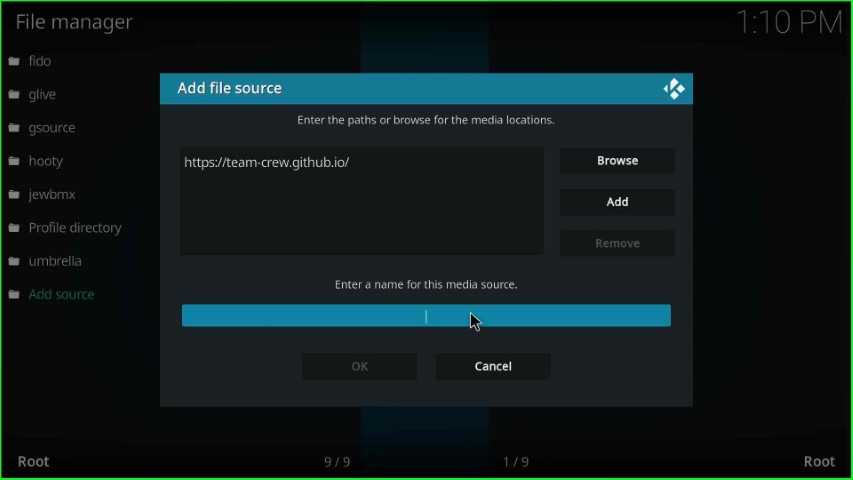
After entering the media path, click on the source name label text.
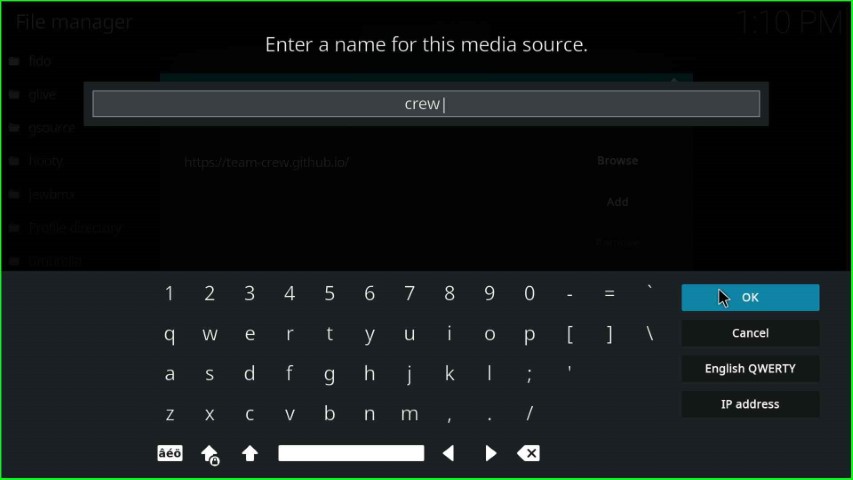
Give a unique name to the media, like crew, and press the OK button.
Confirm the details, like the source URL, name, and click on the OK button to save it.

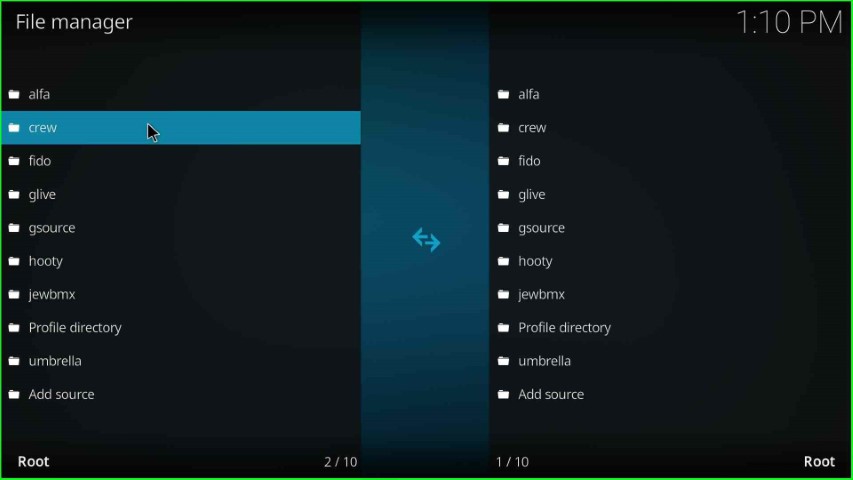
You can see the recently saved source crew on the screen.
Install from Zip File
Return to the System window and choose the next tab, Add-ons.
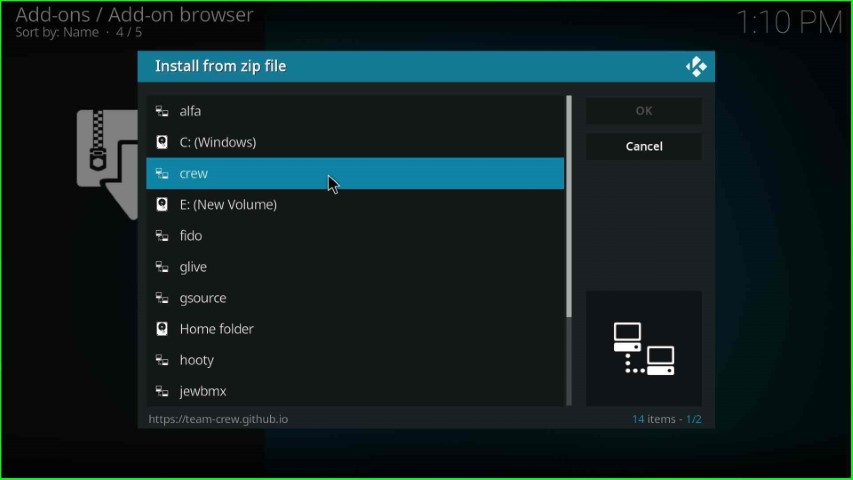
Hit the Install from zip file option.

Select the media source crew.
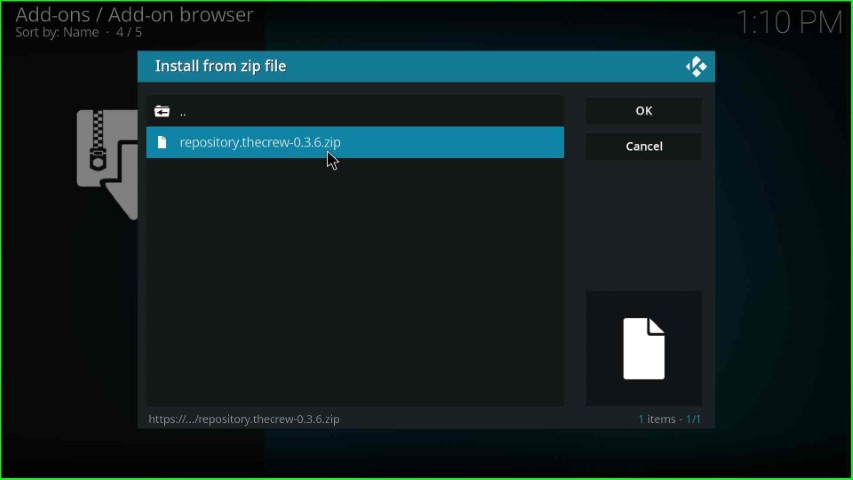
Click on the repository.thecrew-x.x.x.zip file.
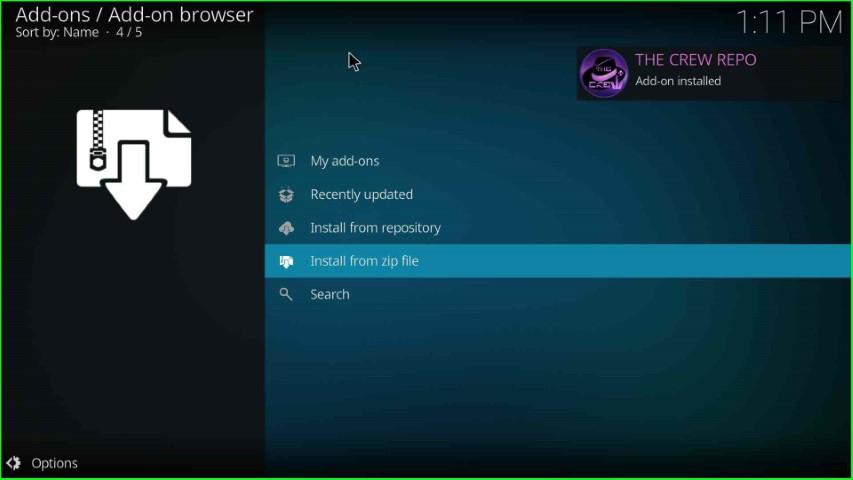
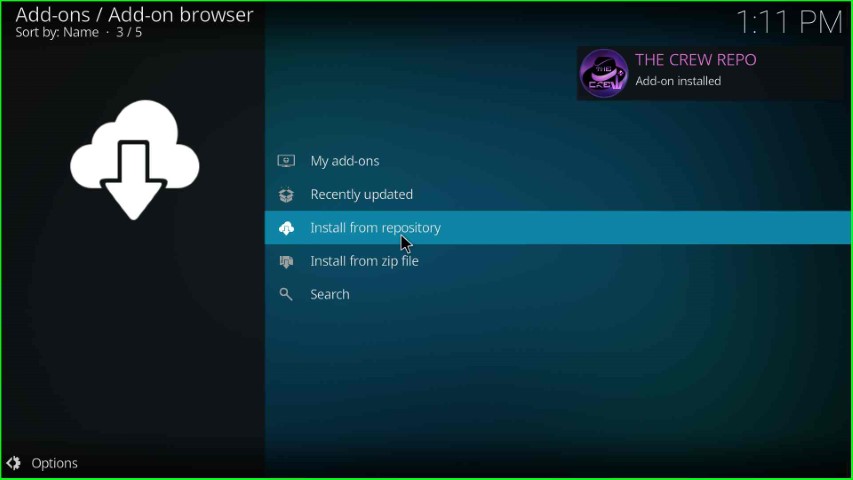
Wait until you see the notification The Crew Repo on Add-on installed on the Add-on browser page.
Install from Repository
Thereafter, tap on the Install from repository.
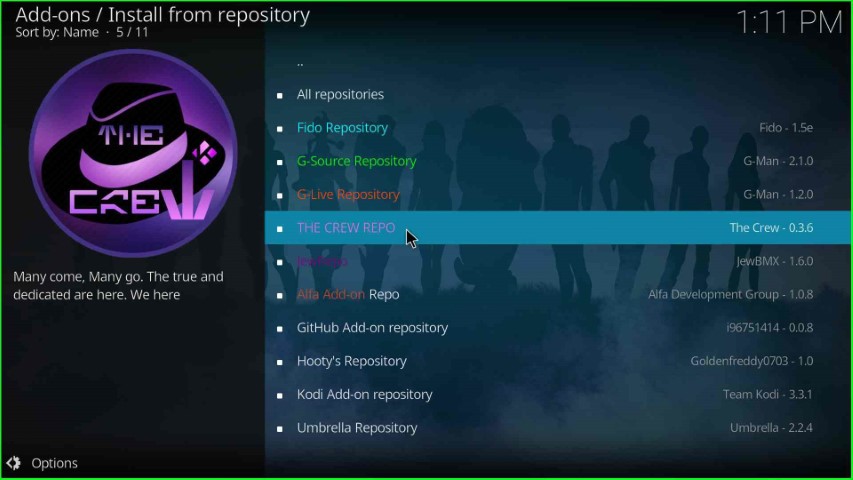
Here, search The Crew Repo and tap on it.
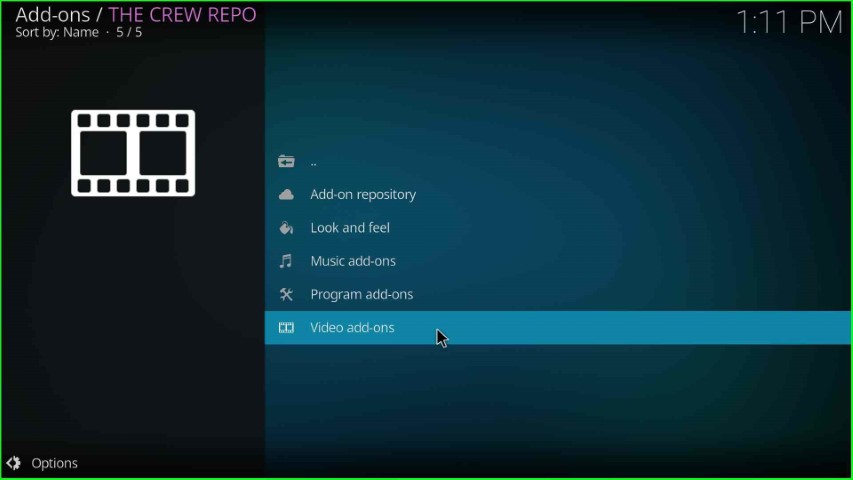
Install Chains Genocide Addon
Select the Video add-ons.
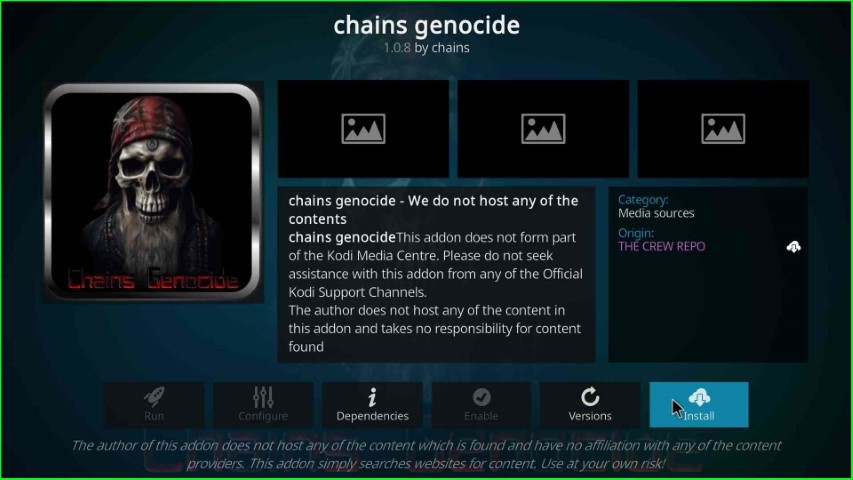
Select Chains Genocide from the list of video add-ons.
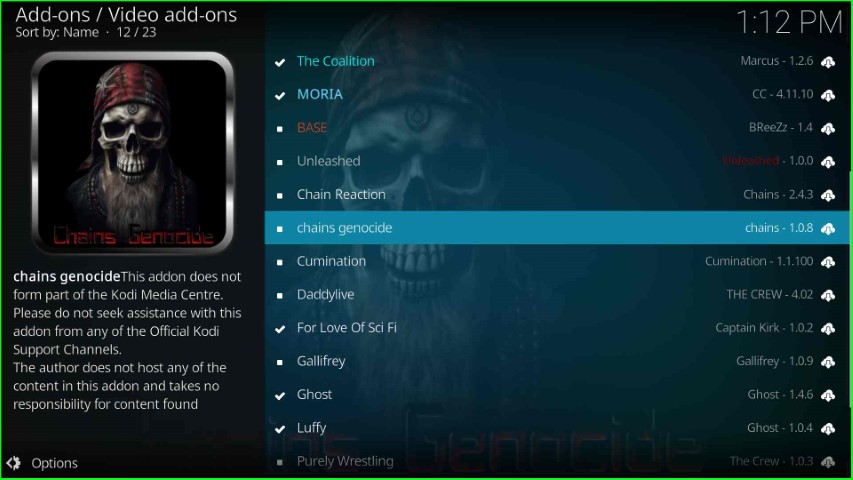
Hit the Install button.
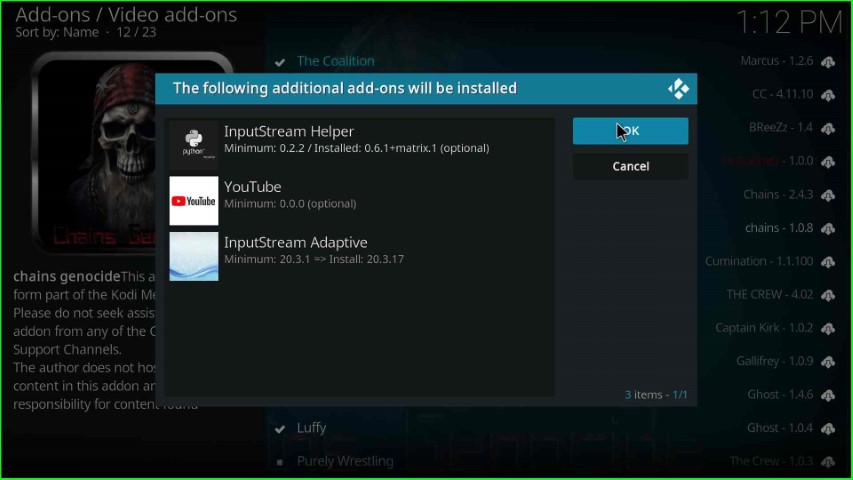
Tap on the Yes button that appears in the pop-up window.
Launch Chains Genocide Addon
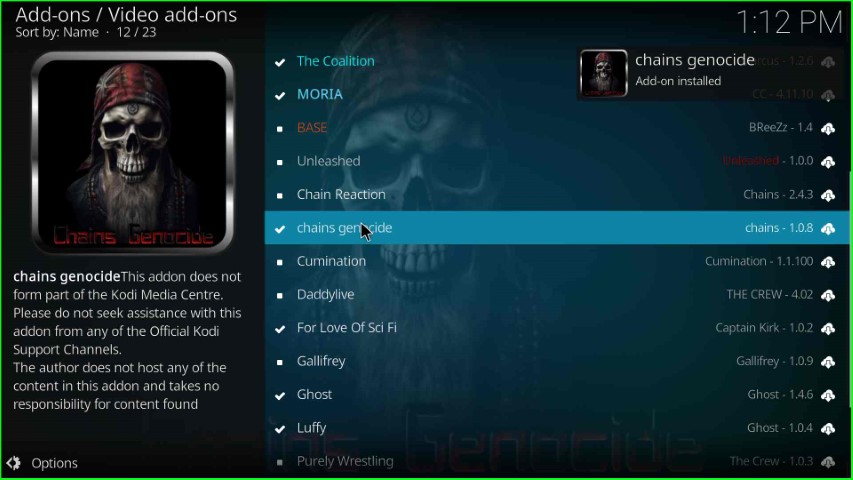
Wait for a few seconds until the Chains Genocide addon installed successfully. After that, click on the installed Chains Genocide addon.
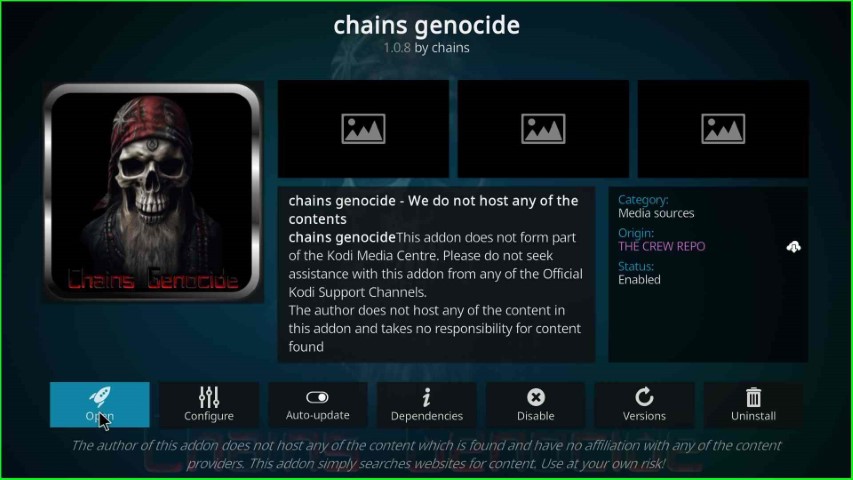
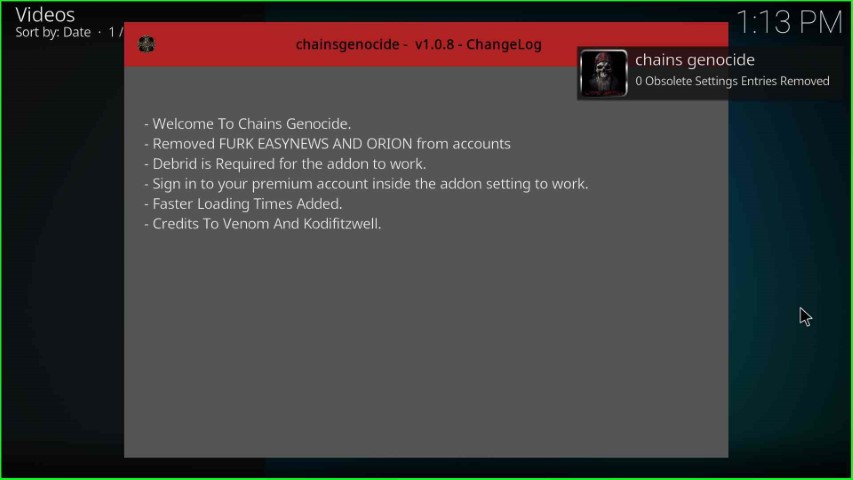
Click on the Open button to launch Chains Genocide addon.
Wait for some time until the Chains Genocide dashboard appears.
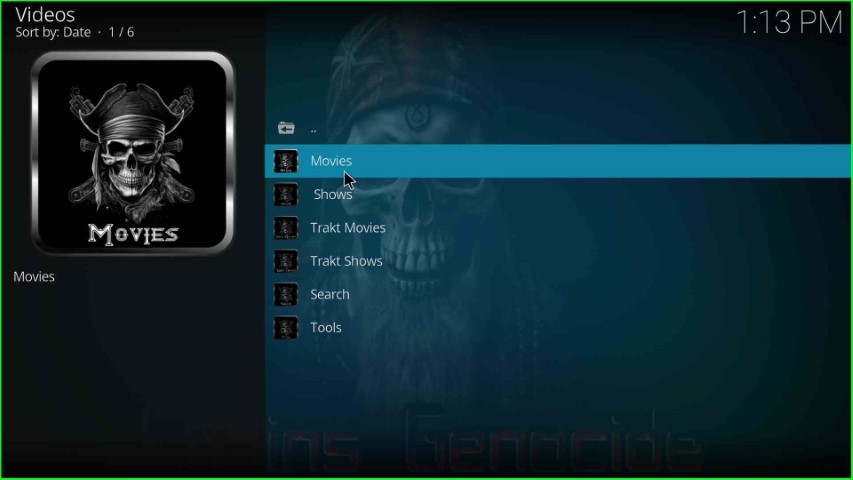
Chains Genocide offers different sections, i.e., movies, shows, Trakt Movies, Trakt shows, search, and tools. Here, click on Movies.
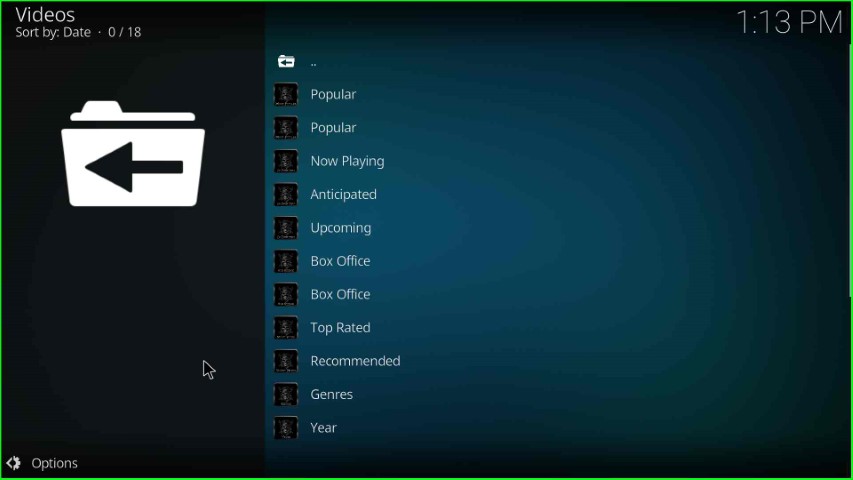
The movie category offers different subcategories, i.e., Popular, Now Playing, Box Office, Top Rated, Genres, Anticipated, Recommended, and Year.
Final Words
After reading the guide, I hope you learned how to install Chains Genocide addon. For better understanding, we also include screenshots that will help you more while installing the addon. Apart from that, if you have any doubts, feel free to ask in the section box.