In this post, you will learn how to install Grindhouse Wizard on Nvidia Shield, Android TV Box, MacOS, Mecool Boxes, iOS, Chromecast, Raspberry Pi, Linux, Apple TV, PCs, and tablets.
Grindhouse Wizard is the all-in-one Kodi wizard that is available on the Grindhouse repository and offers a solid collection of builds. Also, it has an attractive layout, organized content, featured categories, easy navigation, and a colorful theme.
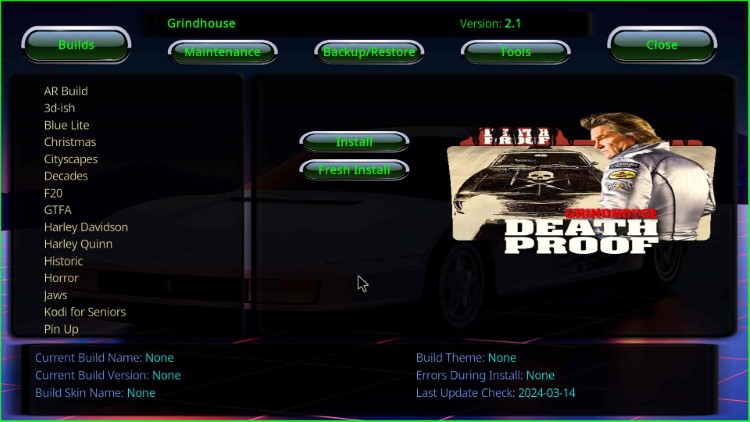
Some popular Builds are Decades, Cityscapes, Blue Lite, Christmas, Horror, Jaws, Historic, Pin Up, AR Build, GTFA, F20, etc. You can install the build in the wizard by clicking on the Fresh Install button.
Installation Steps
Some of the necessary steps to install Grindhouse Wizard on Kodi are the following:
Enable Unknown Sources
Launch the Kodi app and hit the Settings icon.
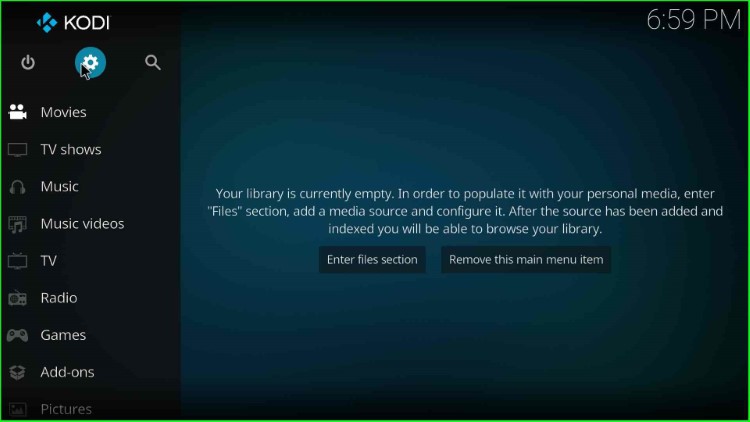
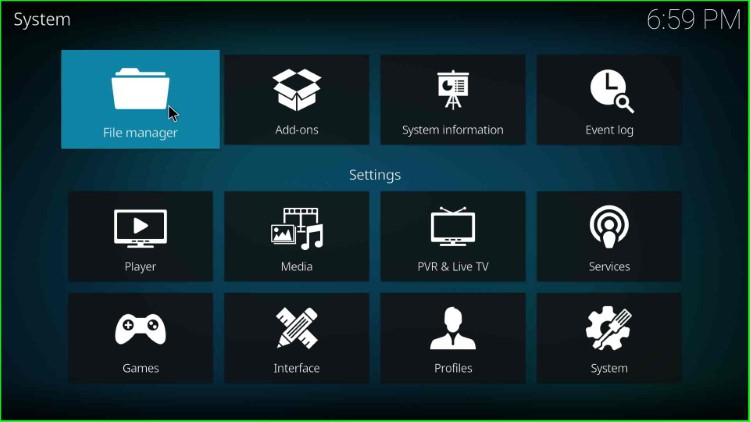
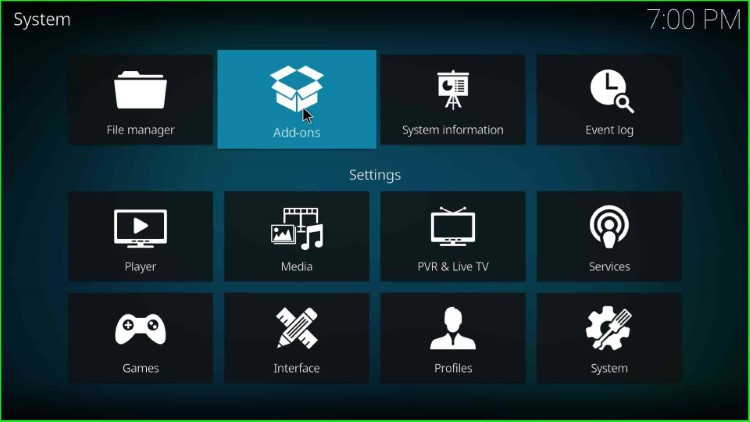
A Settings window will appear with a list of arranged icons; click on the System icon.
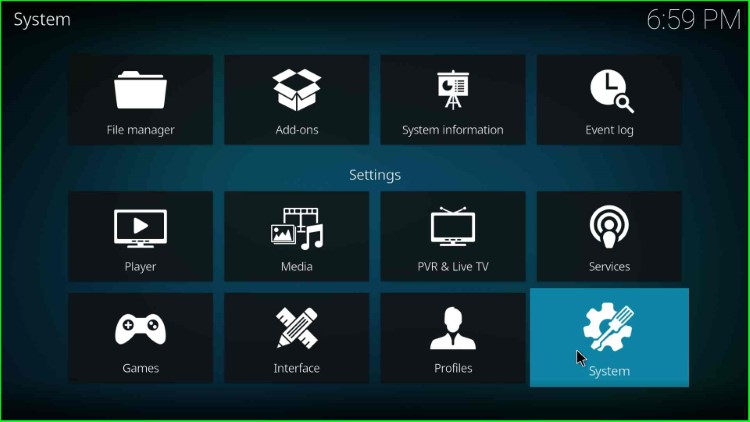
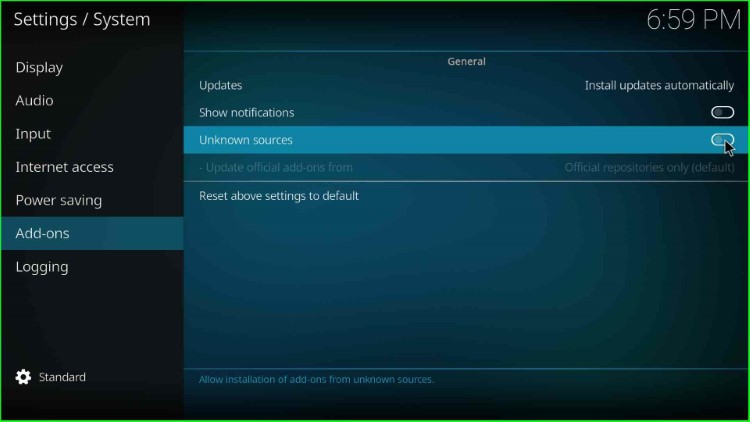
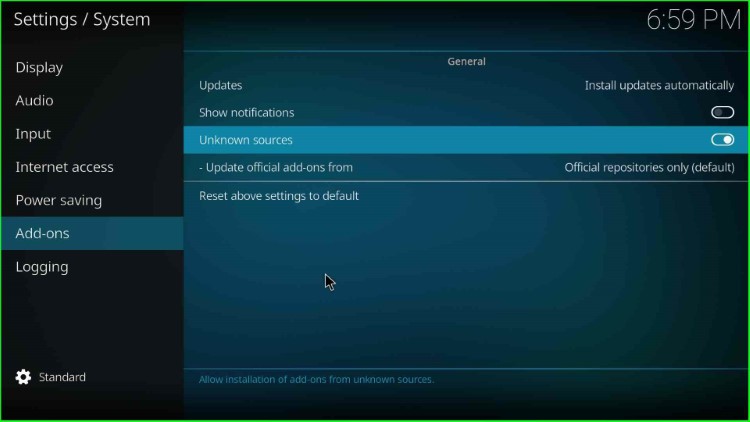
Click on the Add-ons option.

Now, slide to the right of the Unknown sources key.
Press the Yes key available in the warning sign.
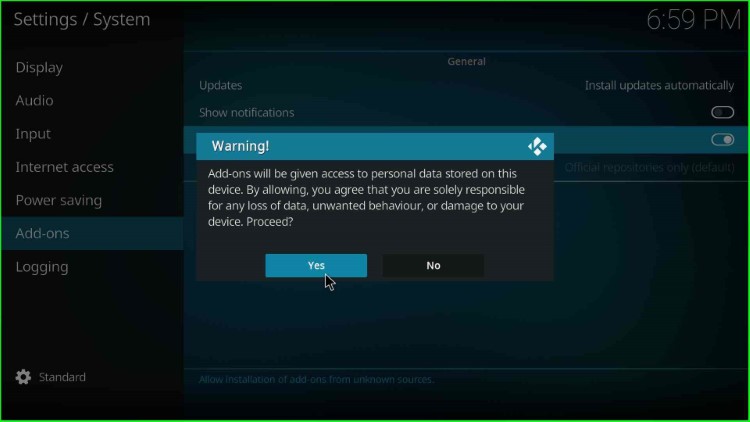
Unknown sources option was enabled successfully.
Add Media Source and Repository URL
Return to the System window and select the File Manager key.
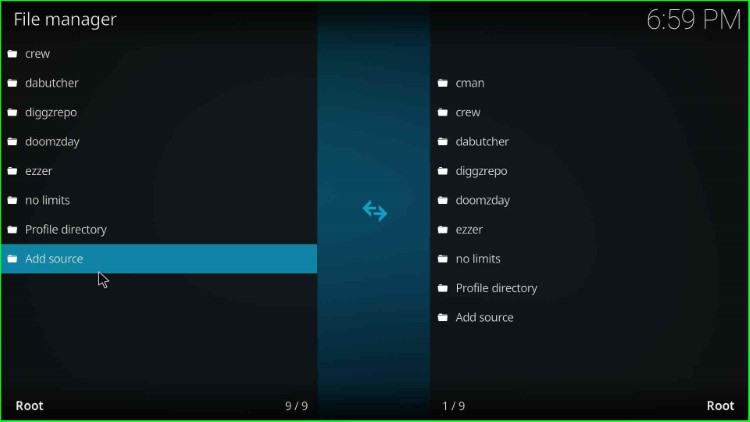
Now, click on the Add source option available at the left of the page.
Hit the <None> option to enter the new path for the media location.
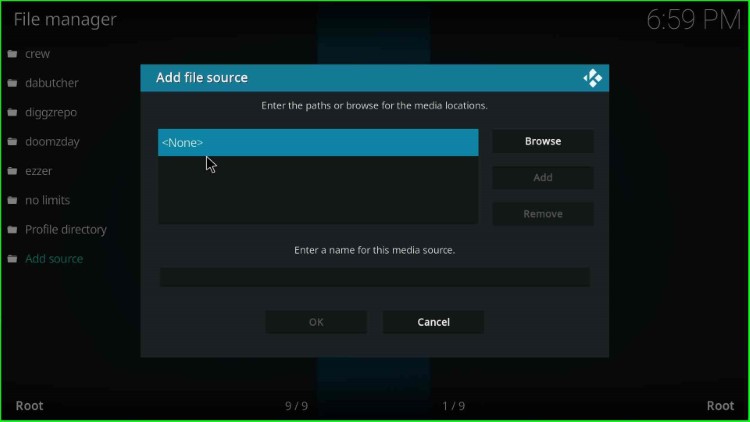
On this page, you can see a media path screen with different buttons like OK, Cancel, English QWERTY, IP address, etc.
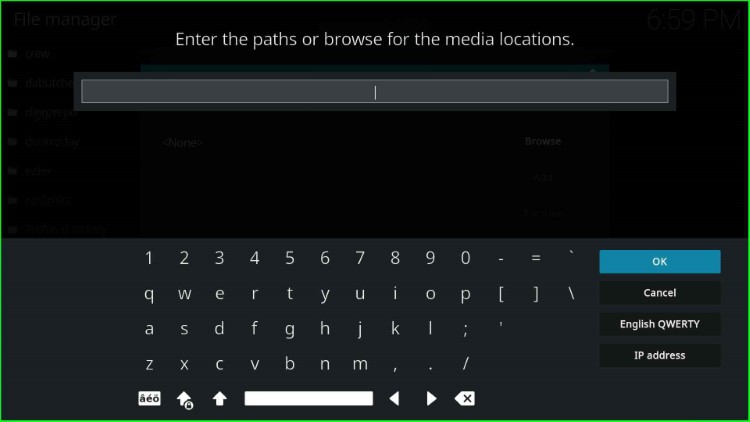
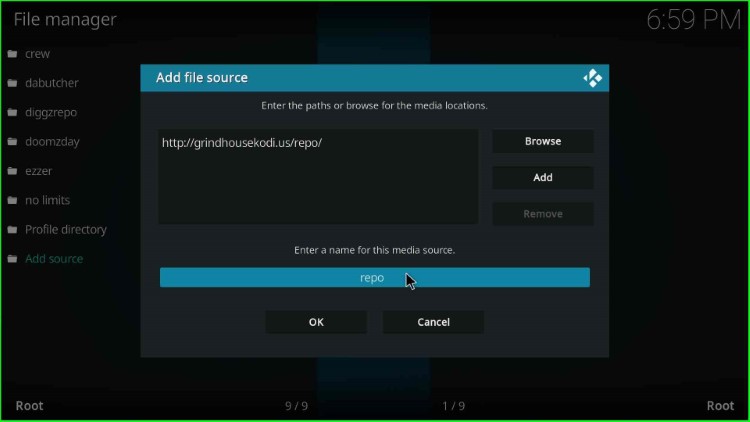
Write the media path: http://grindhousekodi.us/repo/, and tap the OK button.

Now, click on the media source label text, which contains an existing source name repo.
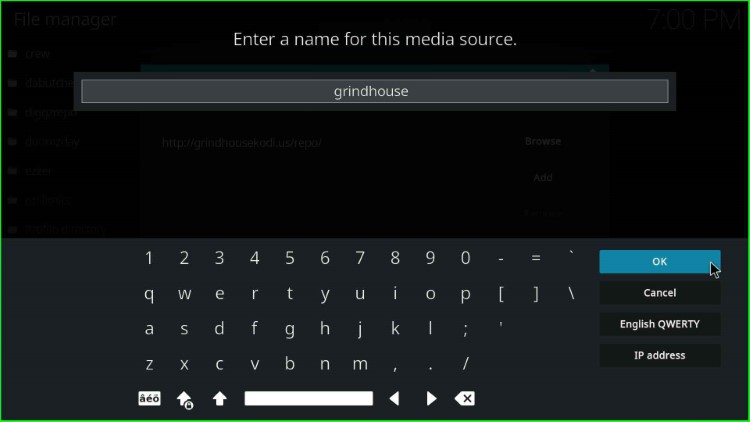
Give the new name to the source as grindhouse and press the OK button.
Thereafter, check the entries carefully and tap the OK button.
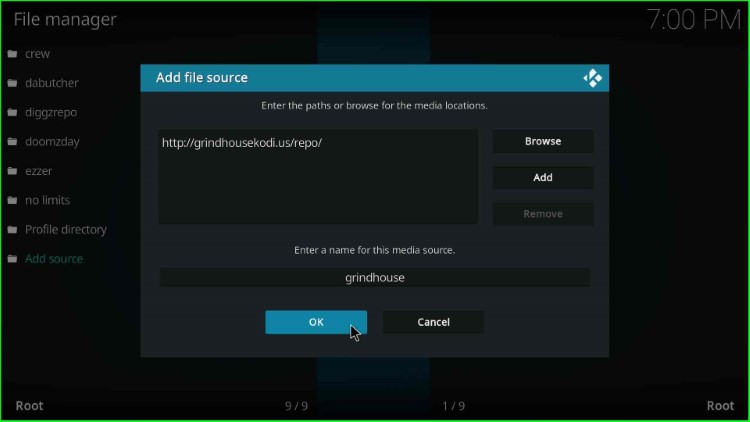
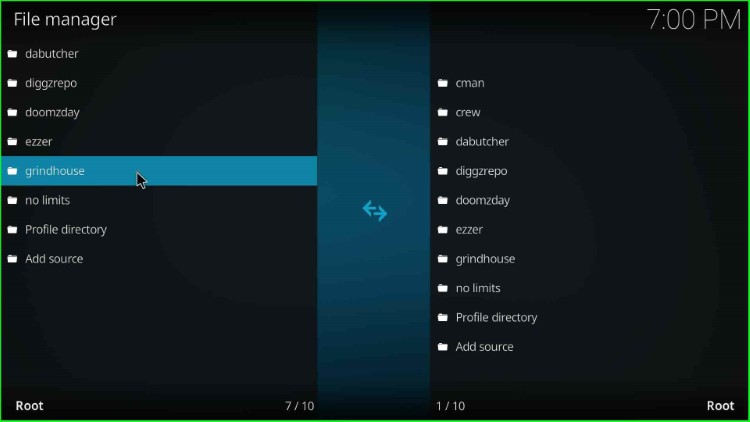
You can see the grindhouse source added on the File manager screen.
Install from Zip File
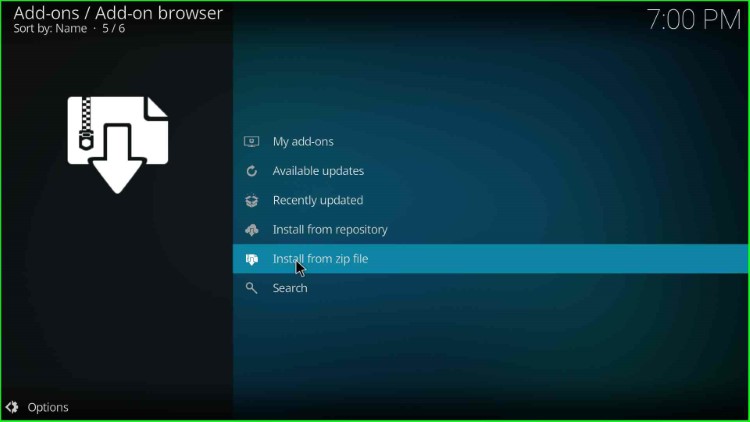
In this step, go to the previous Kodi Settings screen, and this time choose the Add-ons key.
Inside it, you can find lots of options. Select Install from zip file here.
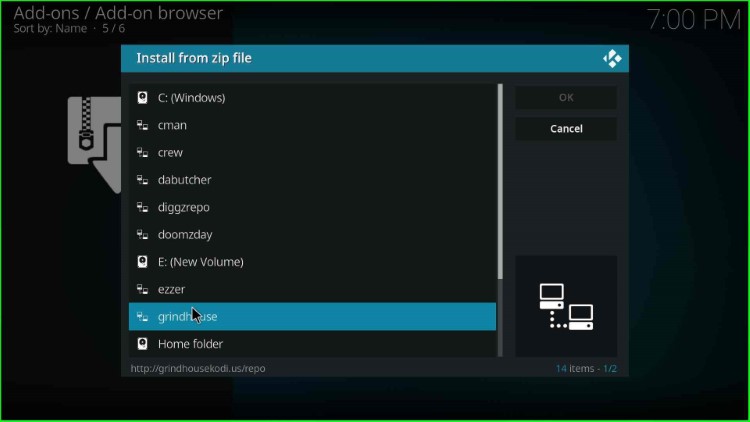
Now, choose the grindhouse media source.
Tap on the repository.grindhousekodi-x.x.zip file and hit the enter key.
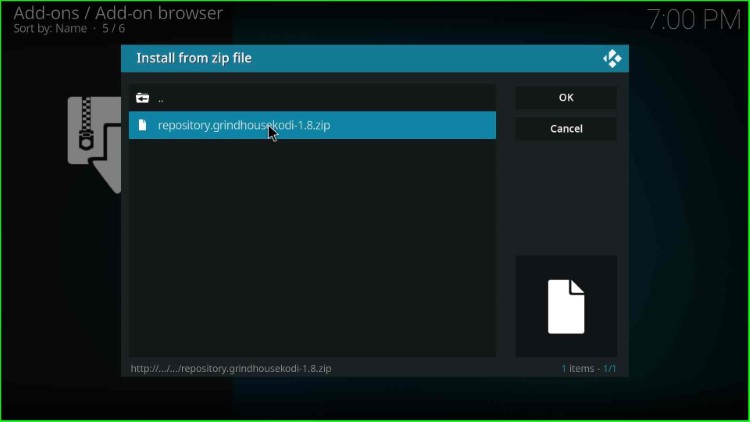
Wait for the notification that the Grindhouse Repository Add-on installed on the screen.
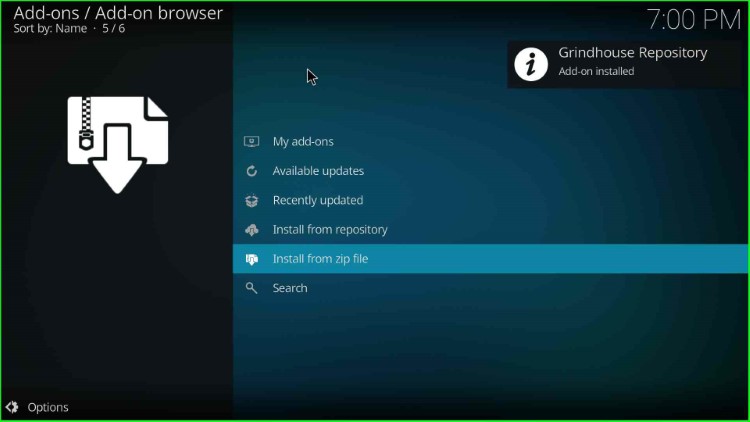
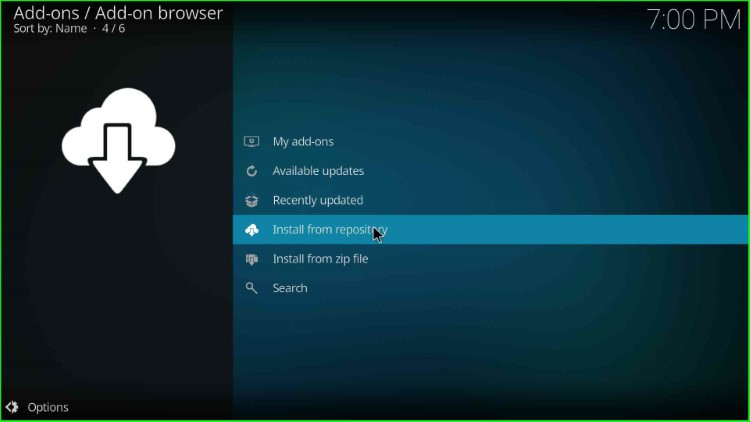
Install from Repository
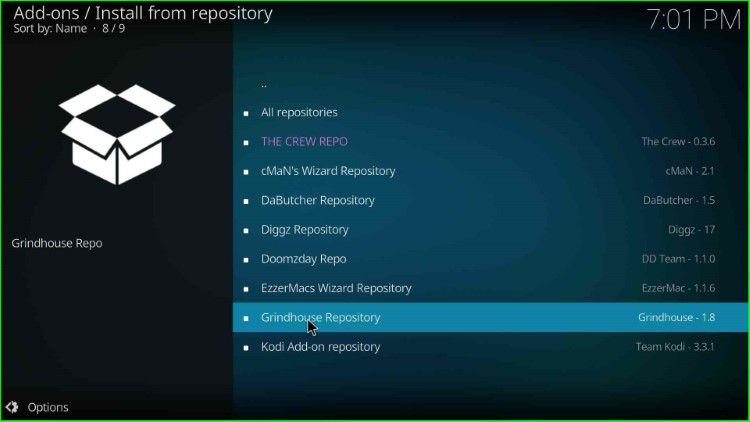
After installing from the zip file, the next step is to choose Install from repository.
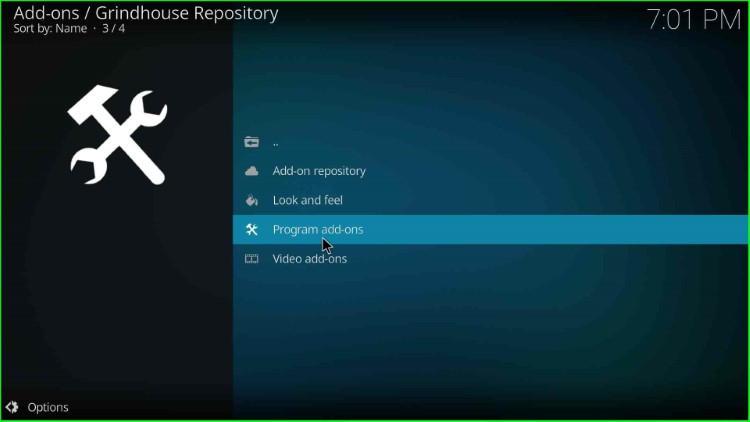
Here, select the Grindhouse Repository just before the Kodi Add-on repository.
Install Grindhouse Wizard
Now, tap on the Program add-ons option.
Choose the Grindhouse wizard from here.
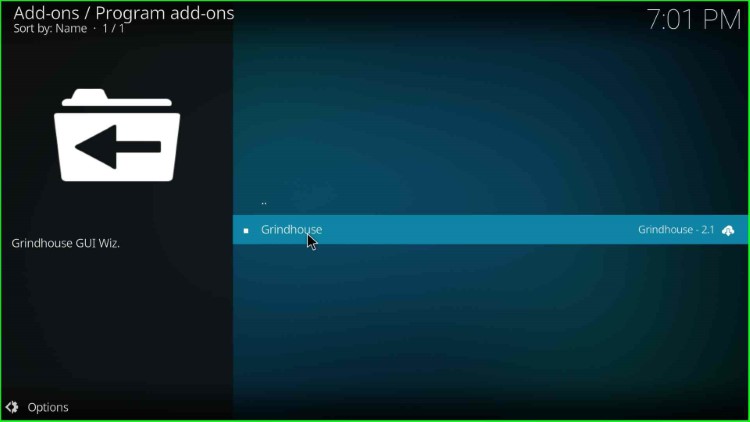
Press the Install key.
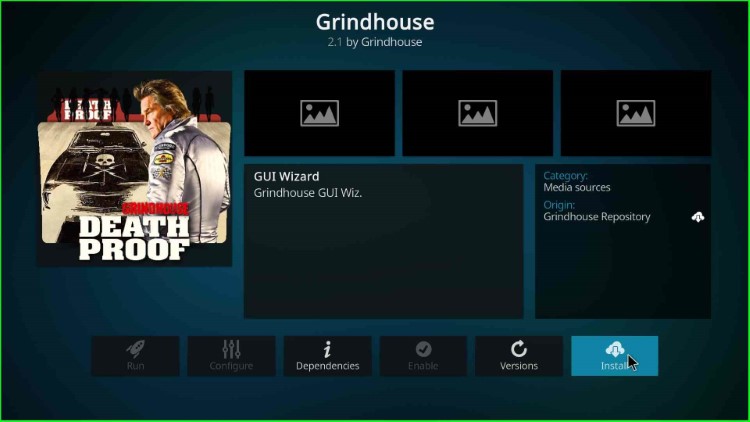
Now, hit the Continue button.
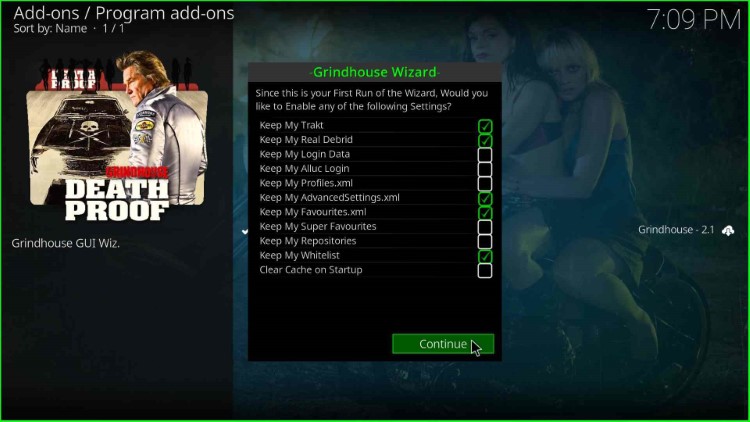
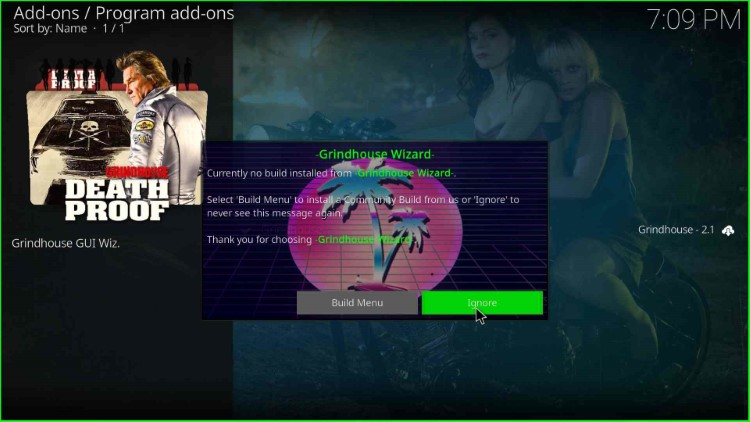
Hit the Ignore key available here.
Launch Grindhouse Wizard
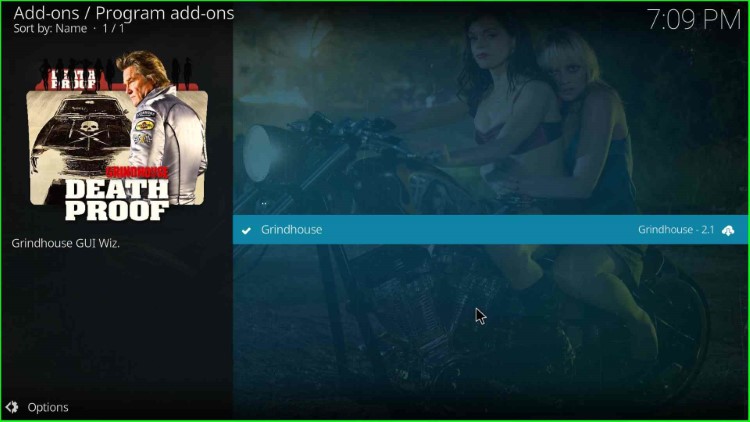
Grindhouse Wizard was installed successfully, click on it now.
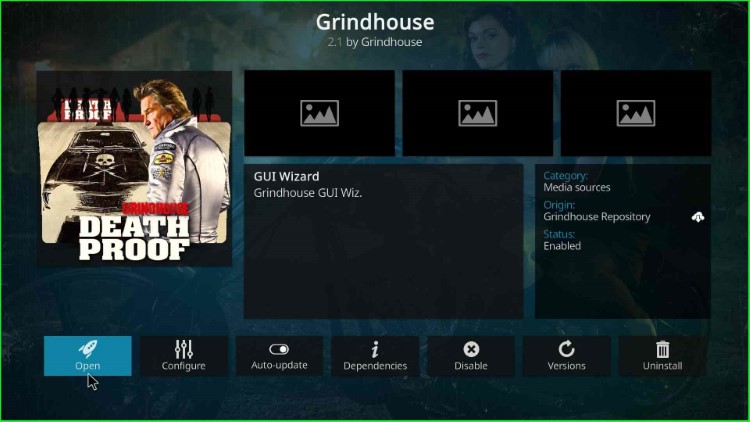
Tap on the Open button.
It consists of different navigation sections like Builds, Maintenance, Backup/Restore, Tools, etc.
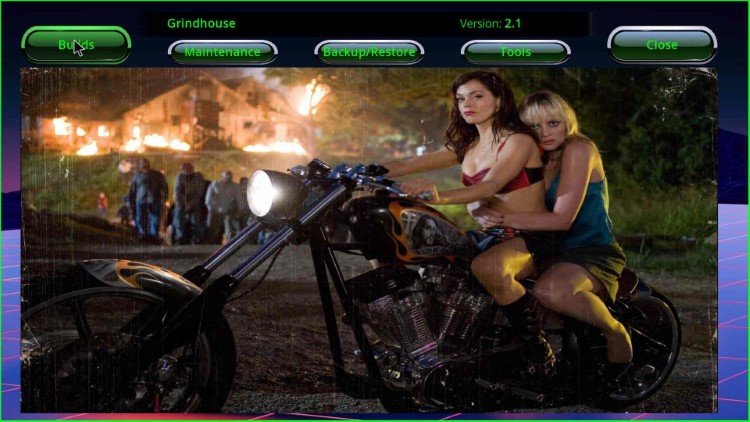
Here, if you select Build, it offers lots of Builds for installation like Blue Lite, Decades, Horror, Jaws, GTFA, F20, Cityscapes, etc.
Final Words
I hope the post taught you the steps to install Grindhouse Wizard on Kodi. Try to install the wizard with the help of the steps given one by one, and share your doubts in the comment section.