This guide includes the steps to install the Halloween Build on Kodi. The steps mentioned here work on Android TV Box, Amazon Firestick, 4K Max, Lite, Fire TV, Roku, iOS, Apple TV, Linux, Mac, etc.
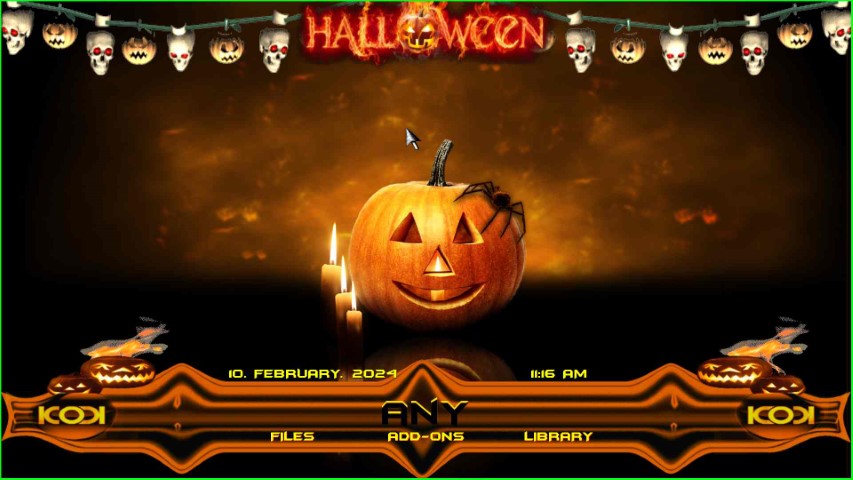
Halloween is a small (24 MB) Kodi Build that contains a huge library of movies and TV shows. Additionally, the Build belongs to the popular Doomzday Wizard repository, which has a variety of Builds similar to Halloween.
Some of the top Builds are The Munsters, The Dark Knight, Batman, Christmas, Compact Build, etc. Moreover, the Build dashboard is well arranged with date, time, navigating sections, and an attractive color theme.
Installation Steps
Some of the required steps to install the Halloween Build on Kodi Windows are as shown below:
Enable Unknown Sources
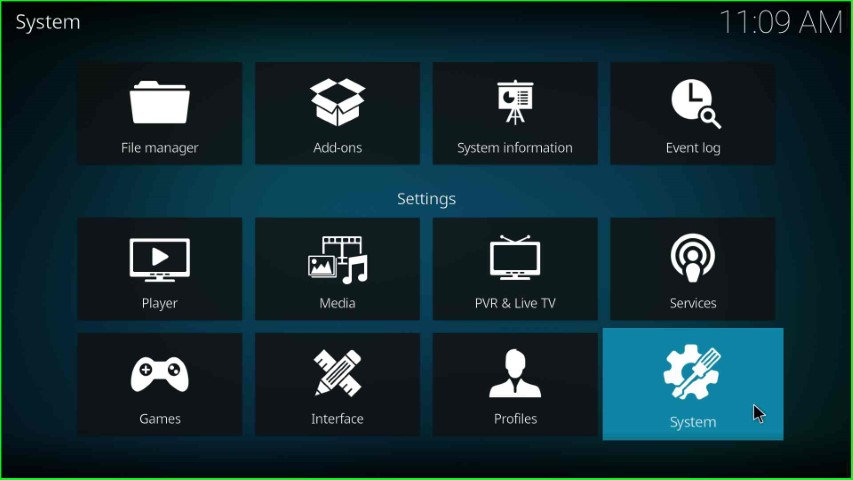
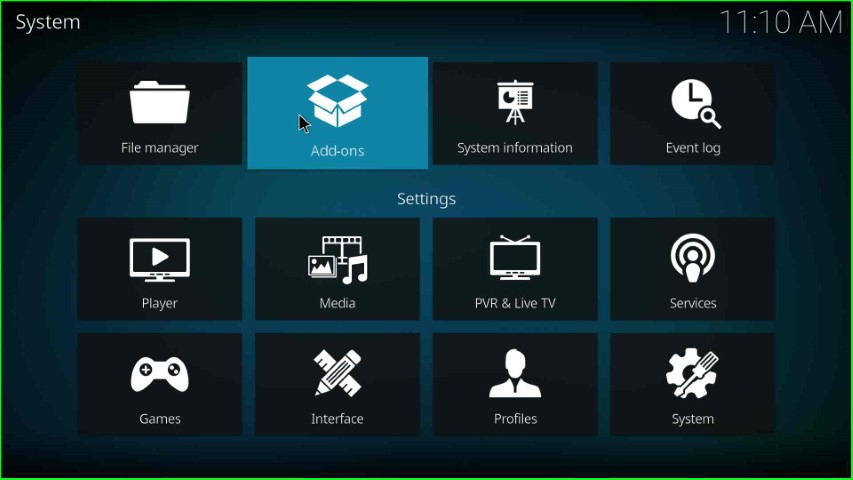
Go to Kodi Windows and tap on the Settings sign.
Here, click on the System icon as shown on the right-bottom corner of the page.
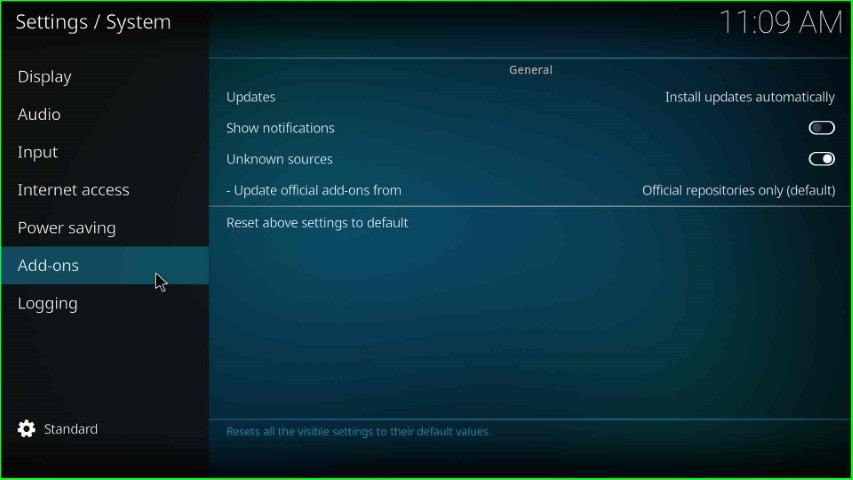
Now, choose the Add-ons option from here.
Slide the right button on the Unknown Sources button to turn it on.
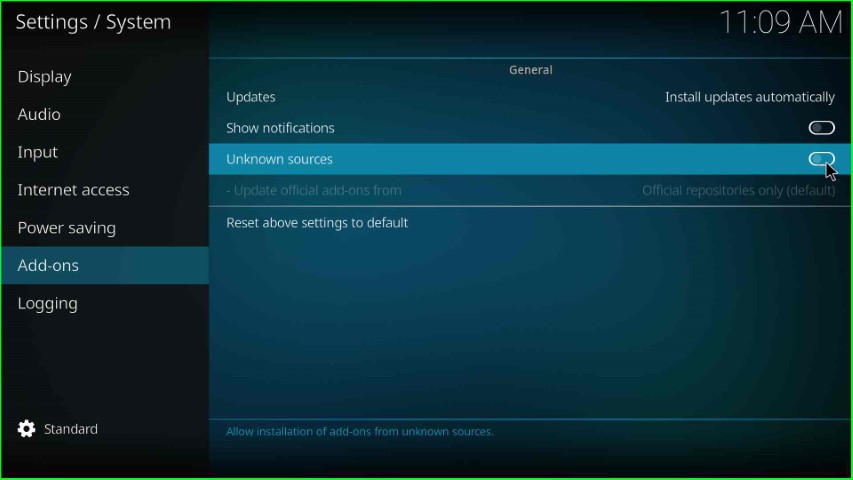
Tap Yes to allow Kodi to allow an unknown source installation.

Add Media Repository and URL
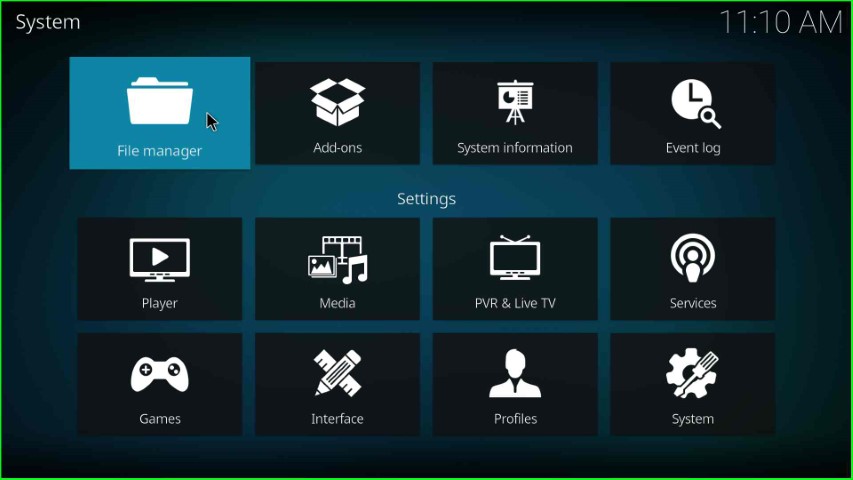
Return to the System Settings screen and choose the File Manager sign.
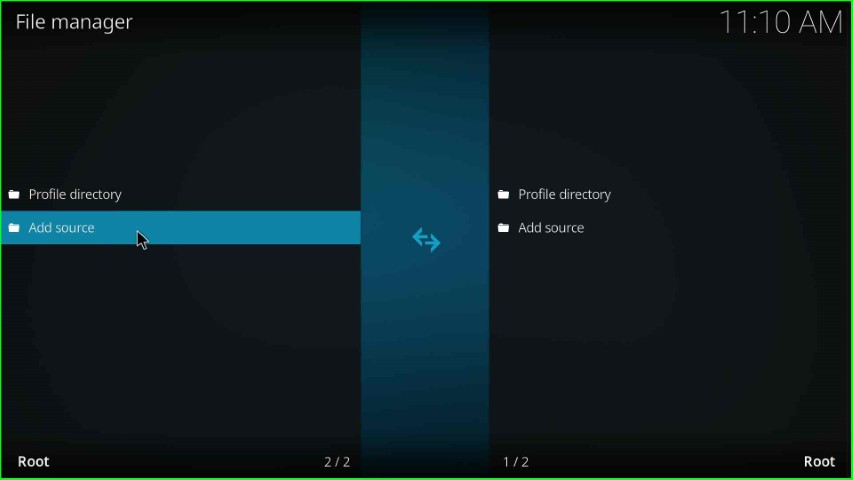
Double-tap on the Add source option to add the source for the media repository.
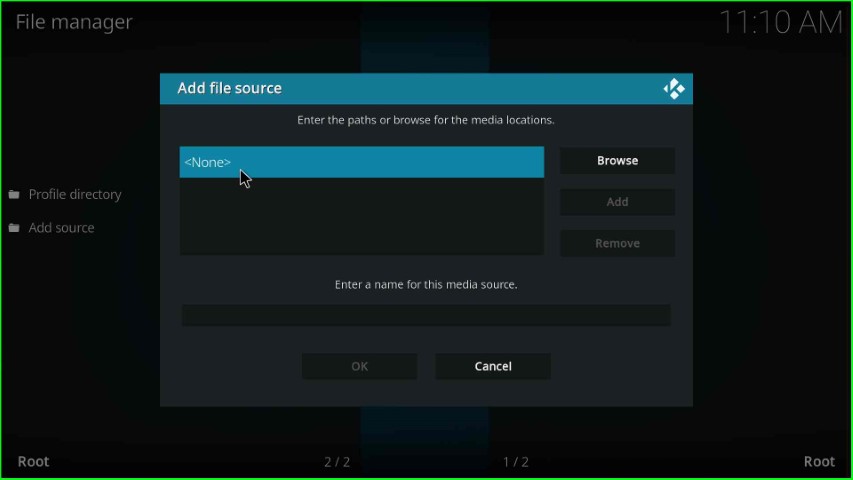
Hit the highlighted option, <None>.
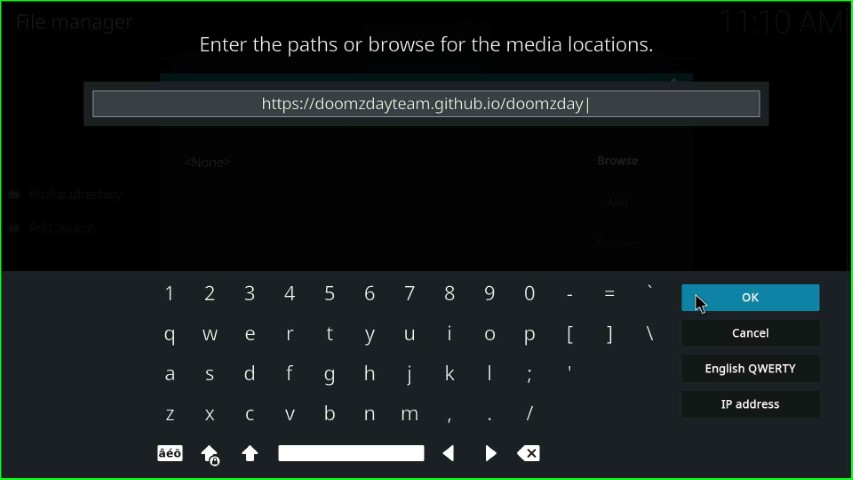
Type the repository URL here: https://doomzdayteam.github.io/doomzday, and choose the OK button.
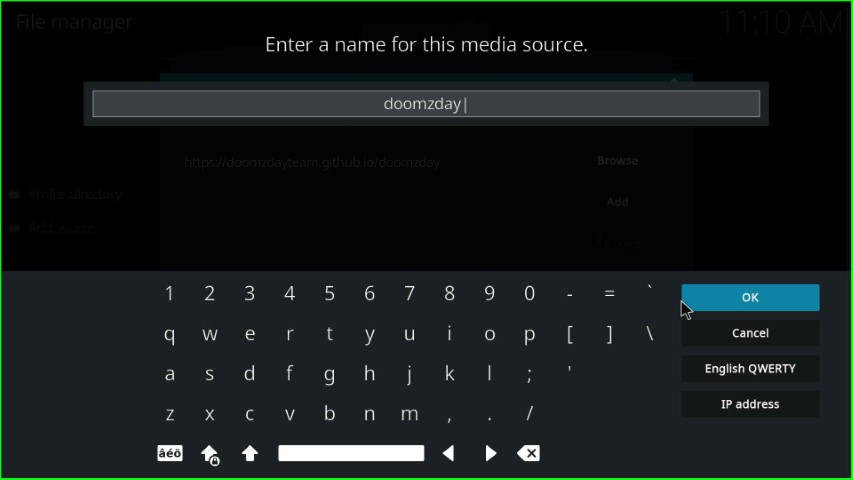
Thereafter, select the media source label text.
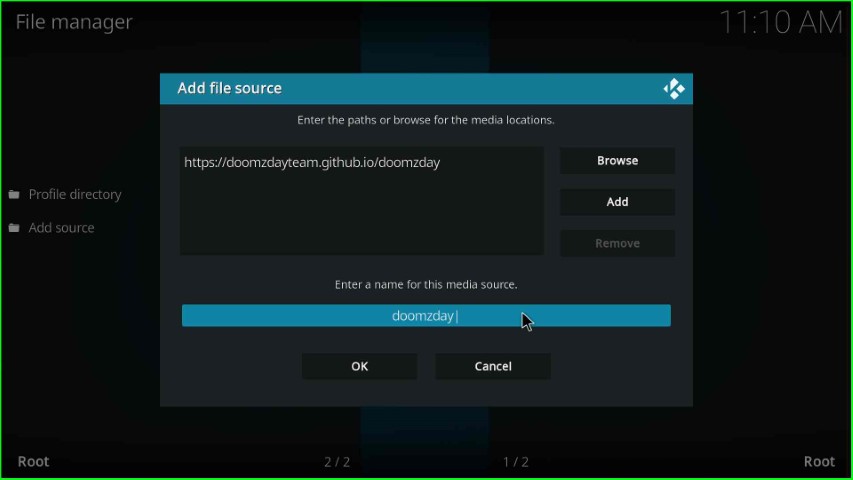
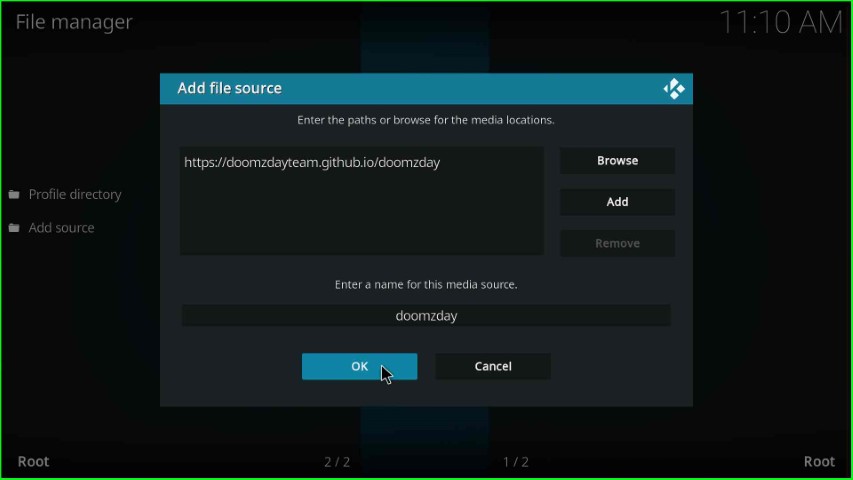
Here, you can see the already-written name, doomzday, and press the OK key.
Now, check all the details once and hit the OK button.
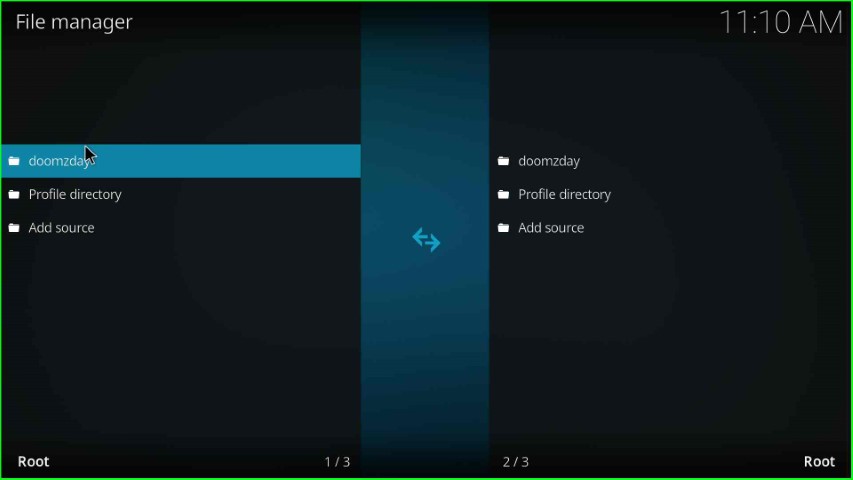
On the File Manager page, you can see your recently added media source.
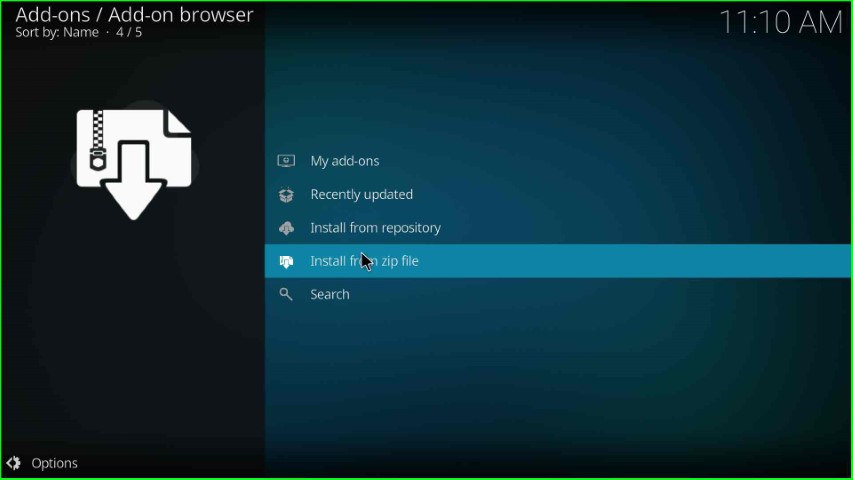
Install from Zip File
Go back to the System screen and click on the Add-ons icon.
Select the Install from zip file option.
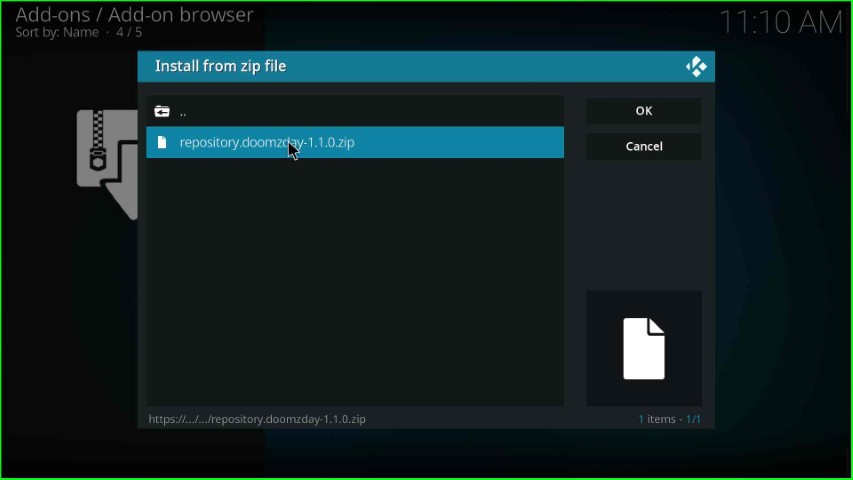
Choose doomzday media source as shown on the page.

Click on the repository.doomzday-x.x.x.zip file.
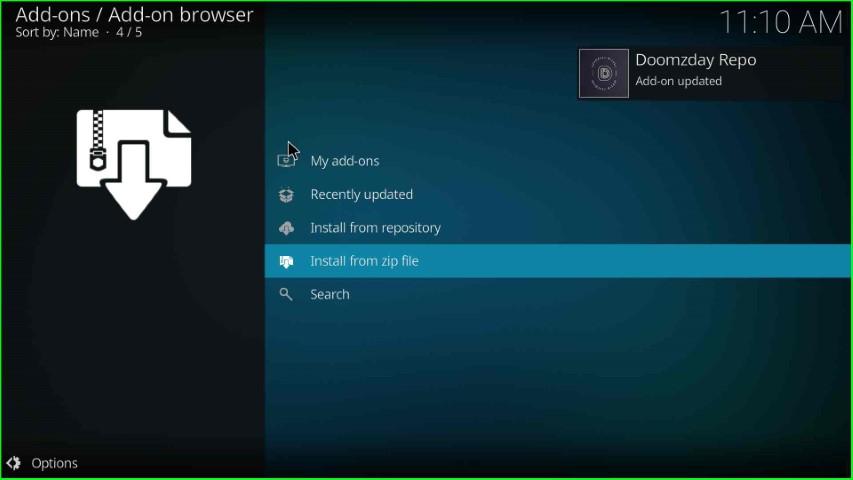
Wait for the installation message of the Doomzday Repo Add-on on the screen.
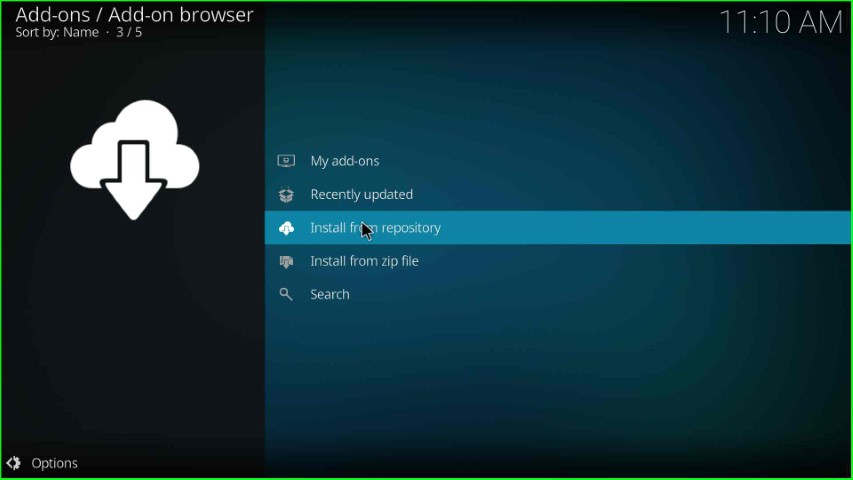
Install from Repository
Go ahead and select Install from repository.
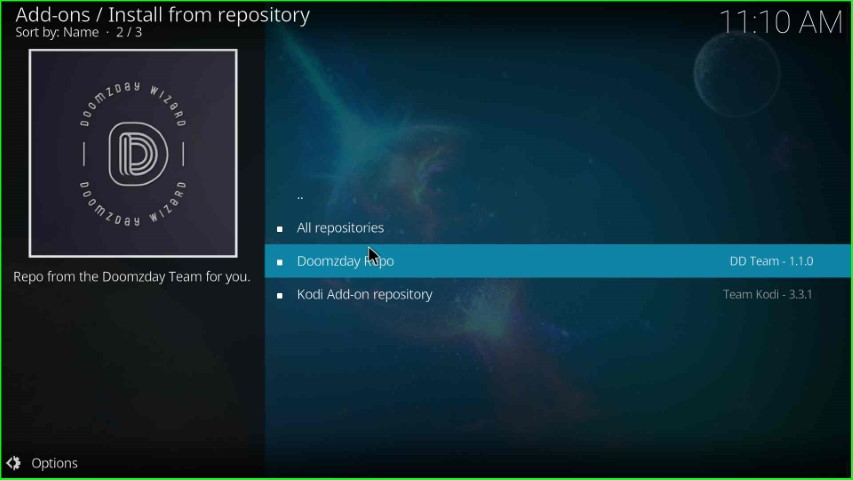
In this step, choose the Doomzday Repo.
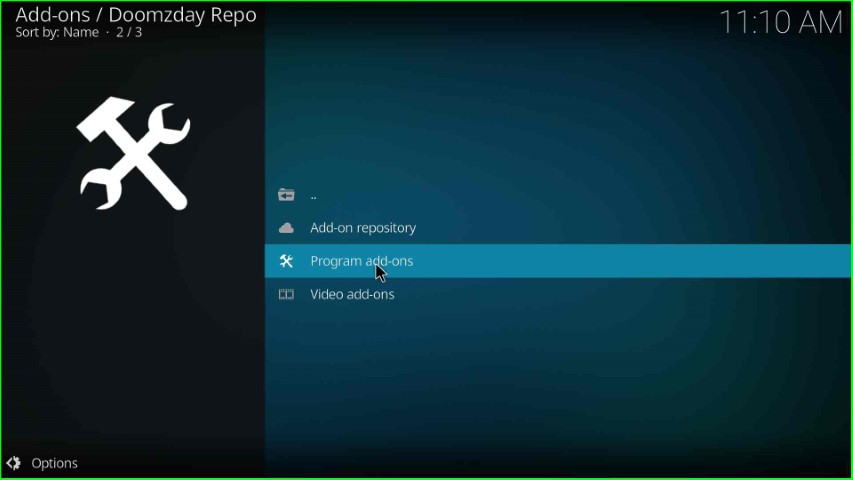
Install Doomzday Wizard
Hit the Program add-ons tab.
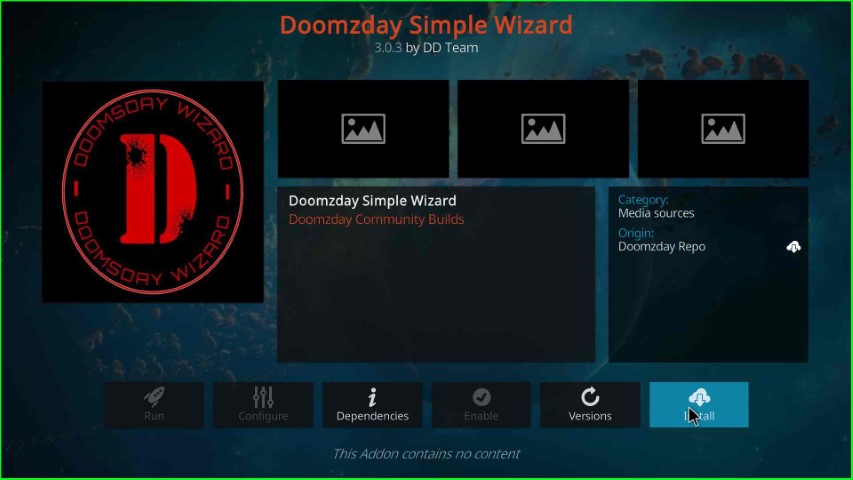
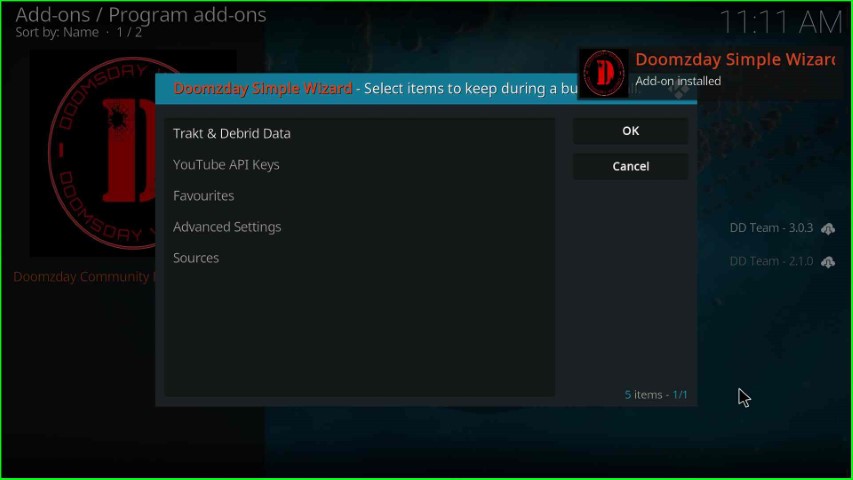
Select the Doomzday Simple Wizard.

Press the Install key.
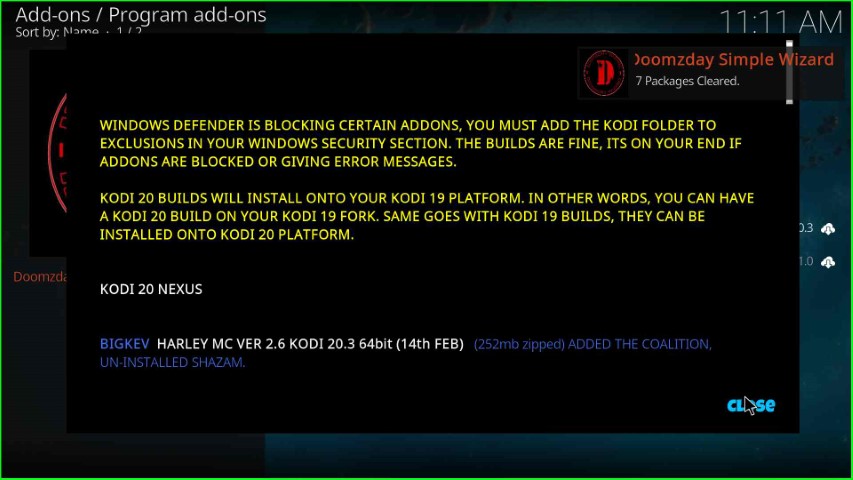
Wait until you see the Doomzday Simple Wizard Add-on installed message on the screen.
Press the Close button.
Install Wild West Kodi Build
Choose the Yes button to move ahead with the Build installation.

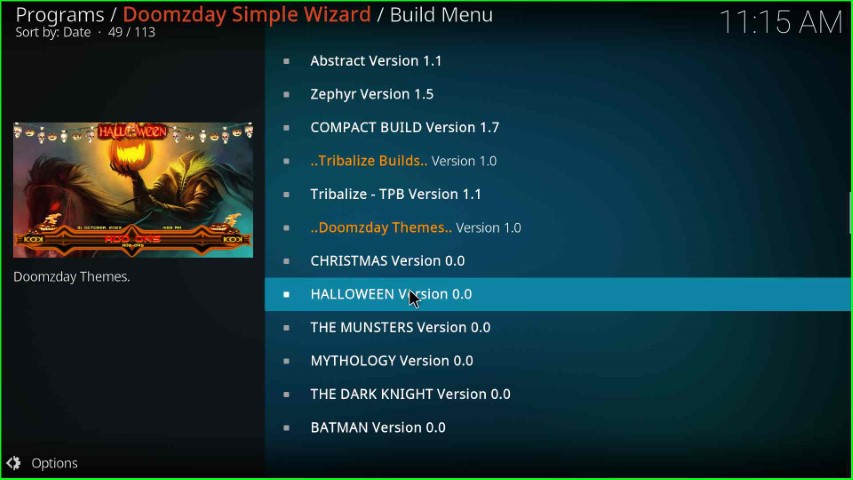
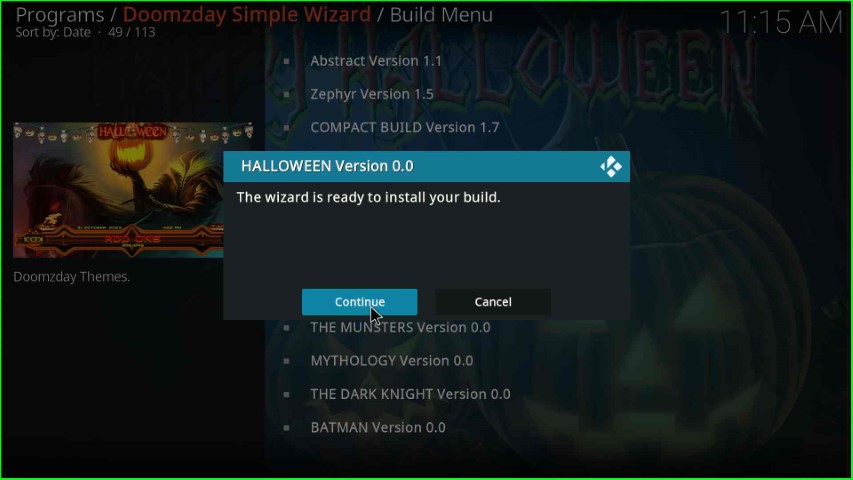
Here, scroll down and select the Halloween Version x.x.
Tap the Continue key to install Build in the Doomzday Wizard.
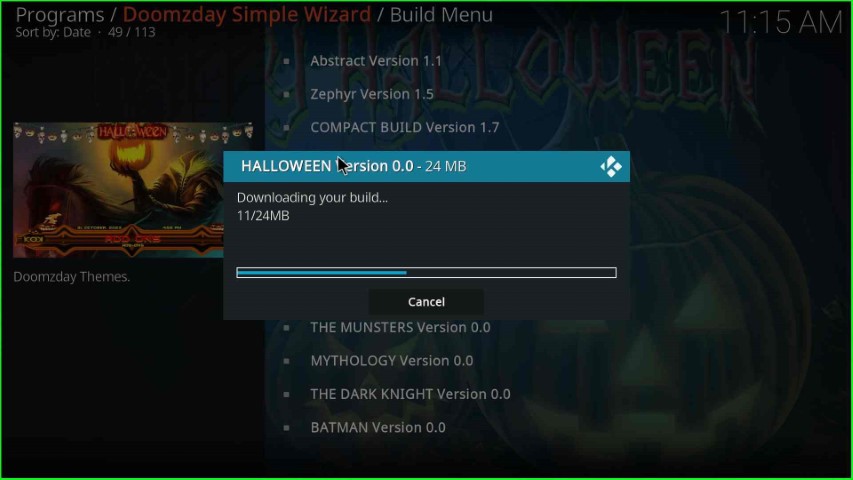
Wait for the download of the Halloween Build.
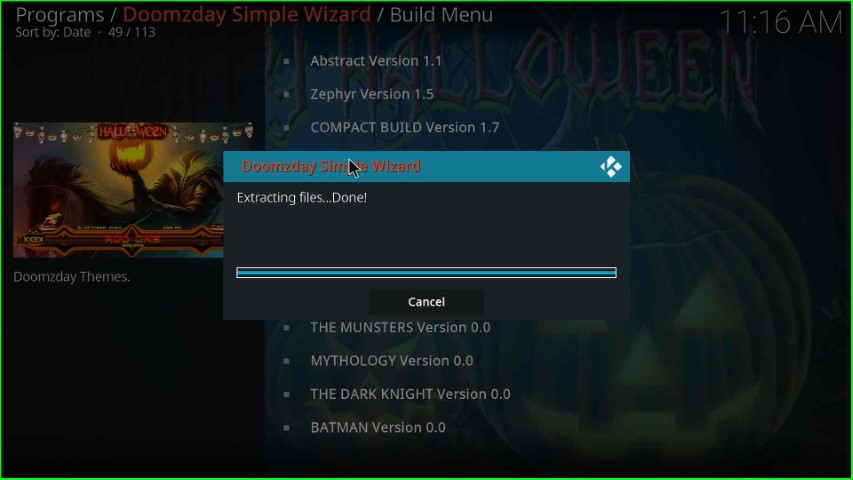
After some time, the Halloween Build was successfully installed on Kodi.
Close Kodi, open the Halloween Build, and enjoy the streaming.
Final Words
After reading the guide fully, I hope you understand the steps to install the Halloween Build on Kodi Nexus. Apart from that, if you find any difficulties while installing the Build, just drop your doubts in the comment section below.