Within the guide, we will discuss the steps to install Json IPTV addon on the Kodi. You can freely use these installation steps for other platforms like Mac, Android, Linux, iOS, Roku, Nvidia Shield, Firestick, and Chromecast.
Json IPTV is the latest Kodi addon that lets you stream content using the M3U/M3U8 links. In addition, the addon includes various sections to navigate, like the Site IPTV Menu, JSON IPTV Menu, Personal Menu, Site Music Menu, and Tools Menu.
Also, the addon belongs to the well-known Jewbmx Repository. Its main alternative is Scrubs v2. Besides that, it has a simple interface, and all content is well-formatted.
Installation Steps
Enable Unknown Sources
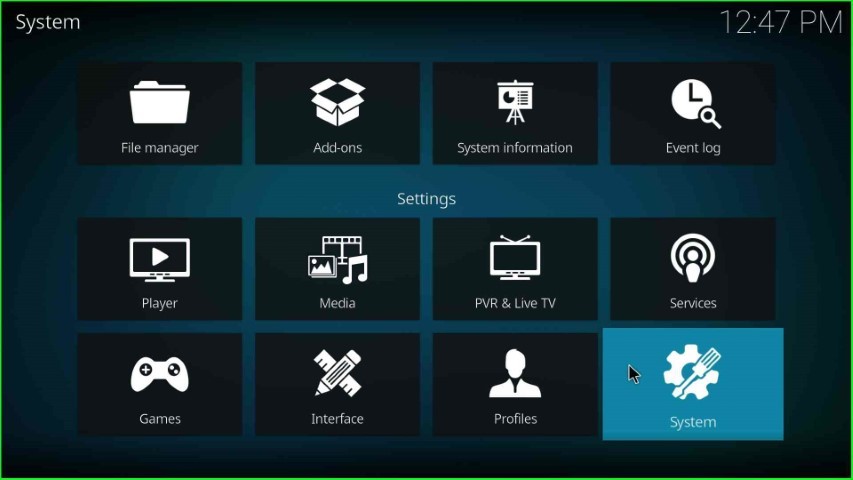
Go to the Kodi Home screen and select the middle sign, Settings.

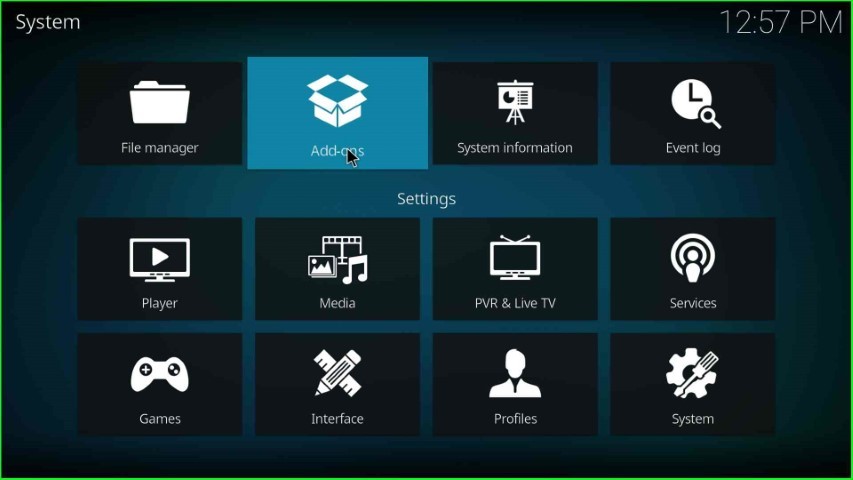
Tap on the System sign located at the bottom of the screen.
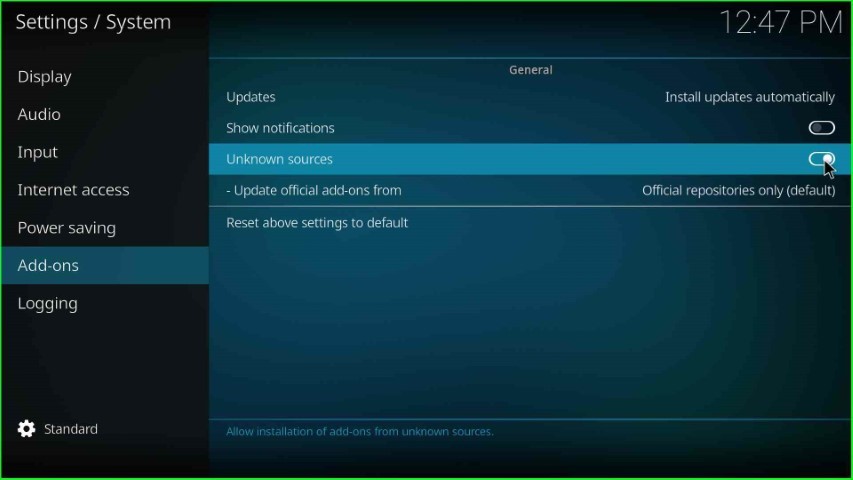
Select Add-ons and enable the Unknown sources sign.
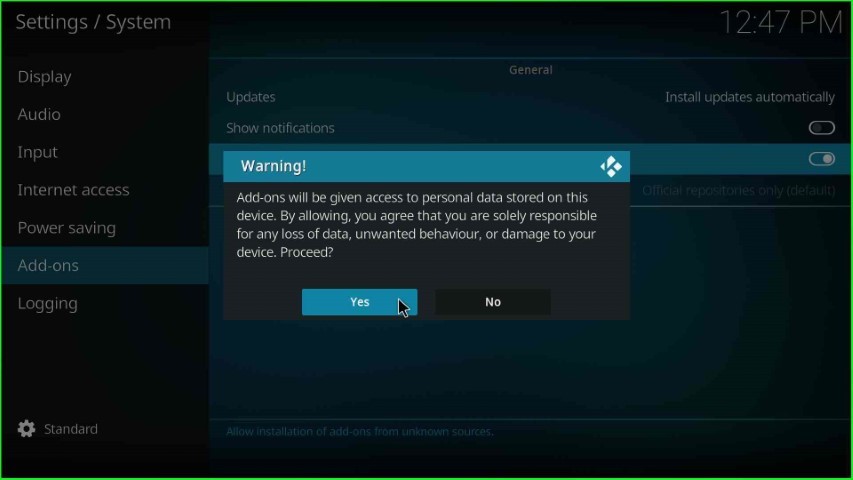
Hit the Yes button to agree with the warning message.
Add Media Source and Repository URL
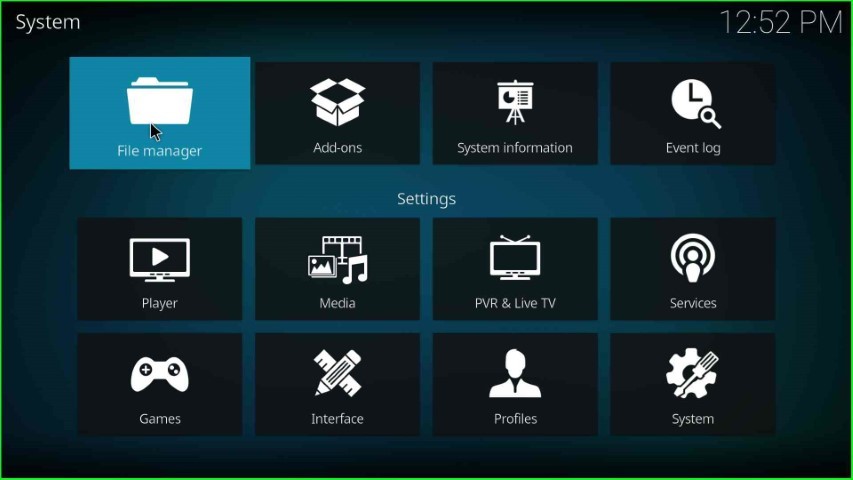
Go to Kodi Settings and open the File manager key.
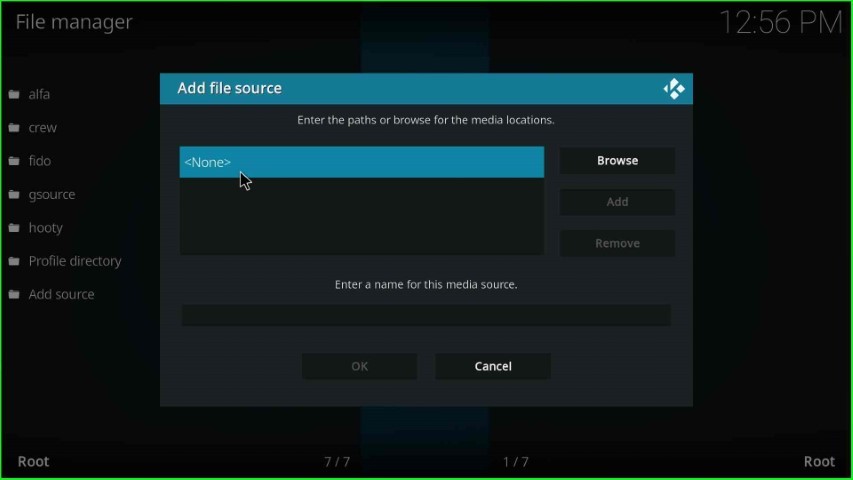
Now, tap on Add source to add a media source for the addon.

Click on the <None> option as listed in the Add file source window.
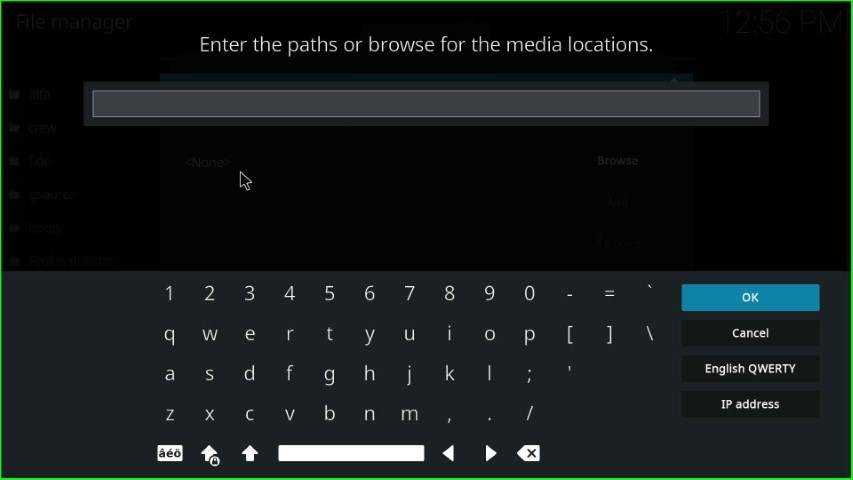
After that, you will see the path for the media location screen, where you need to enter the repository URL.
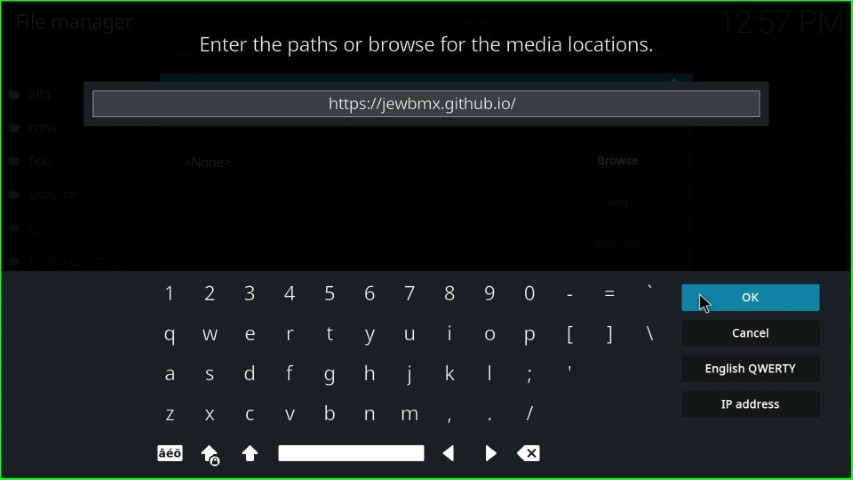
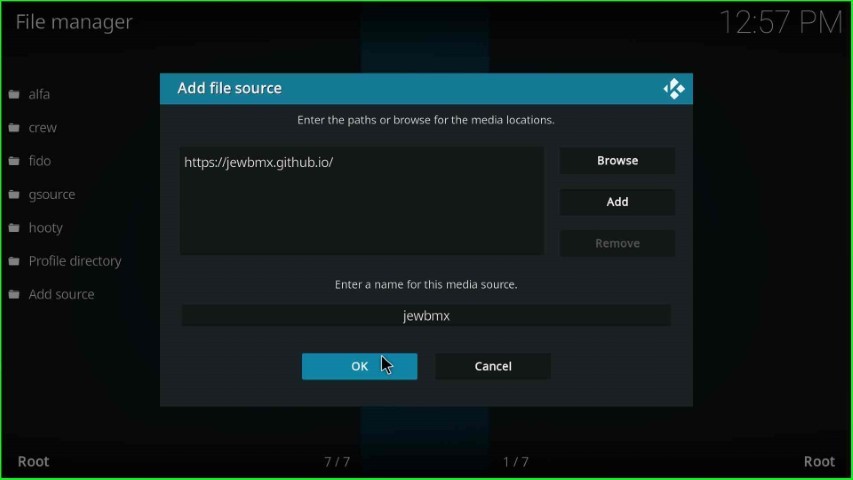
Here, just enter the repository path as https://jewbmx.github.io/ and press the right side button, OK.
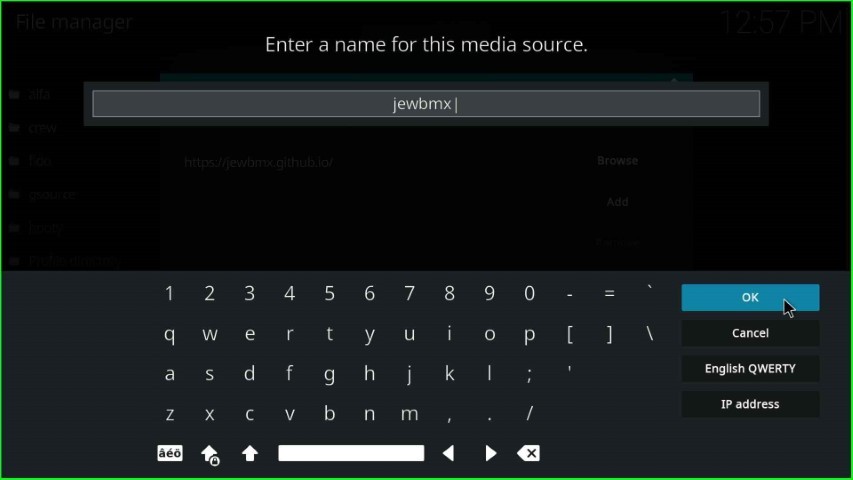
Go to the media source text box to give the unique name to the media source.
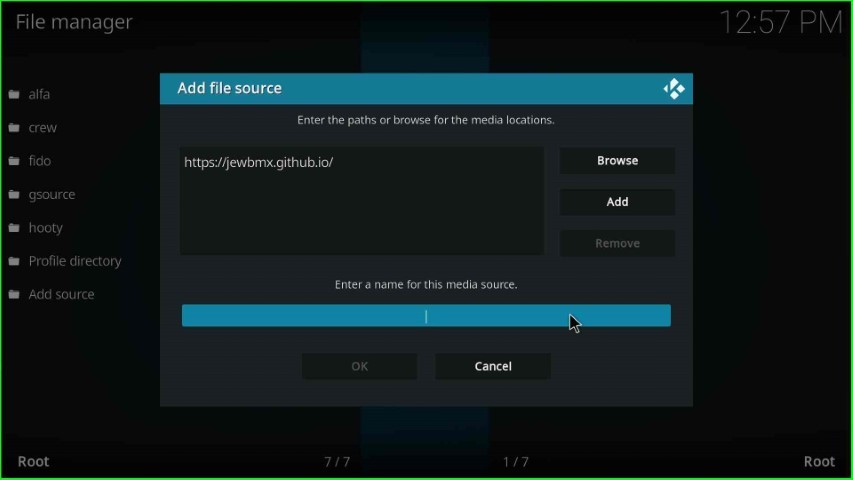
Write the media source name, jewbmx, and click on the OK toggle.
Again, check the written details, i.e., media path and name. Thereafter, select the OK button.
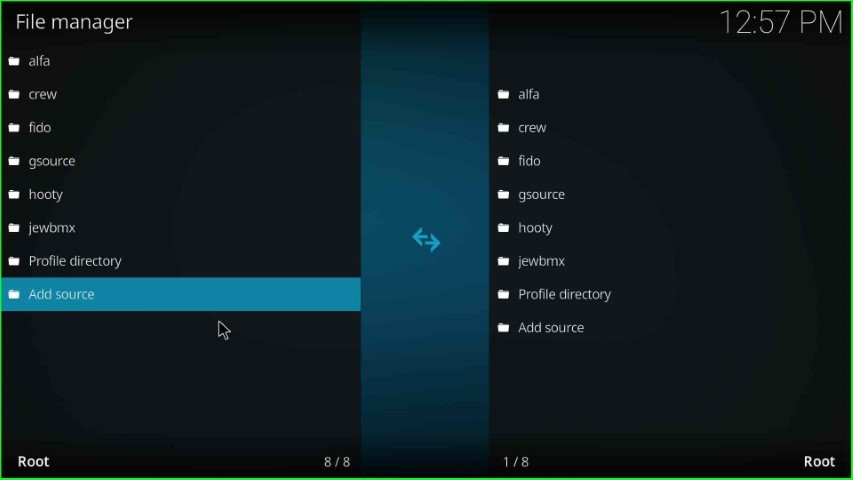
You can see jewbmx source just before the Profile directory.
Install from Zip File
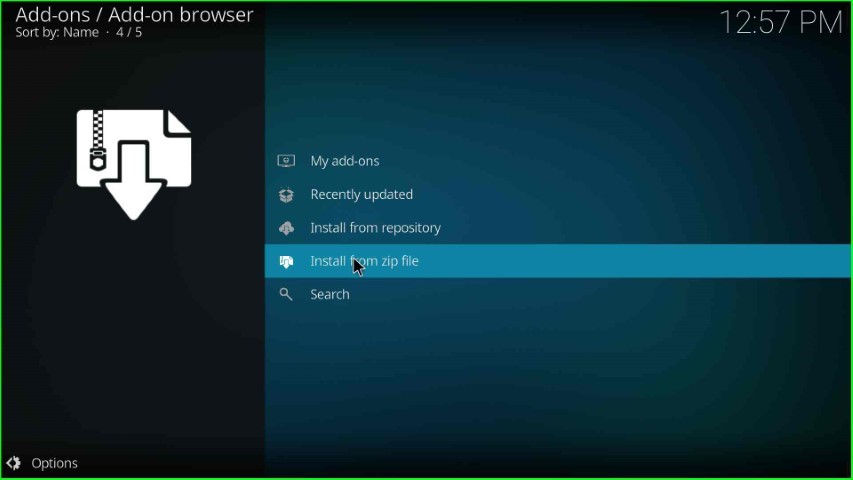
Press the ESC key to go back to the System window, and now click on the Add-ons key.
Choose Install from zip file option.
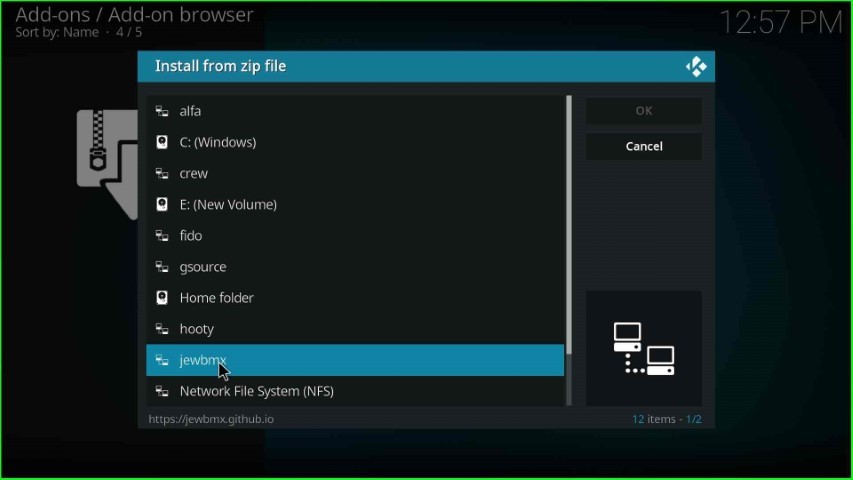
Click on the jewbmx media source.
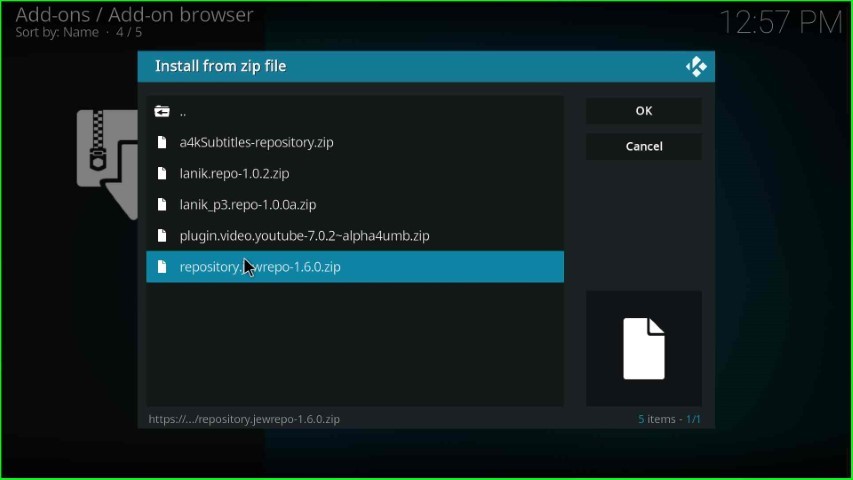
Select the repository.jewrepo-x.x.x.zip file.
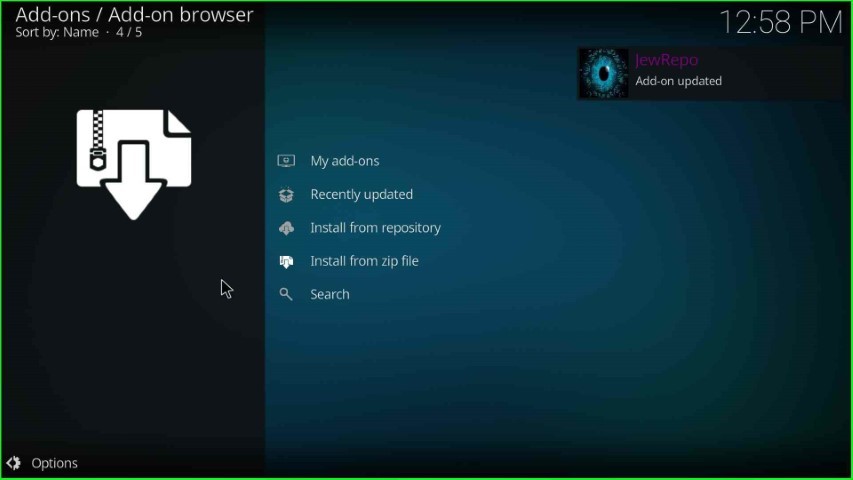
Wait for the installation notification, jewRepo Add-on installed on the screen.
Install from Repository
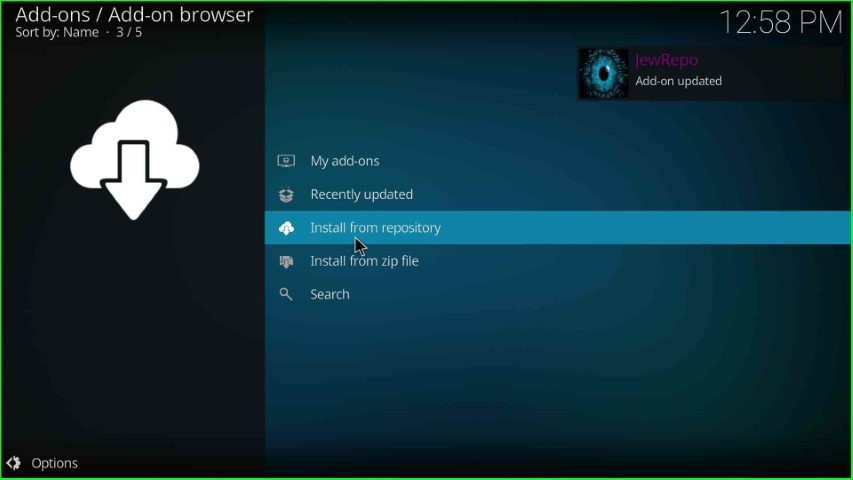
Now, select the next tab, Install from repository.
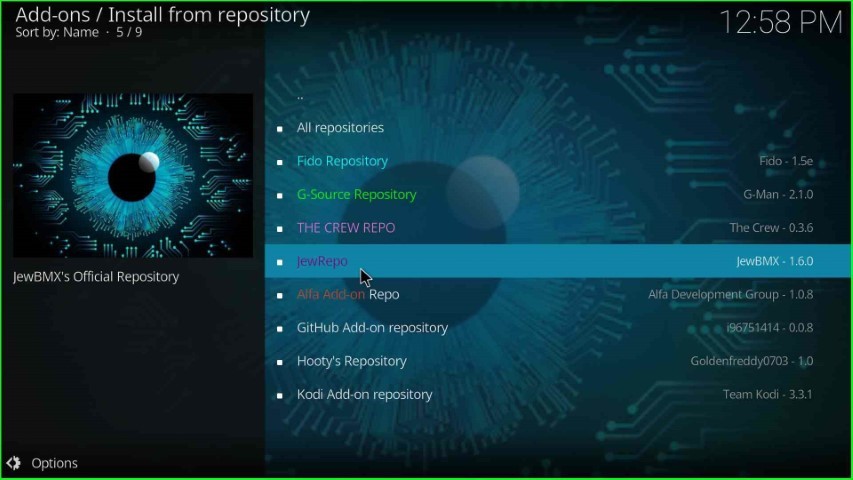
Here, you can see jewRepo, just select it.
Install Json IPTV Addon
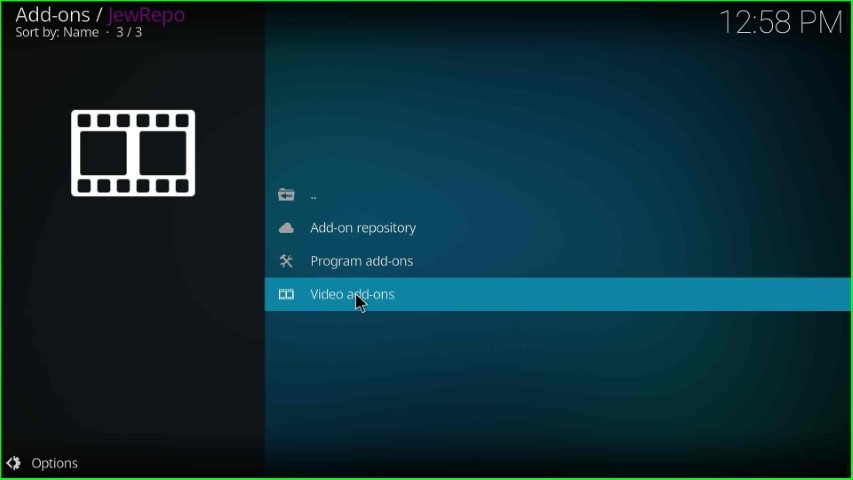
Go to the Video add-ons option.
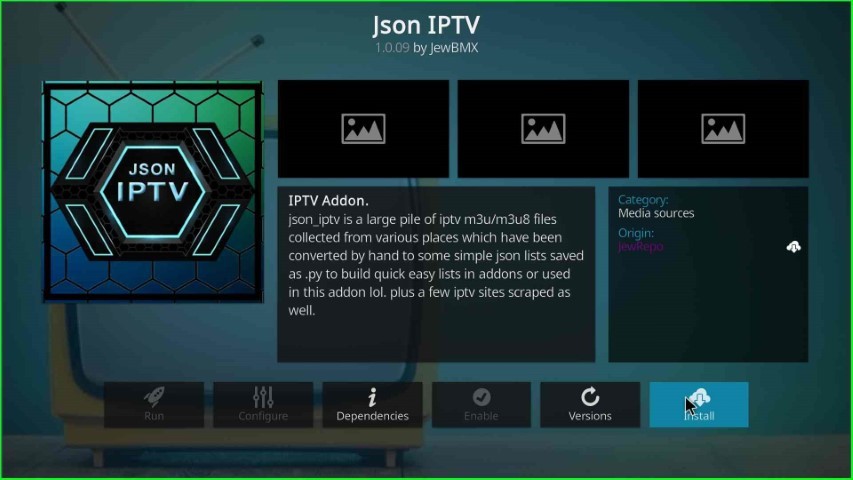
Select Json IPTV addon.
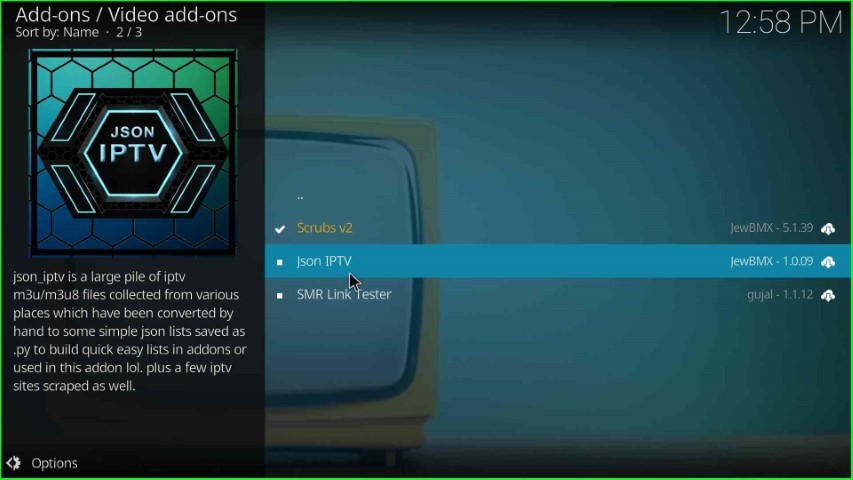
Click on the Install button.
The Json IPTV Add-on installed message appears on the Video add-ons page.
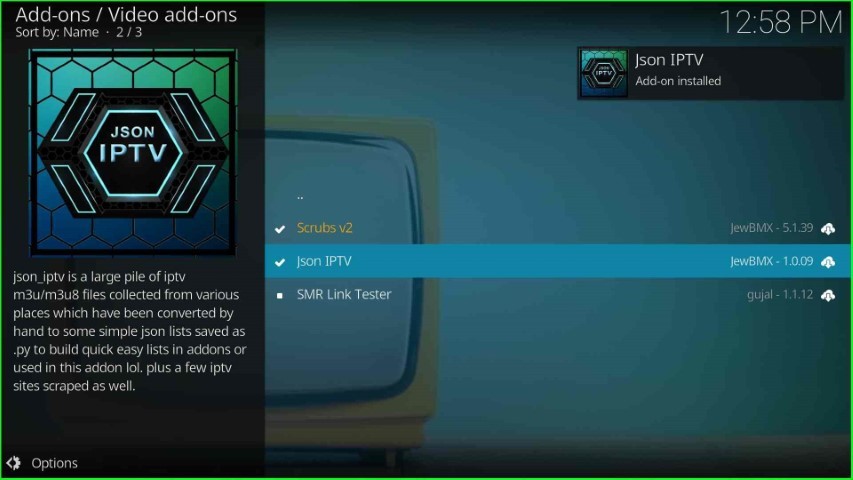
Now, choose the Json IPTV addon and stream your favorite shows.

Final Words
At last, we have listed all the information regarding how to install the Json IPTV addon on Kodi. So, start the installation process on your device using the above steps and share your experience about how you like the article.
