Within the article, I will discuss the basic steps to install Mega IPTV addon with screenshots. You can also use these steps on Firestick, Android, Chromecast, Nvidia Shield, Roku, iOS, Mecool Boxes, Apple TV, Raspberry Pi, etc.
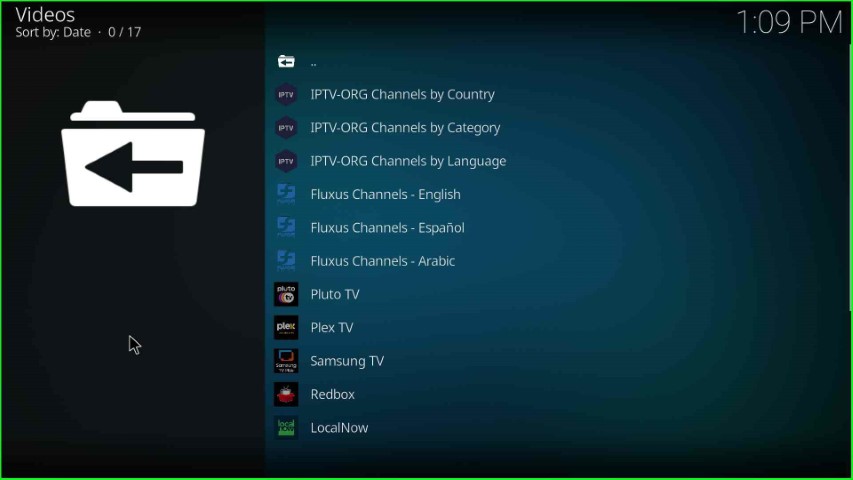
Mega IPTV is the live IPTV addon available on the G-Live repository. Here, you can look for 30,000+ channels sorted according to country, language, and category.
Also, it contains different streaming services like Pluto TV, Plex TV, Samsung TV, and Tubi that work without buffering. Additionally, the addon also provides access to the popular Fluxus IPTV playlist.
Installation Steps
Following are the steps to install Mega IPTV addon on Kodi:
Enable Unknown Sources
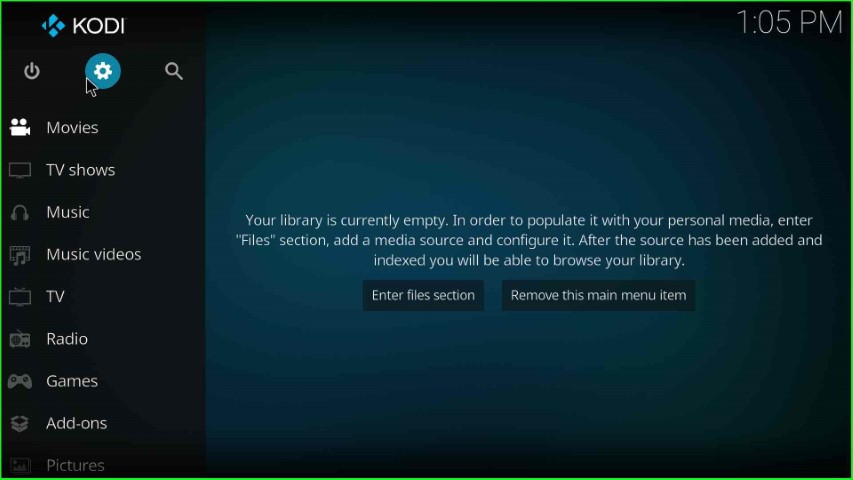
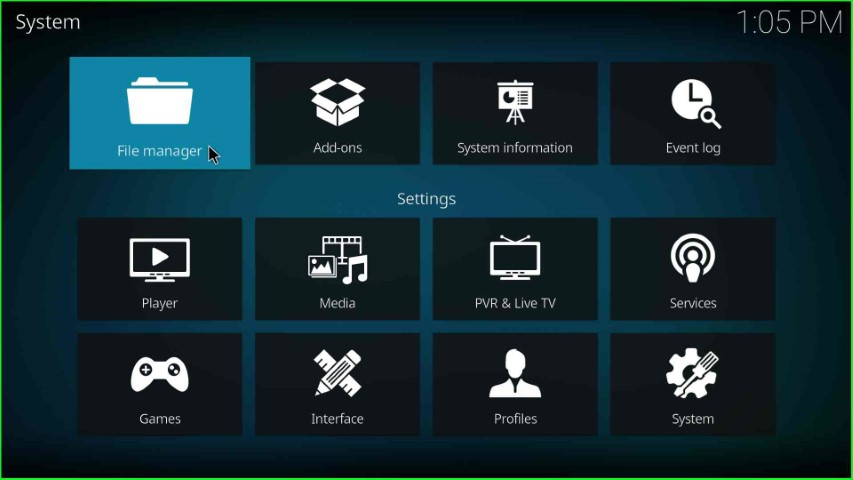
Start the Kodi screen and select the middle cog icon, Settings.
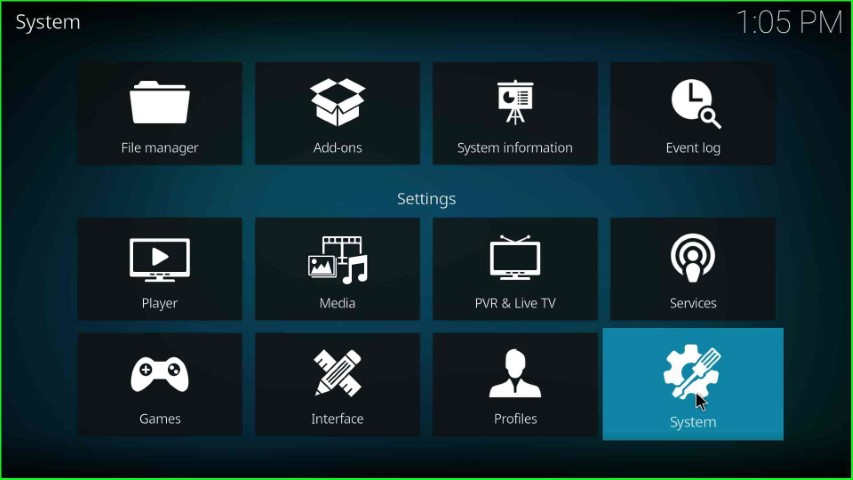
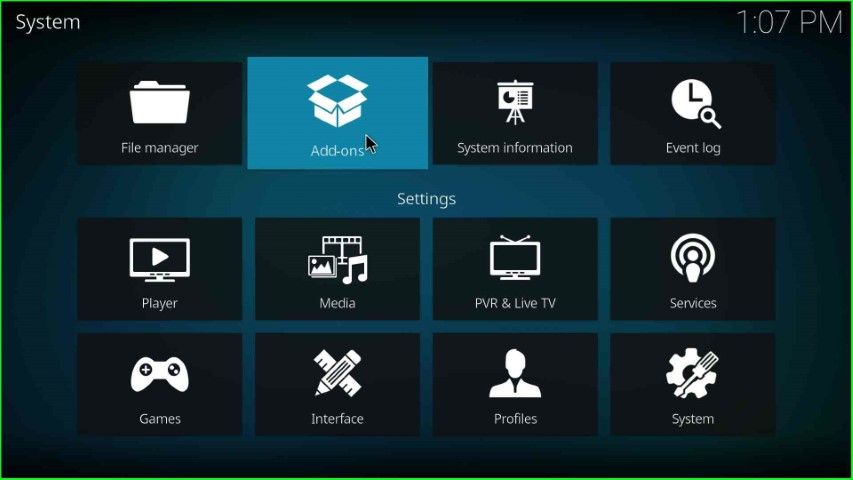
Choose the last icon, System.
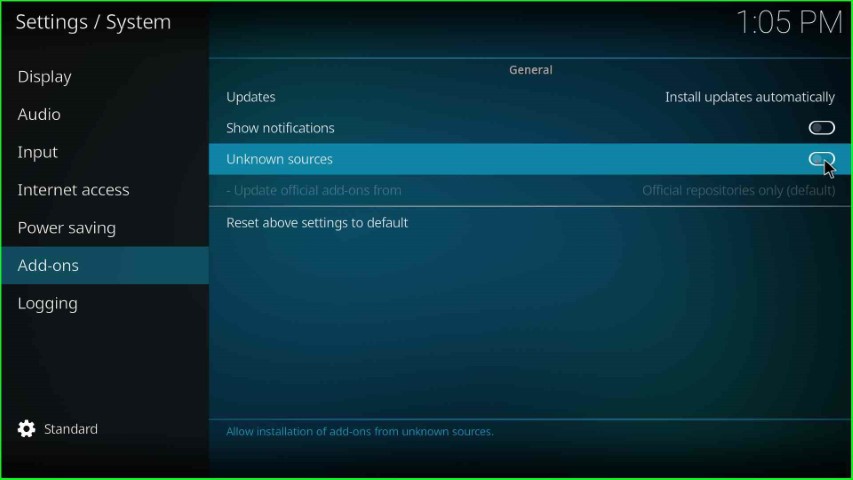
Tap on the Add-ons option from the left side of the page.

Now, turn on the Unknown sources key.
Hit the Yes key that appears in the warning box.
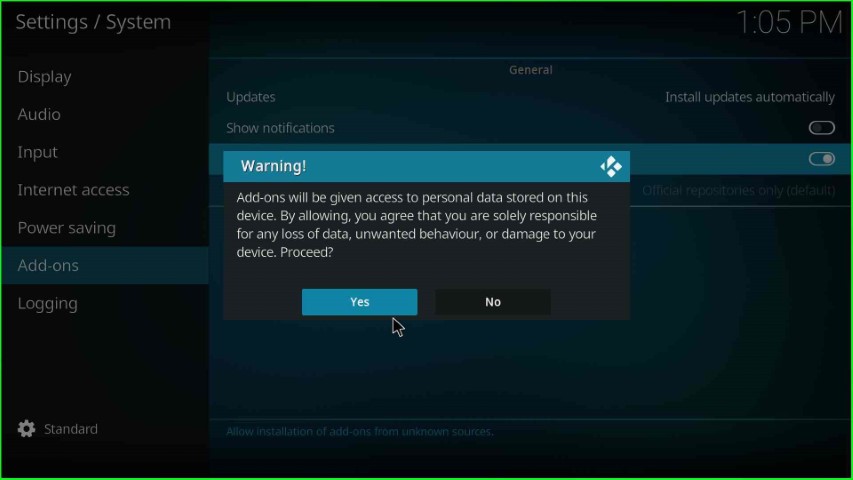
After clicking Yes, the unknown sources key was enabled successfully.

Add Media Source Repository and URL
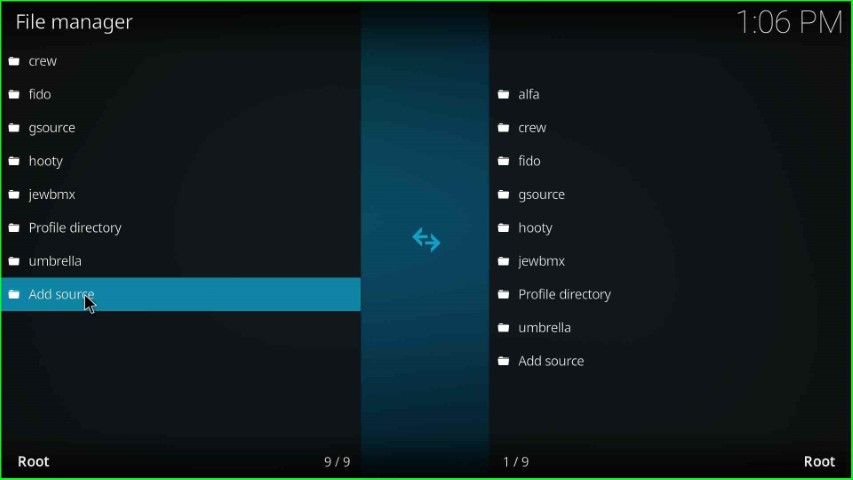
Go to the System screen and select the File manager tab.
Click on Add source to add a media repository URL.
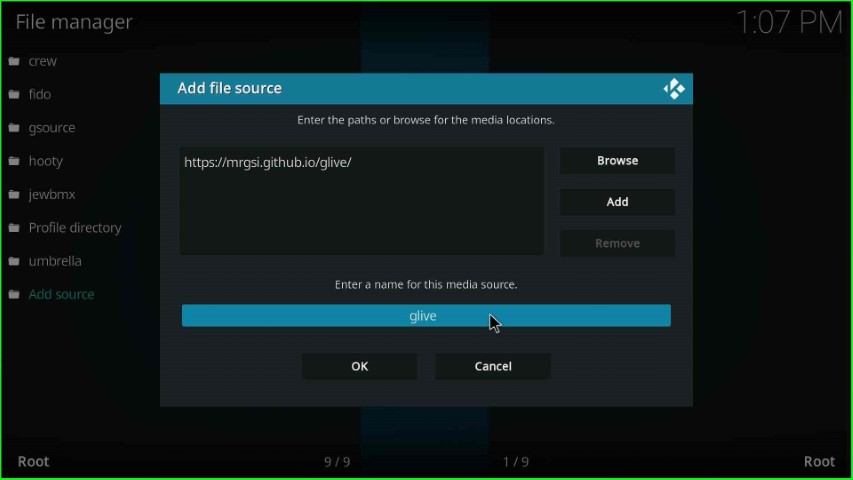
The Add file source window appears here; tap the <None> button.
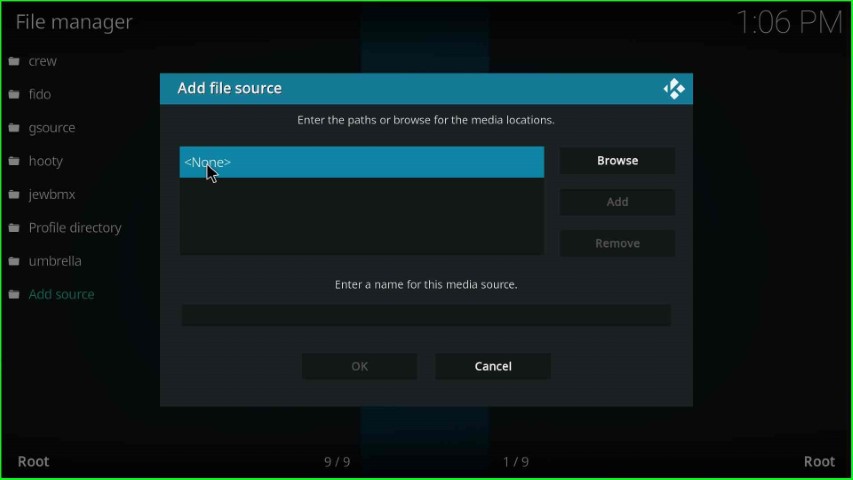
As you click on None, the page redirects you to the enter the media repository URL.

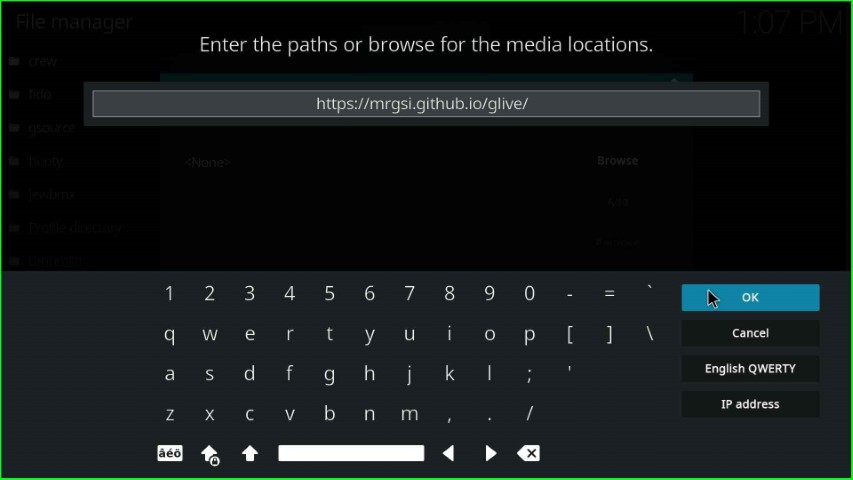
Write the media location path: https://mrgsi.github.io/glive/, and press the OK button.
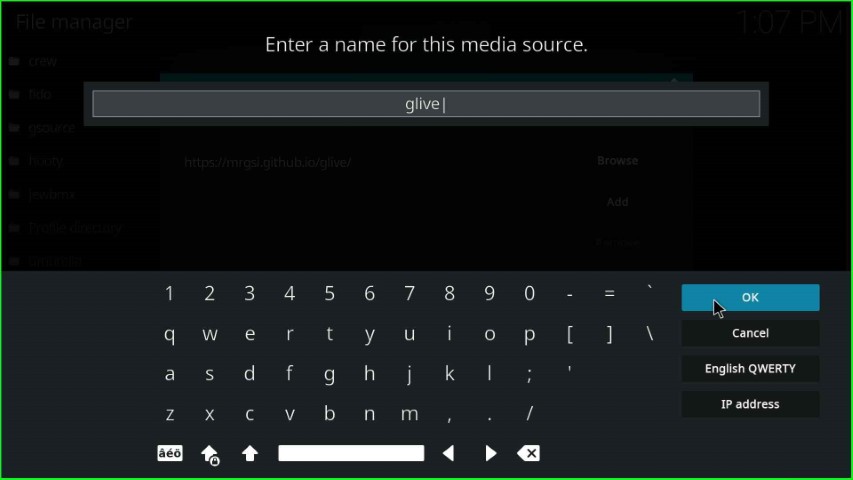
Click on the media source name text box.
Here remains the media source name: glive and hit the OK key.
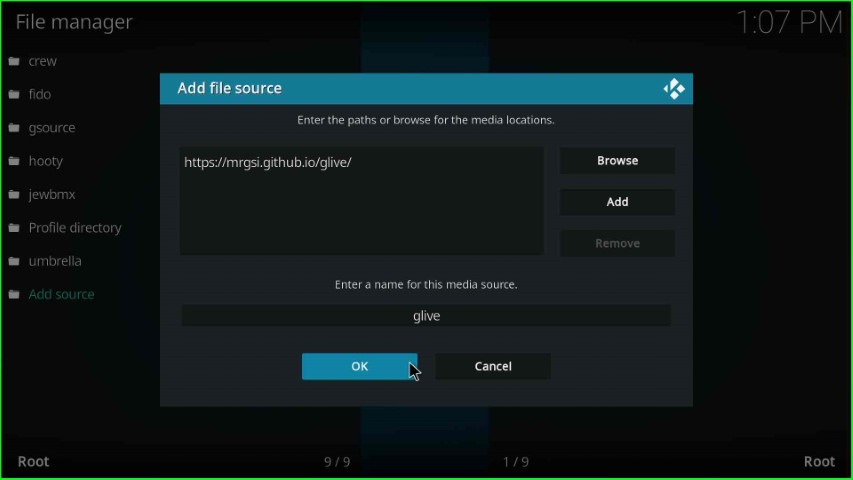
Recheck the written details and click on the OK key.
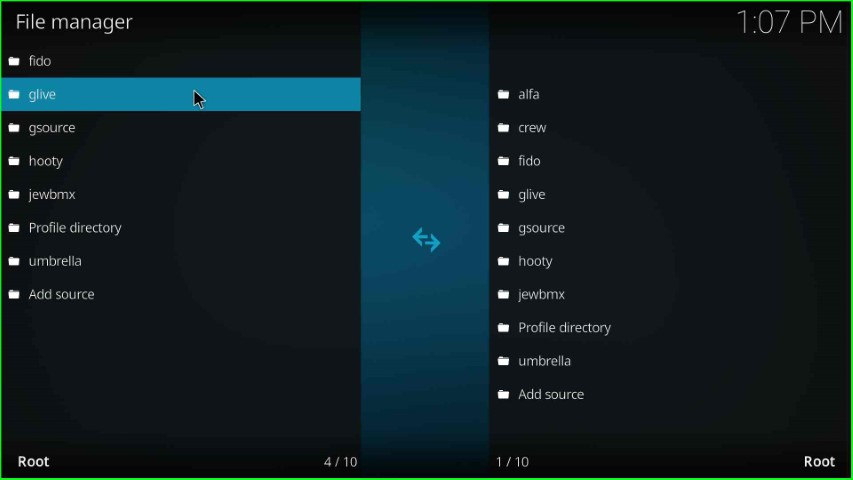
glive source added successfully on the File Manager page.
Install from Zip File
Go back to the System page and select the Add-ons sign.
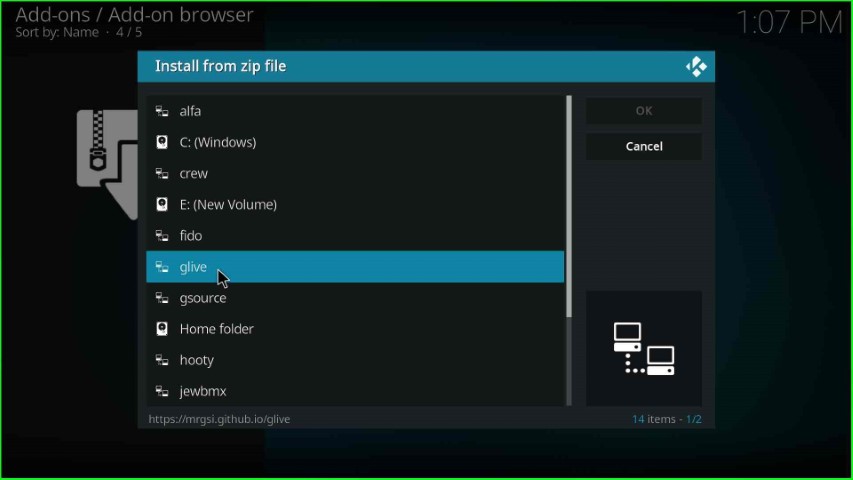
In this step, choose the Install from zip file option.

Click on the glive media source.
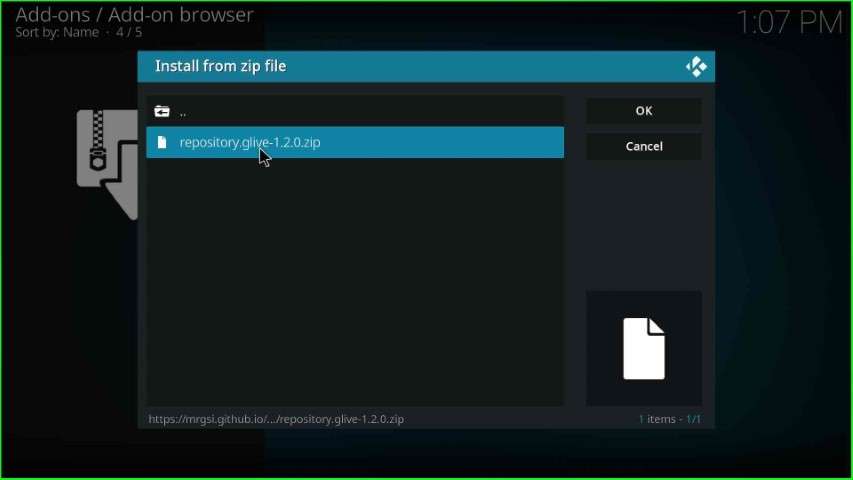
Select the repository.glive-x.x.x.zip file.
On this page, you can see the message: G-Live Repository Add-on installed.
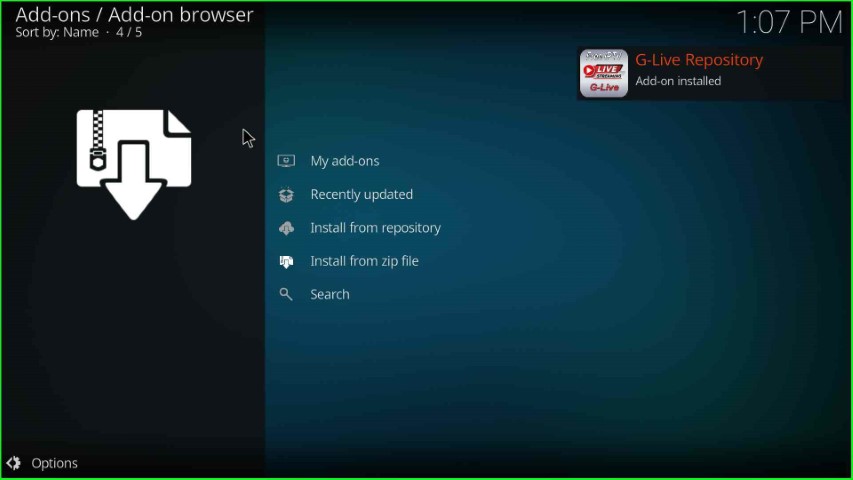
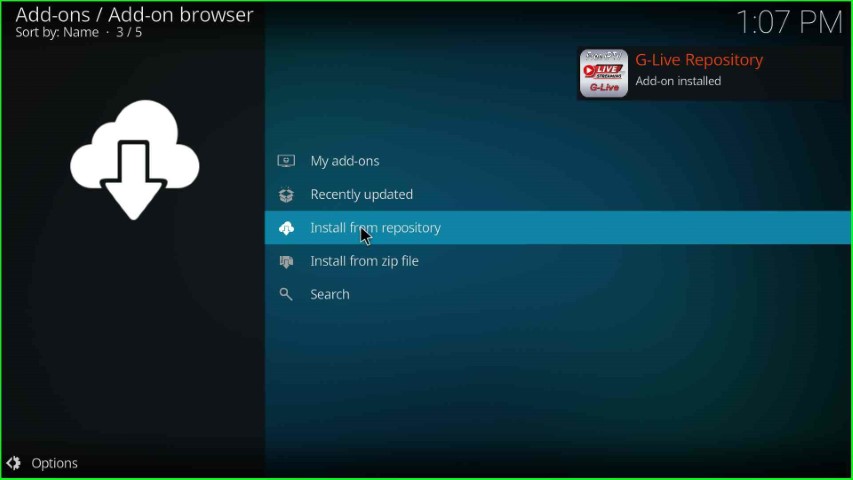
Install from Repository
Go ahead and choose the next option, Install from repository.
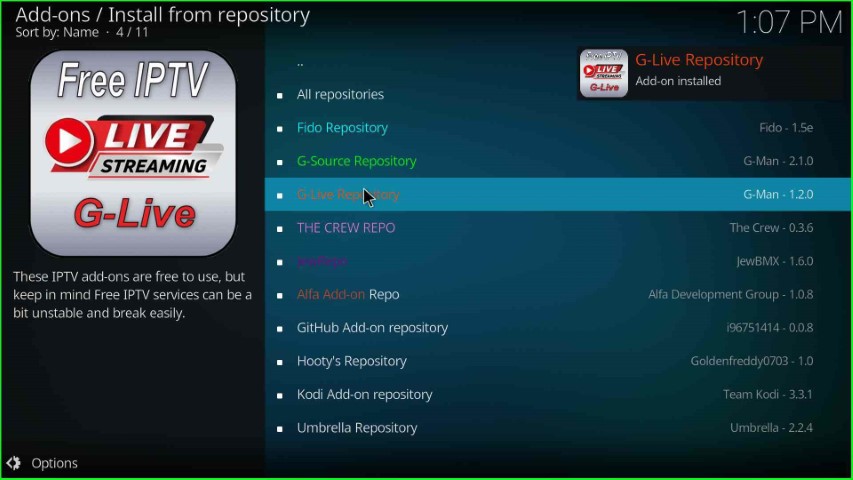
Select the G-Live Repository from here.
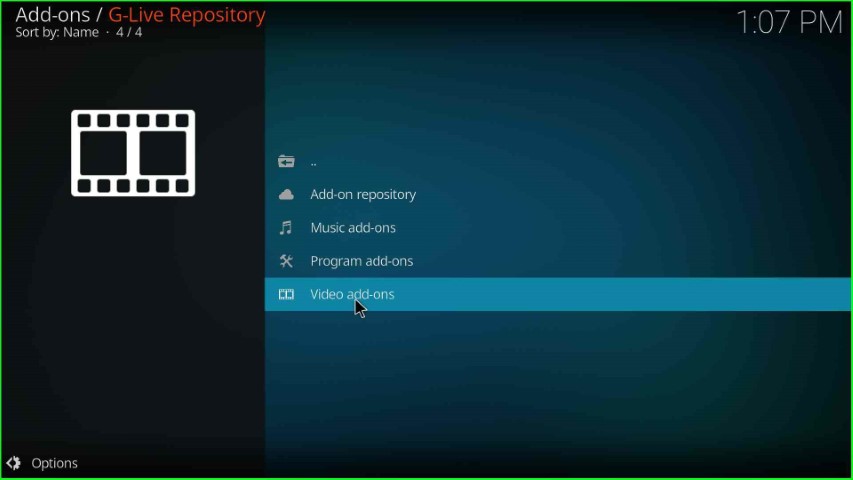
Install Mega IPTV Addon
Click on the last option, Video add-ons.
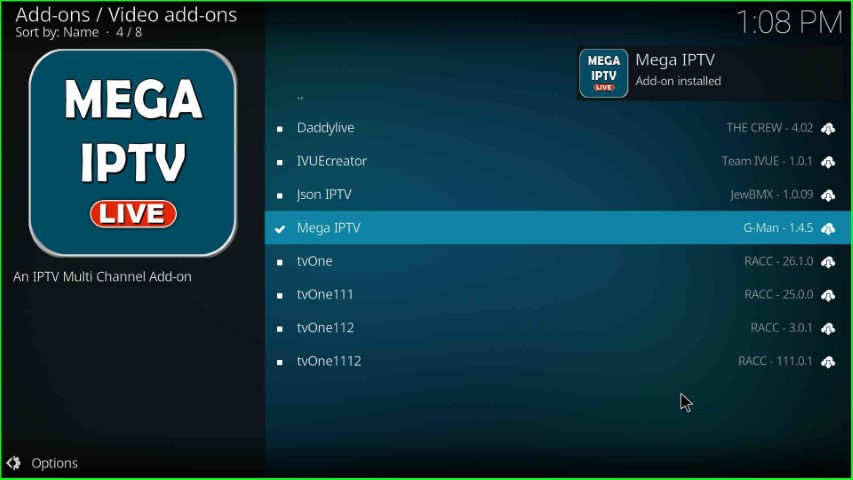
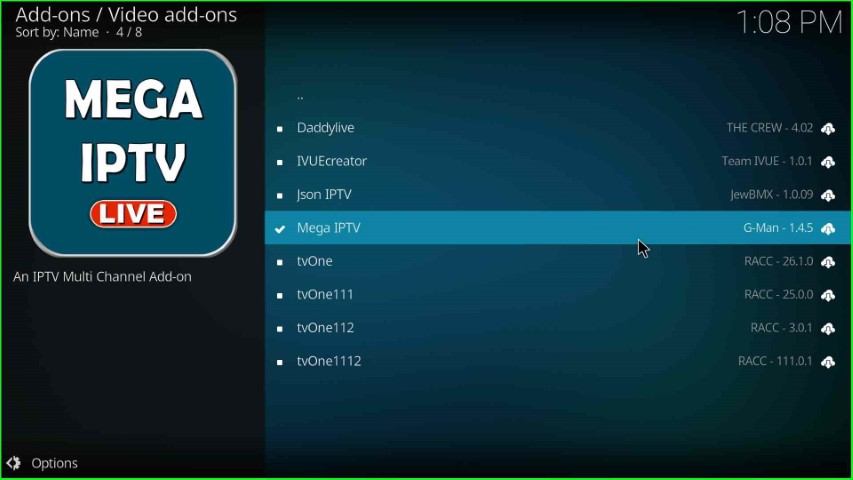
Choose Mega IPTV from the list of video add-ons.

Press the Install key.
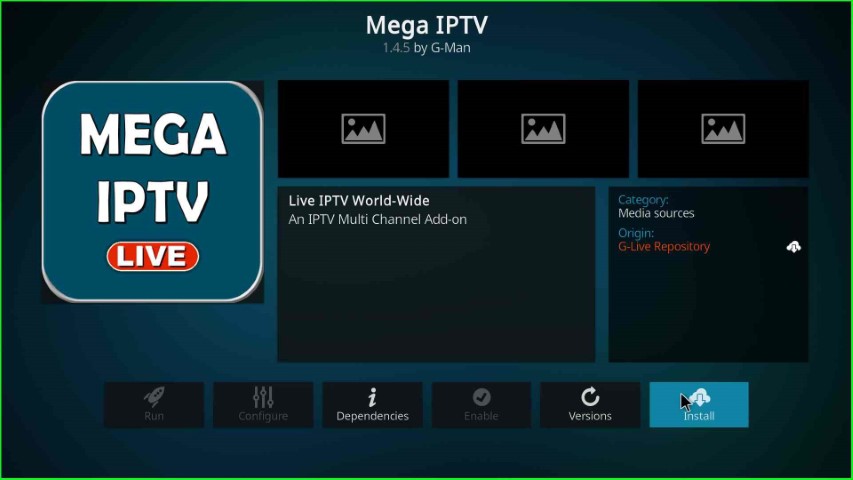
Wait until the Mega IPTV Add-on installed notification appears on the screen.
Launch Mega IPTV Addon
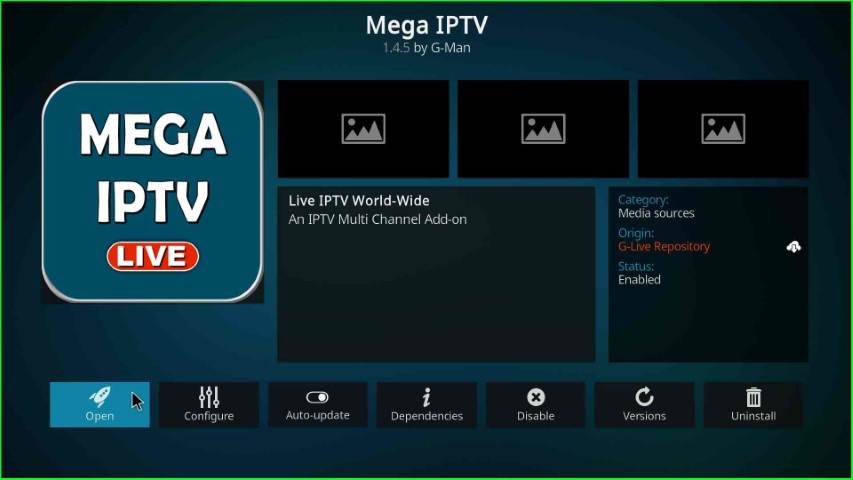
After installation, again tap on the Mega IPTV.
This time, click on the Open button.
The Mega IPTV home page appears with different navigation sections.
Final Words
Overall, Mega IPTV is the best Kodi addon where you can stream more than thousands of IPTV channels. Here, we have provided all the steps to install Mega IPTV addon. So, try to install it and drop your doubts in the comment section.