This post will discuss the best approach to installing Nova TV Kodi Build on Kodi.
Also, note that all steps are similar for Firestick, Android Box, FireTV, Mac, Rasberry Pi, Google Chromecast, iOS, Nvidia Shield, and, Android TV. Let’s learn about the Nova TV Kodi Build.
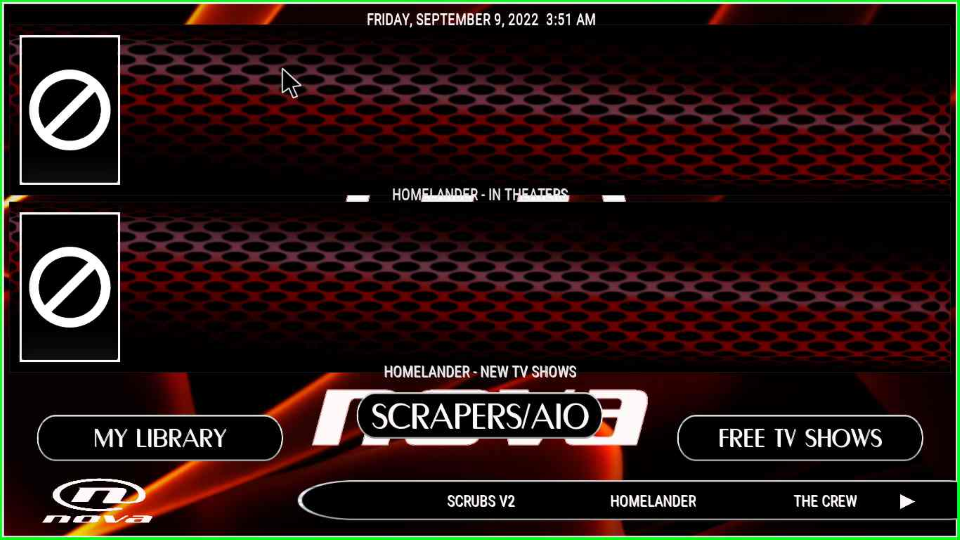
Nova TV is a great Kodi Build from the Doomzday Wizard Repository. Here, you can stream from various sections like Live TV, Movies, Kids, Music, TV guides, and, Sports.
In addition, the Build size is more than 200 MB and has enough top addons for high-quality content. Some of its popular add-ons are Oculus, Incursion, Trident, Neptune Rising, Elysium, Wolf Pack, and, YouTube.
Like other Builds, Nova TV Build can fetch HD streaming links (1080px to 4K) from Real Debrid, AllDebrid, and Premiumize. The steps to install Nova TV Build are the following:
Installation Steps
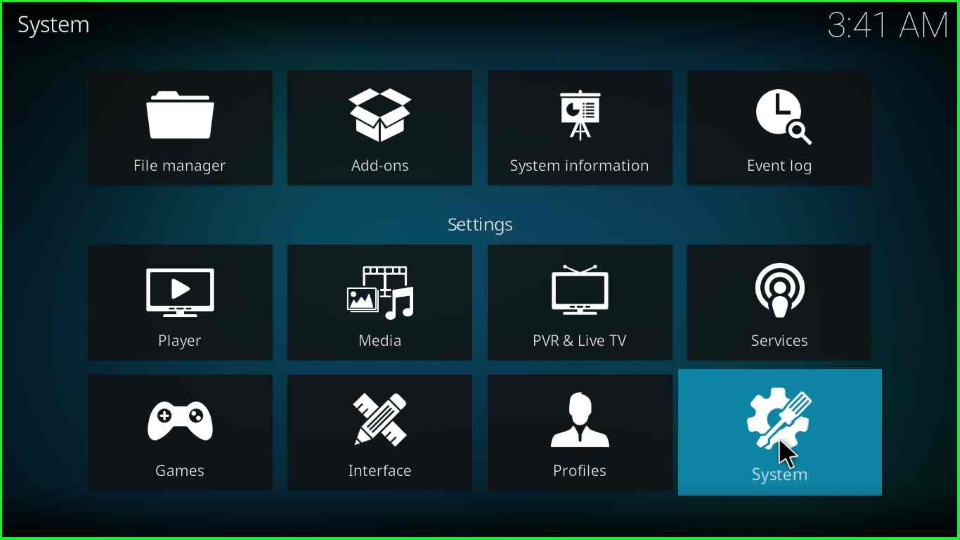
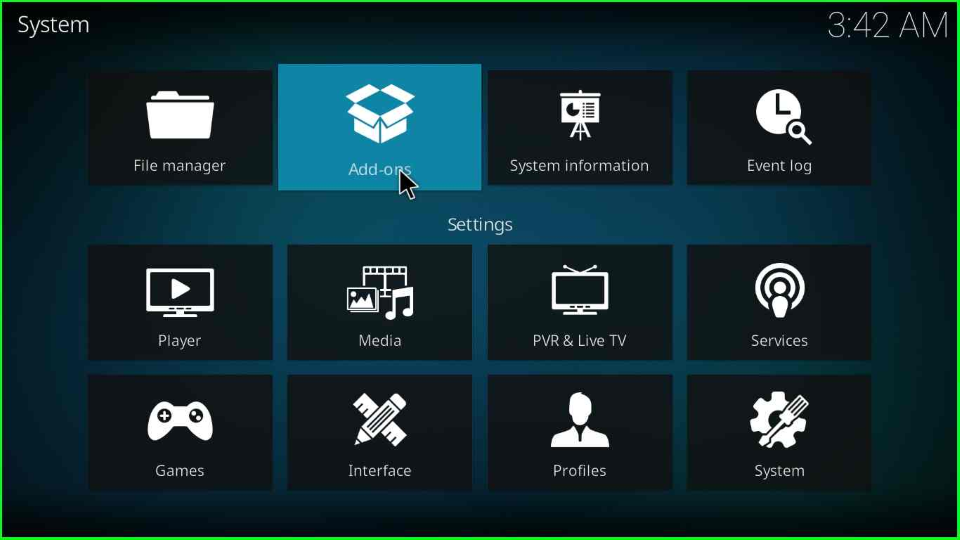
Go to the Kodi screen and select the Settings gear tab.

Find out the System icon and select it.
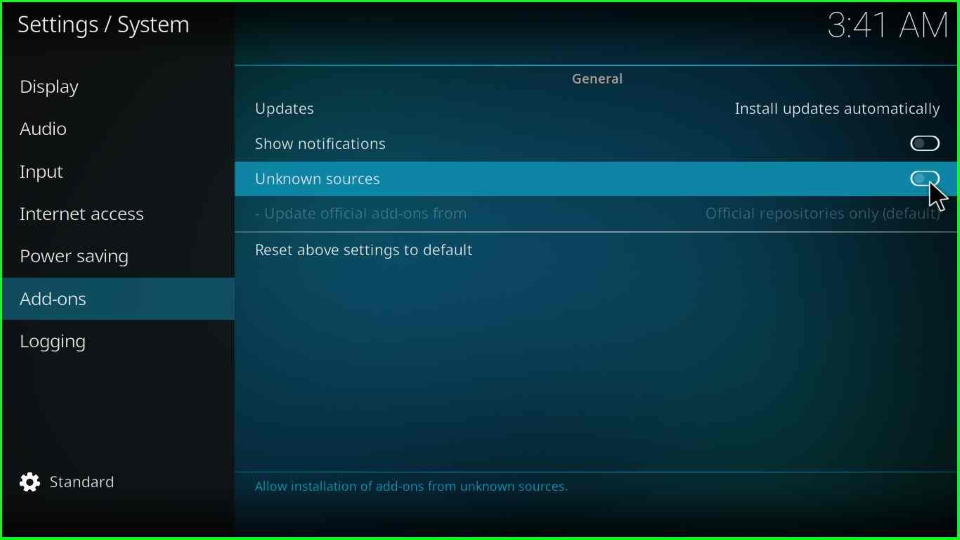
Now, you are on the System page, choose the sixth option, Add-ons, from the left side, and turn on the toggle button of Unknown sources.
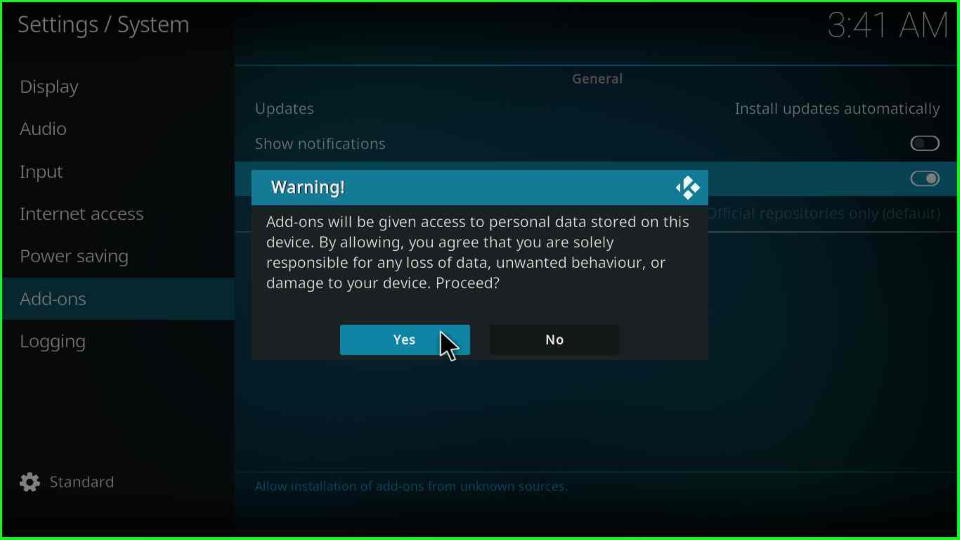
A warning box will pop up; select Yes to allow it.
Add Media Source and Repository
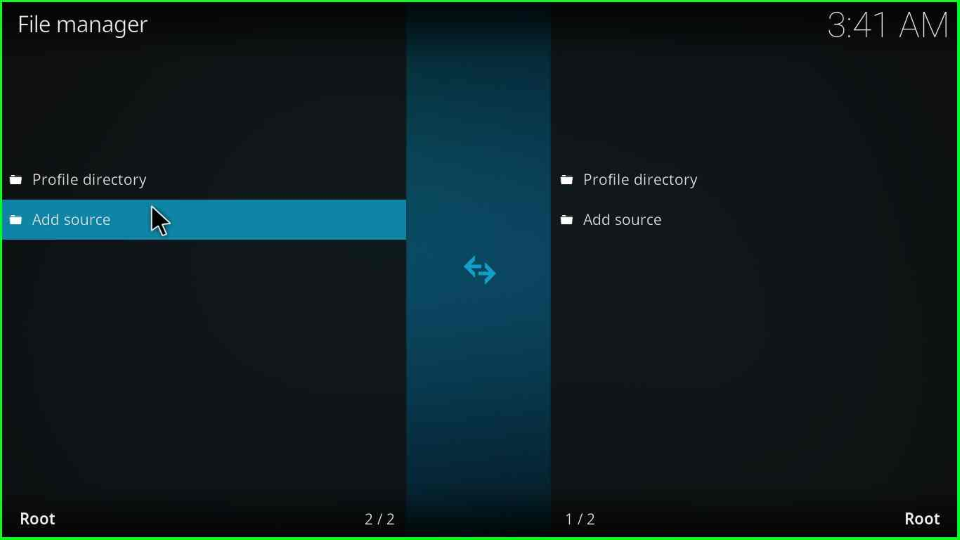
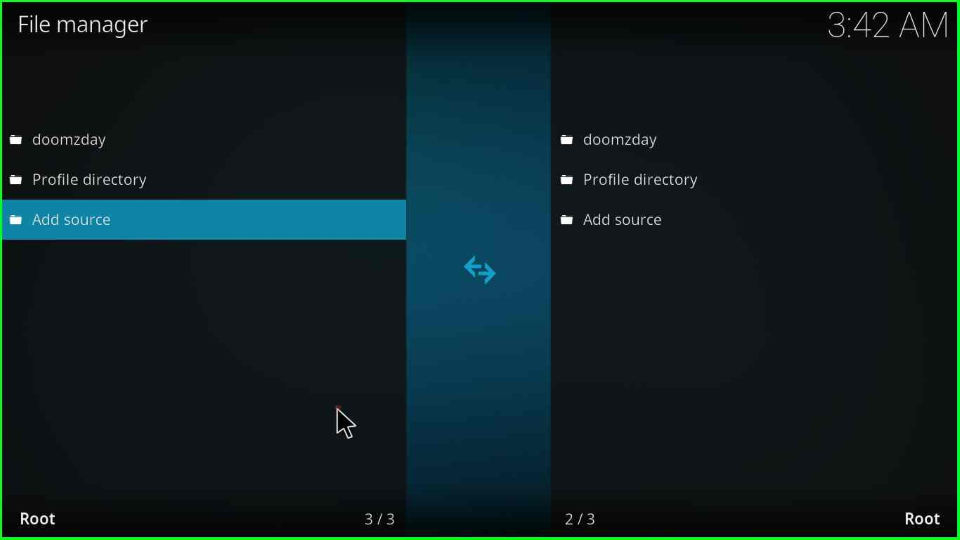
Press the Esc key to go to Settings and click the File Manager option.

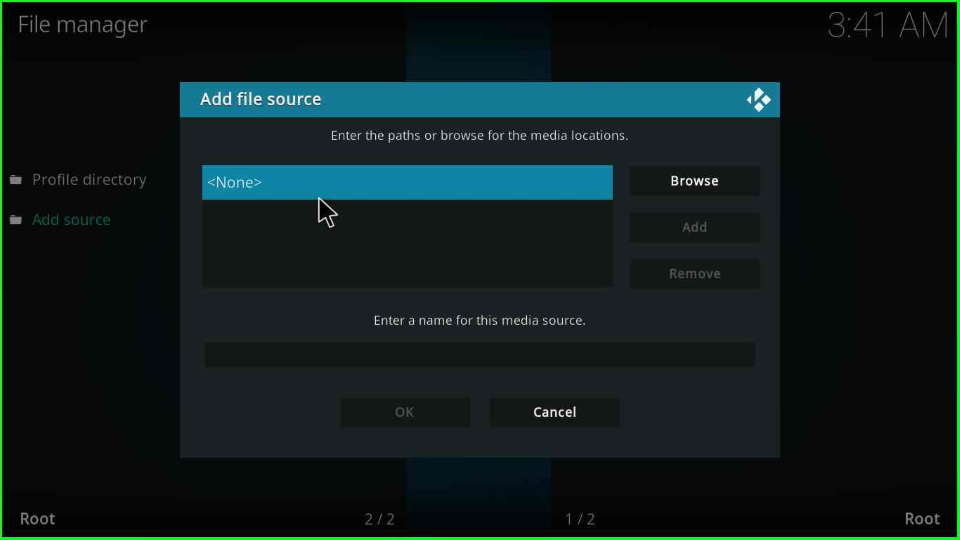
Choose the Add Source tab to add the source for Nova TV Build.
A window will be shown in the middle of the page; tap on <None> to move next.
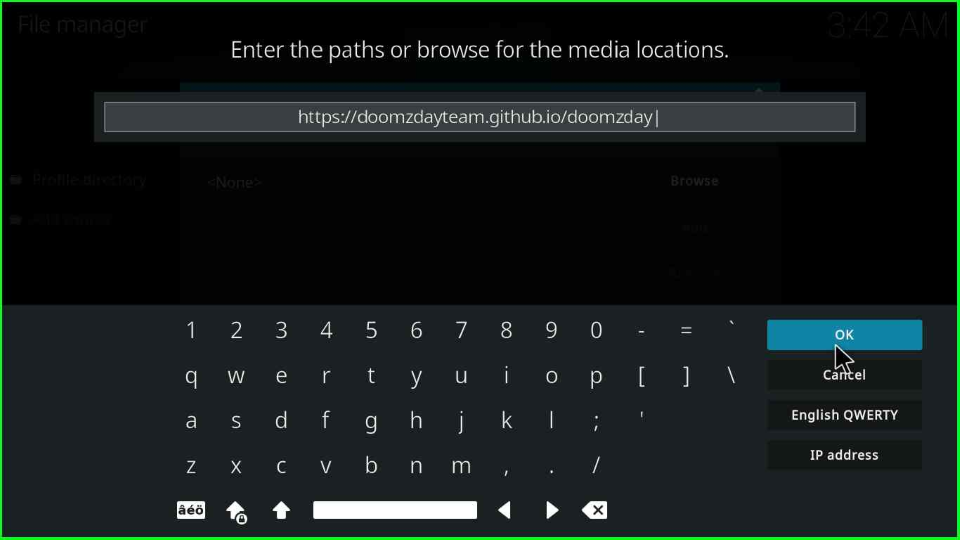
First, add the media URL https://doomzdayteam.github.io/doomzday exactly in the text box. Click OK.
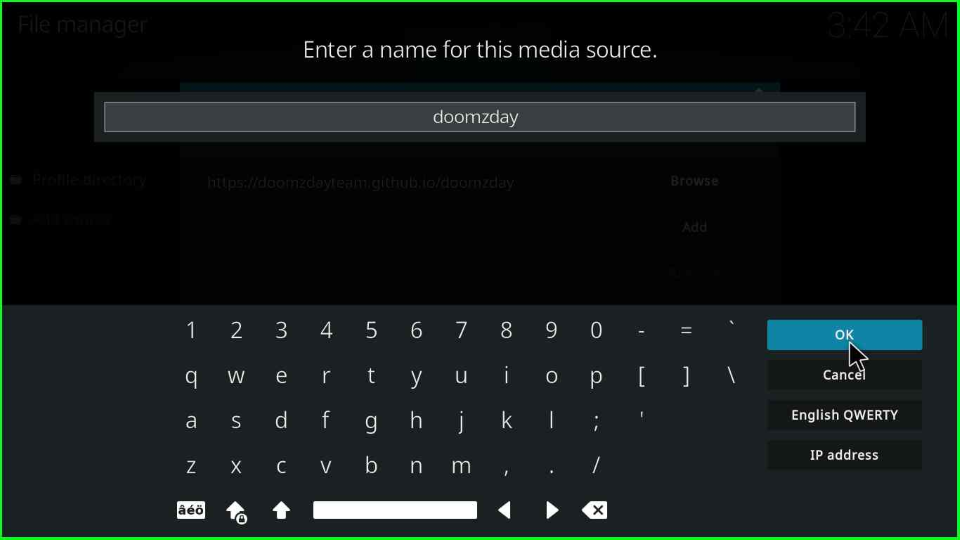
Then, type the source name doomzday and again hit OK.
Check out the entries and click on the OK button.
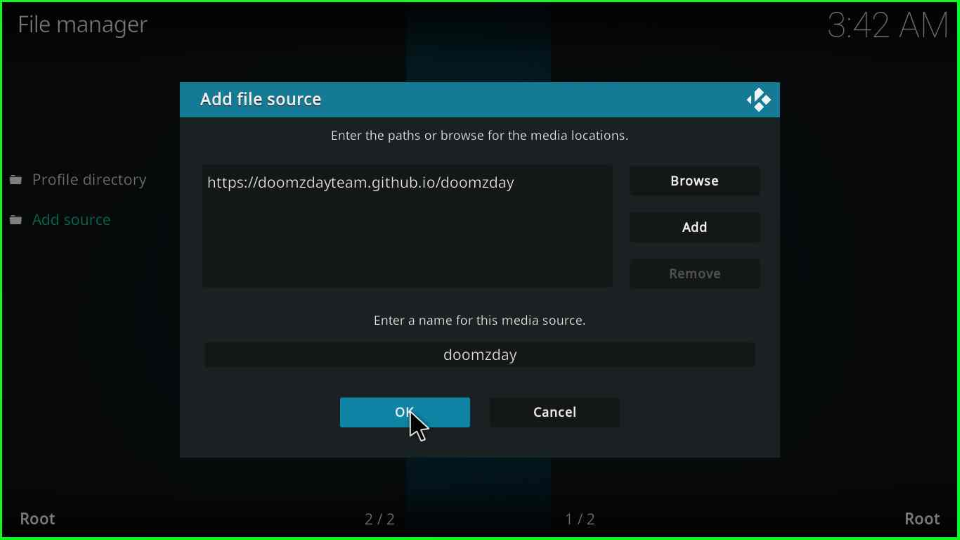
After saving the entries, you will see your source folder doomzday on the File Manager screen.
Install from Zip File
Go back to the Kodi Settings and choose the second tile, Add-ons.
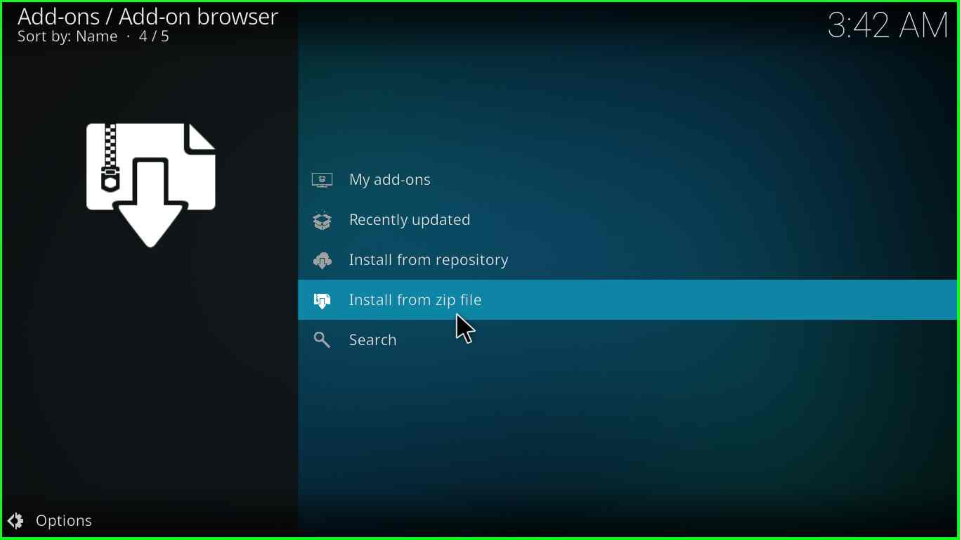
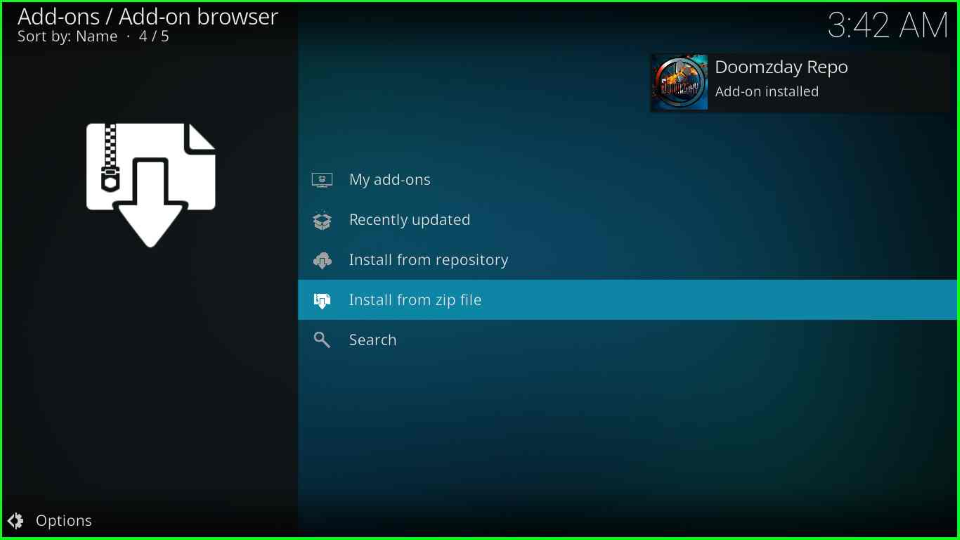
Pick the Install from zip file from the options list.
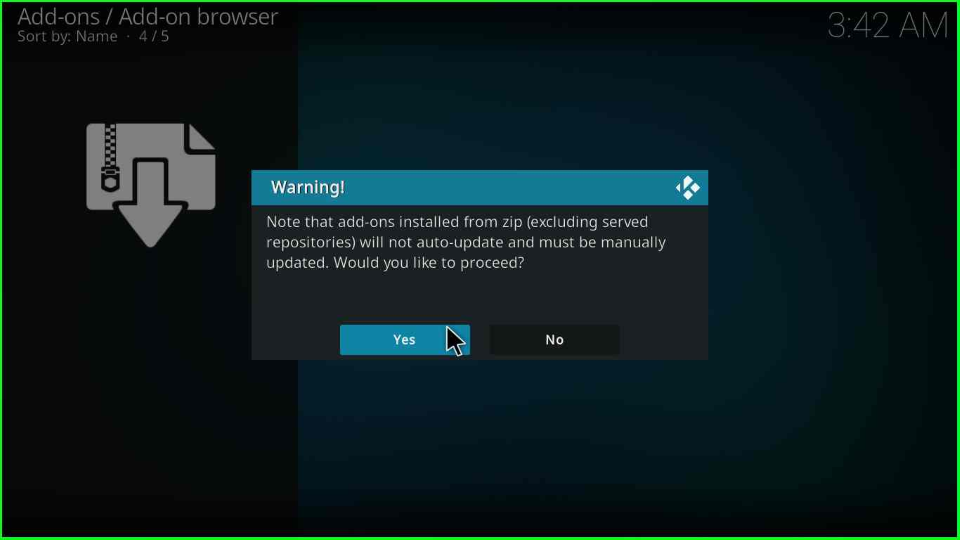
The zip file page contains a warning box; click Yes to close it.
Choose the doomzday source folder.
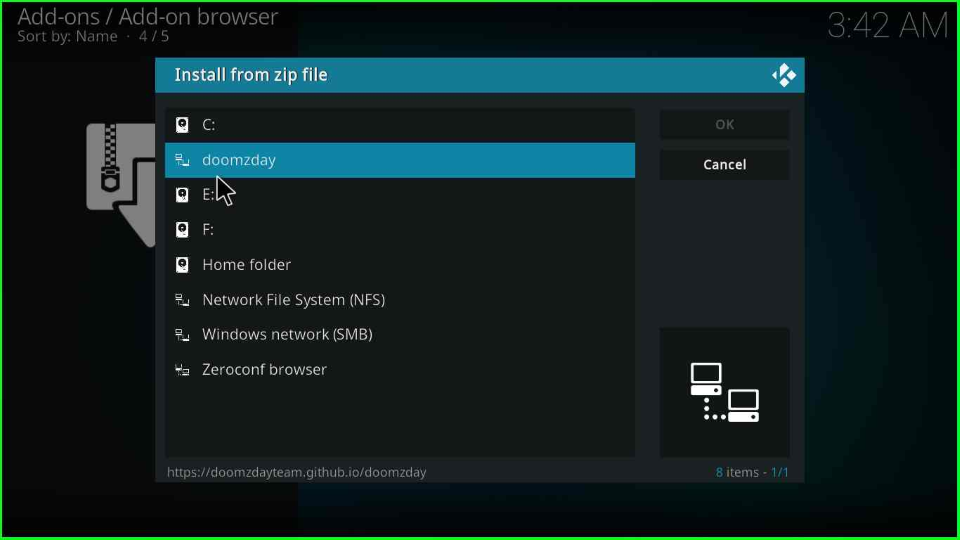
Select the doomzday zip file repository.doomzday-x.x.x.zip.

Wait for the notification “Doomzday Repo Add-on installed” on the page.
Install from Repository
From the same page, single click on the Install from repository.
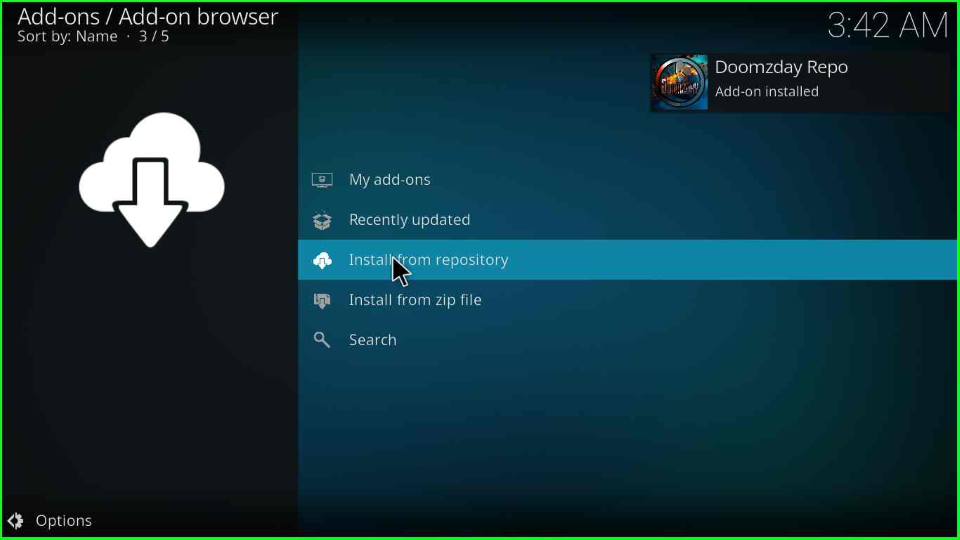
Pick the Doomzday Repo option.

Install Doomzday Wizard
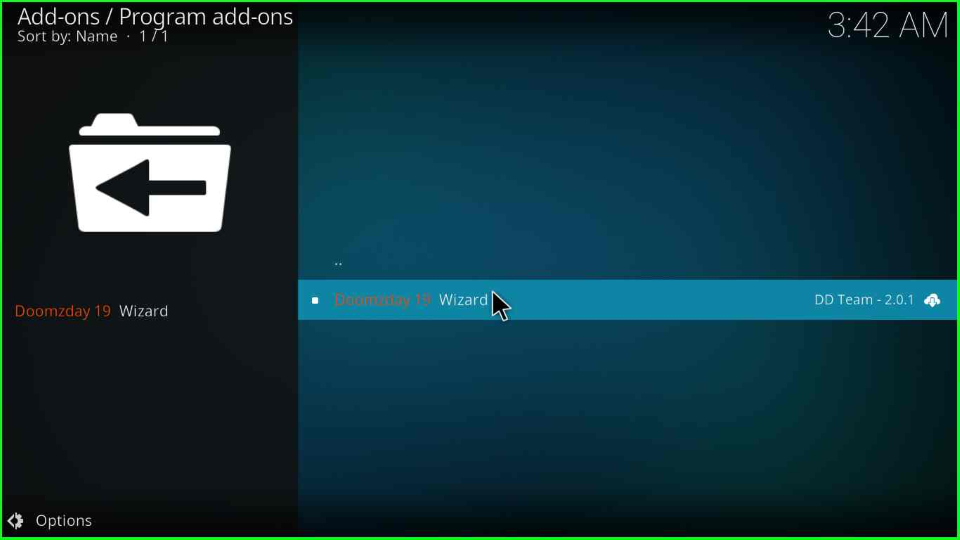
Thereafter, open the Program add-ons tab.
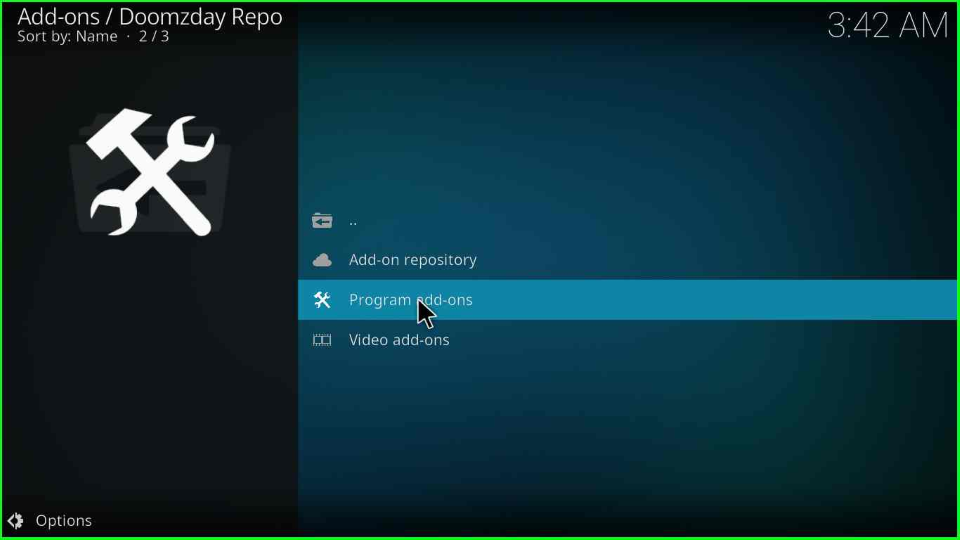
The tab displays Doomzday 21 Wizard option; click on it.
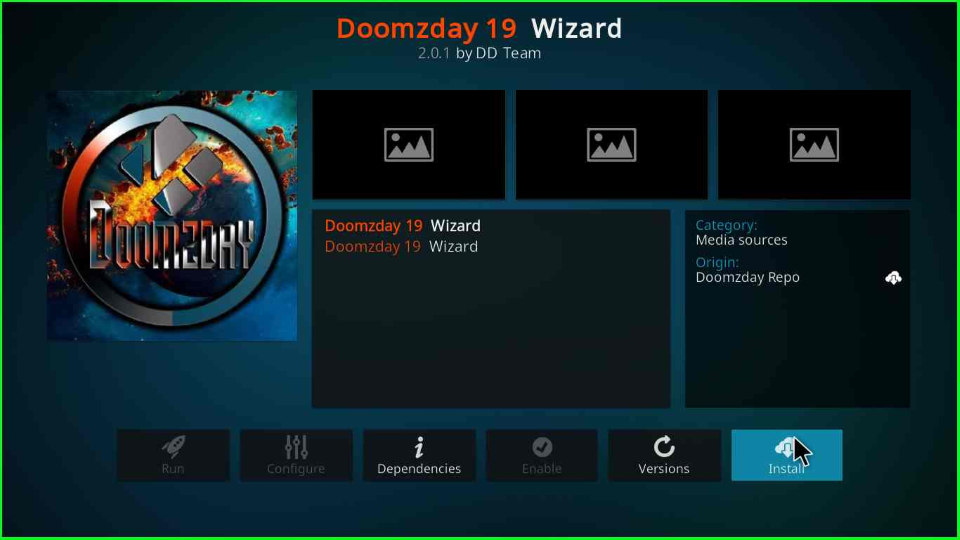
Hit the last Install button to install Doomzday 21 Wizard.
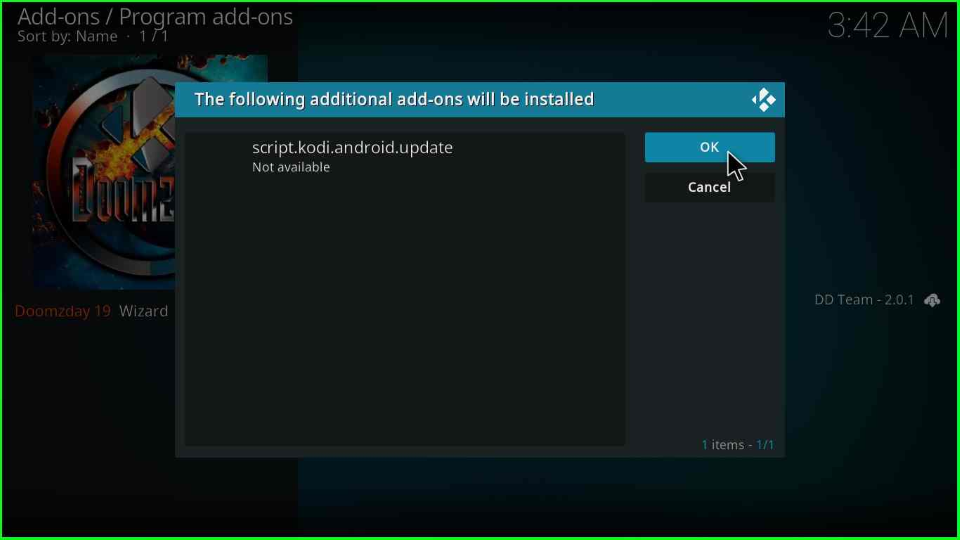
A popup appears stating, “The following additional add-ons will be installed”; click the OK button.
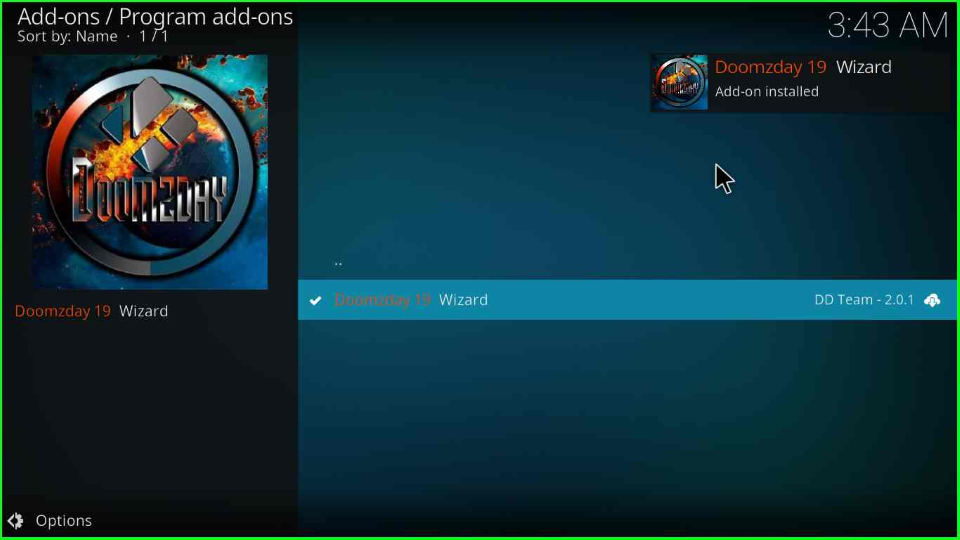
The Doomzday 21 Wizard starts installing; stay until the process completes.
Install Nova TV Build
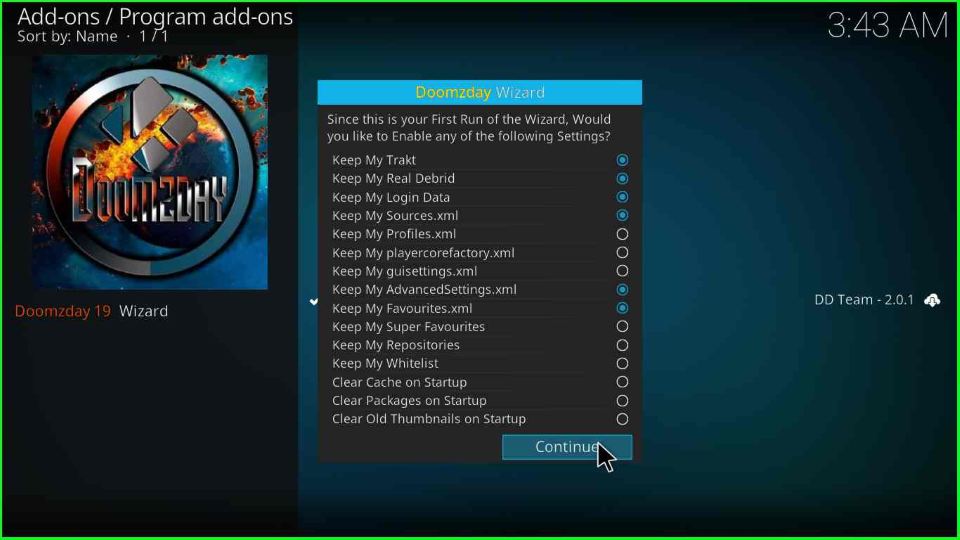
After the installation, a long popup will appear: tap on Continue to go ahead.
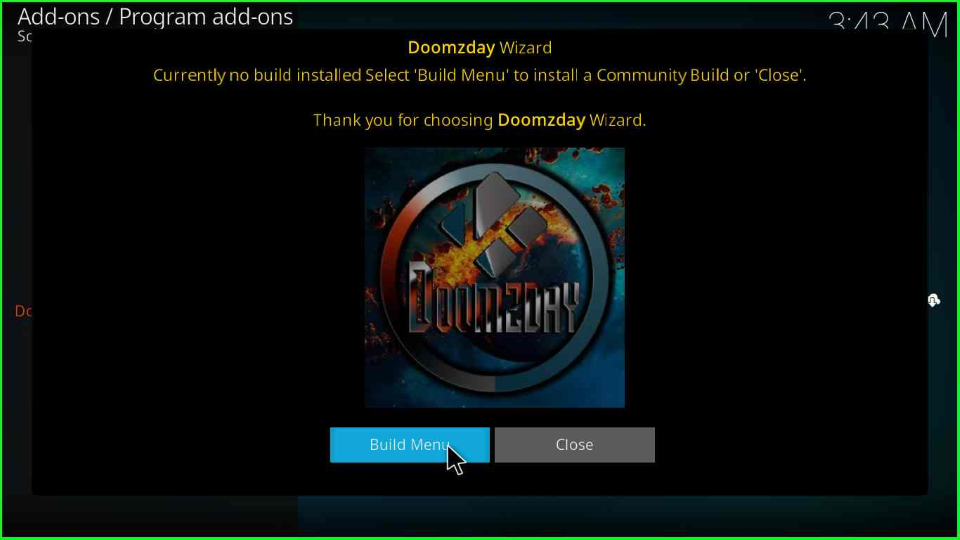
The Doomzday Wizard window will open: click on Build Menu.
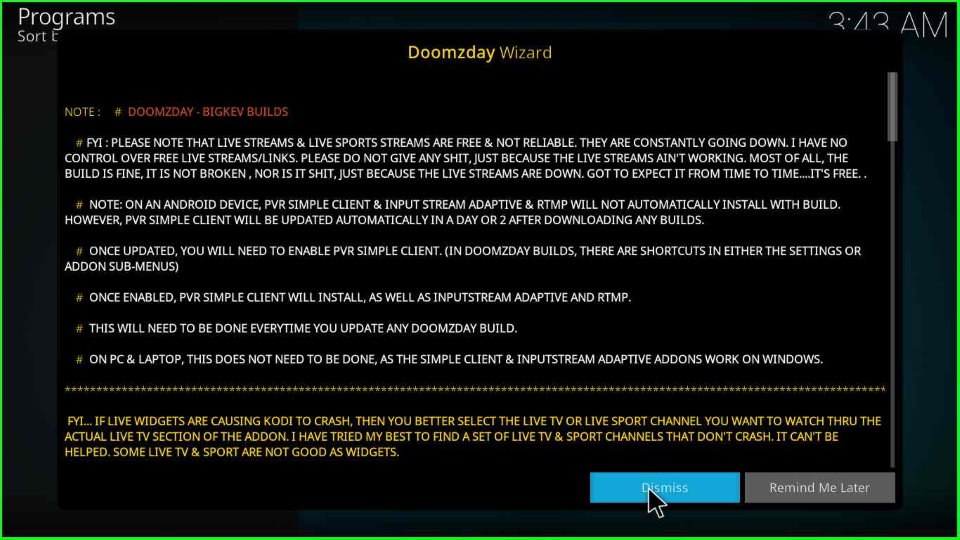
Tap the last key, Dismiss.
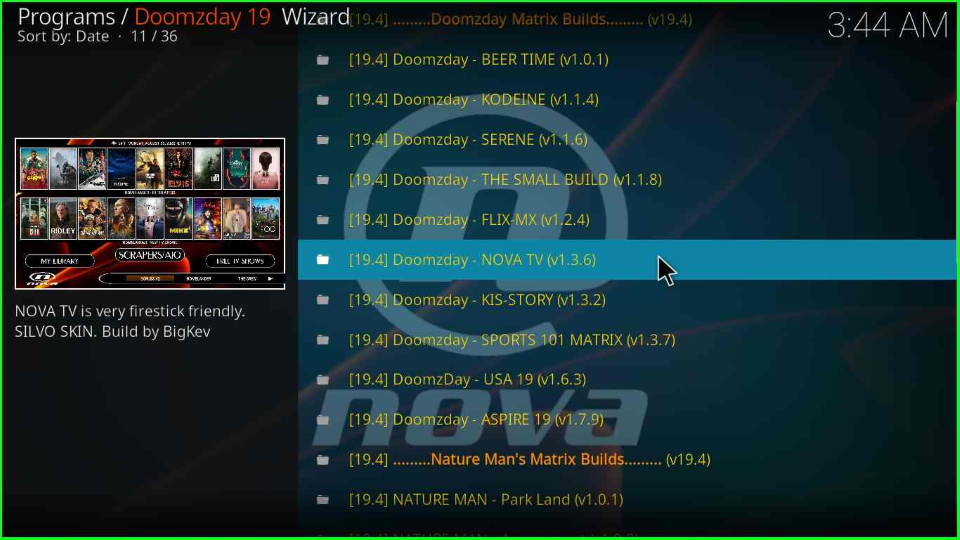
The wizard shows a list of Build. Select the Nova TV Build and hit enter.
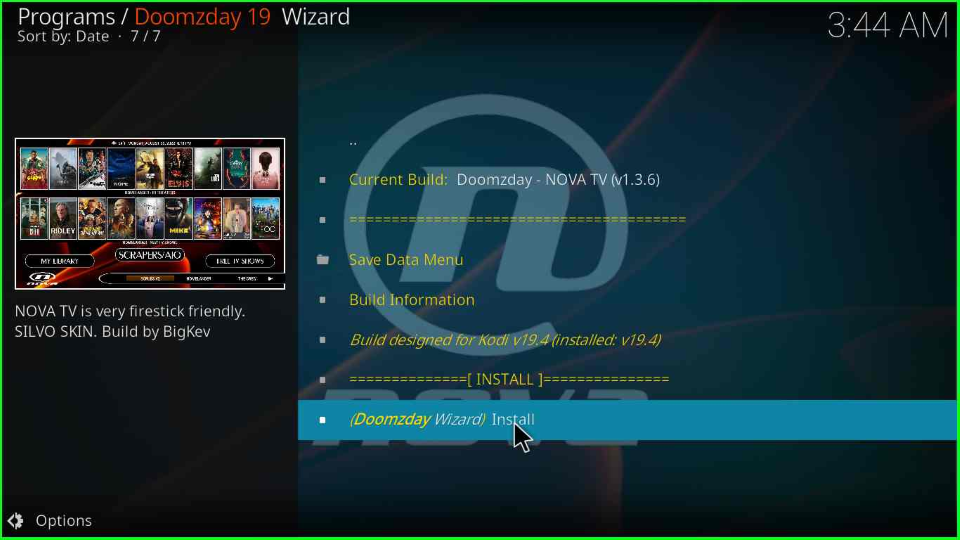
Next, choose the (Doomzday Wizard) Install tab.
Click Yes, Install to allow Doomzday – NOVA TV installation on your device.
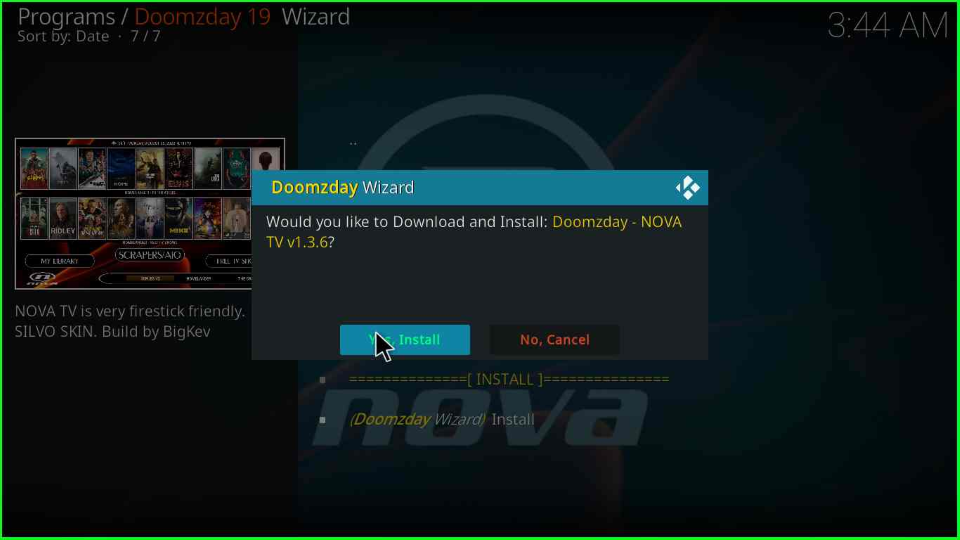
A small box will appear, and start downloading the Nova TV Build.

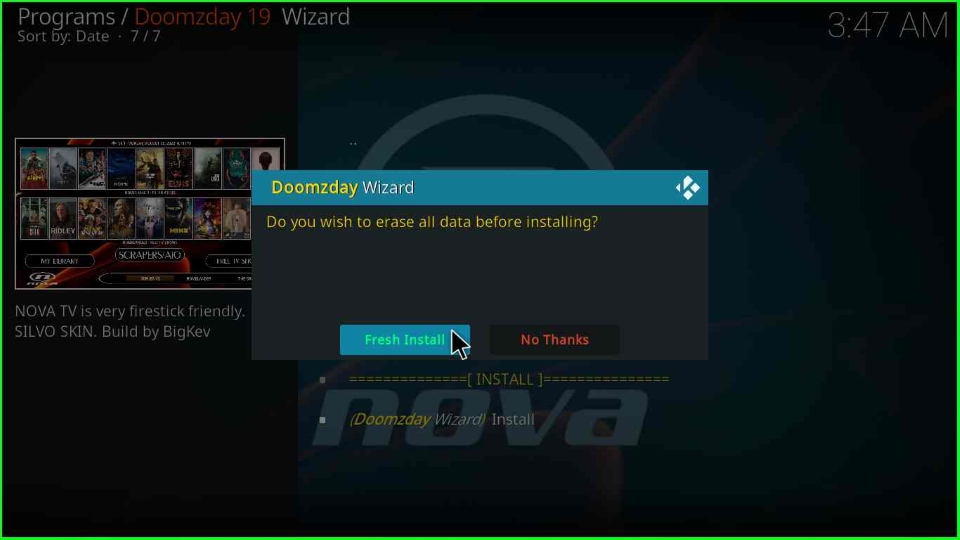
Select the Fresh Install button inside the Doomzday Wizard box.
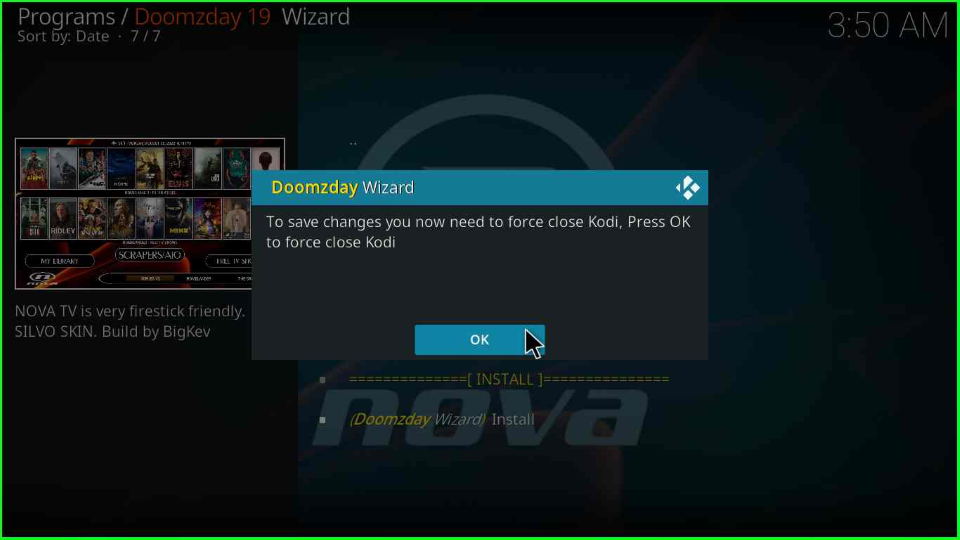
Press the OK key to save the Build in your Kodi app.
The Nova Build is ready to open. Choose your favorite streaming genres and enjoy.
Nova TV Build Questions
Yes, you can install this Build from the Simple Build Wizard repository by visiting the URL http://thelittleguysco.net/kodi.
As per my streaming experience, Nova TV does not offer any copyrighted or pirated content. So it is safe and legal to use. For the protection of your privacy, you may use the IPVanish VPN.
Conclusion
So, we have installed the Nova TV Build on Firestick step by step; you must try installing this Build on your device and share your experience with us. If it is good, then give us more suggestions about the Build. If not, then please tell us where you are stuck. We will try to clarify it soon.
You can temporarily disable microsoft windows defender.
I was not able to install I got following message:
Windows defender is blocking certain add-ons. Can you please help?