In this guide, we will discuss the process of installing the VideoDevil addon on Kodi. You can also use these installation steps for other Kodi devices like Android TV, Firestick (4K Max, Lite), Chromecast, Fire TV, iOS, tvOS, and Nvidia Shield.
VideoDevil is a great Kodi addon that has a special section for adult content. In addition to adult content, the addon has sections for documentaries, sports, movies, and live TV shows in different categories. This add-on fetches content from adult websites.
Installation Steps
Enable Unknown Sources
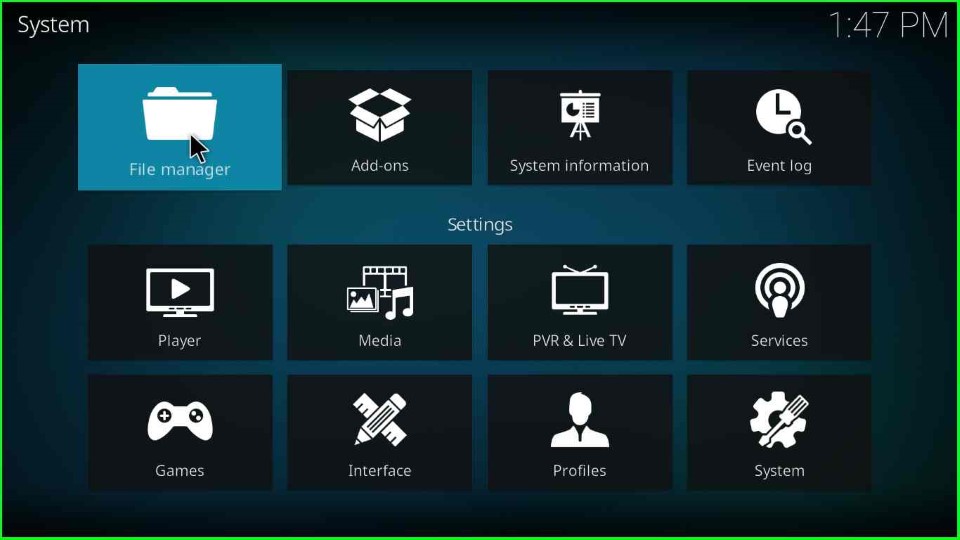
Launch Kodi and navigate to the Settings icon.
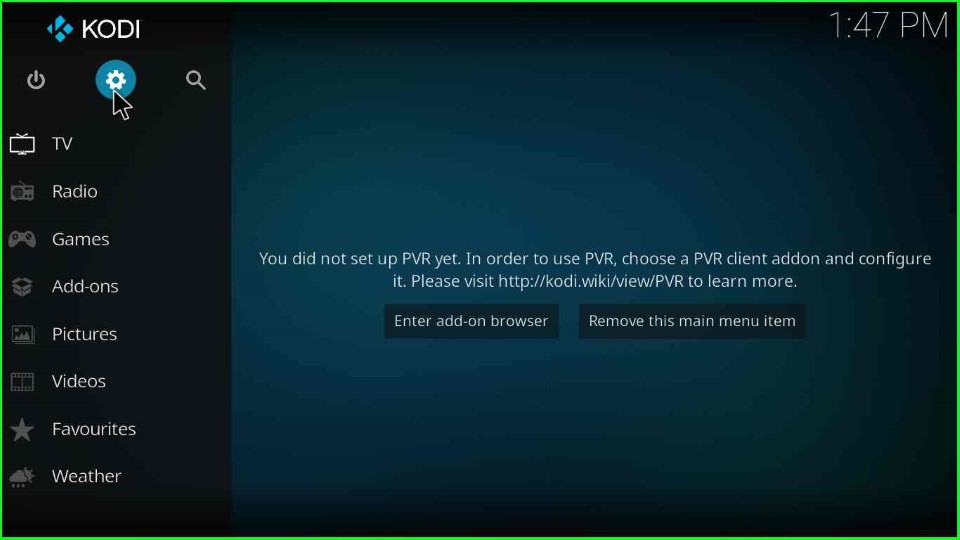
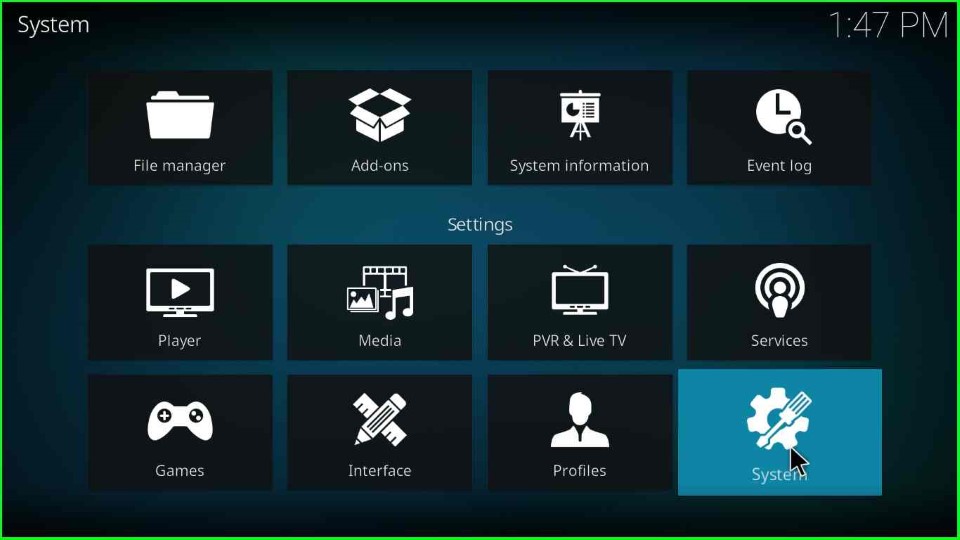
Click on the System button from the bottom right corner.
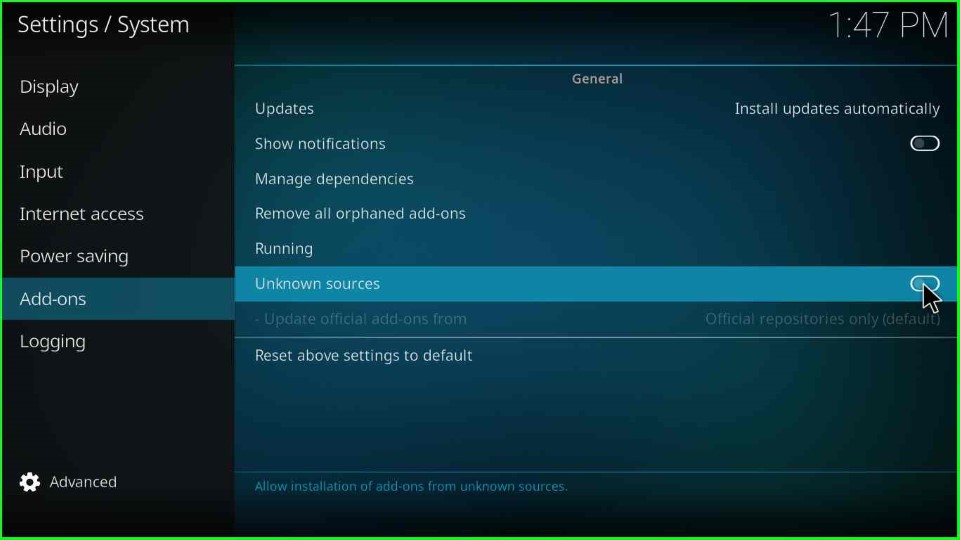
Click on the left-side option Addons and slide right to the Unknown Sources button.
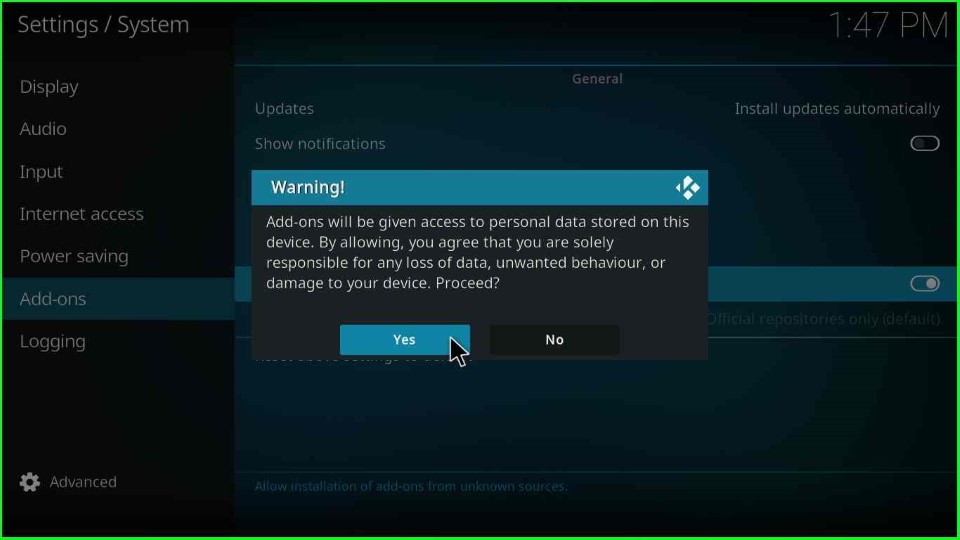
Tap the Yes key to allow the installation of unknown sources.
Add Media Source URL
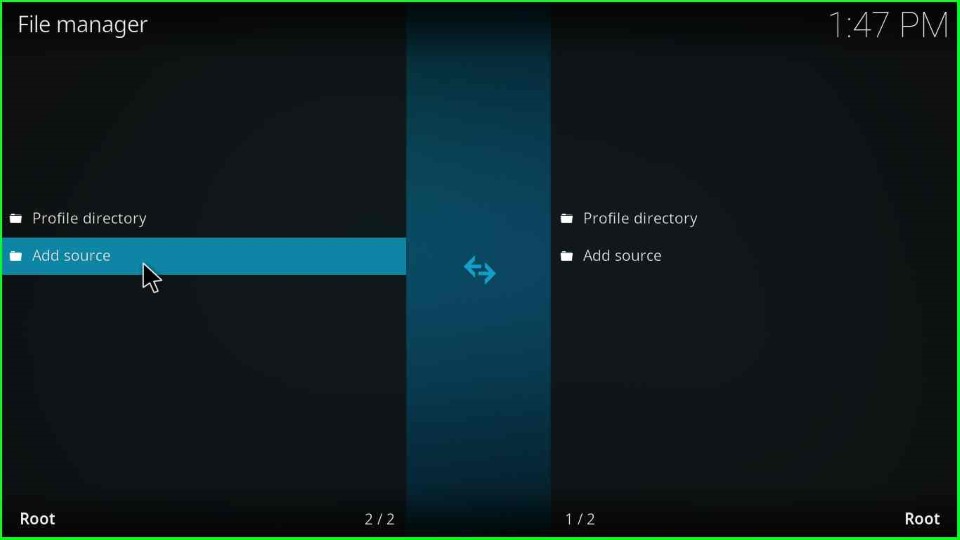
In the settings menu, select File Manager.
Double-click the Add Source option.
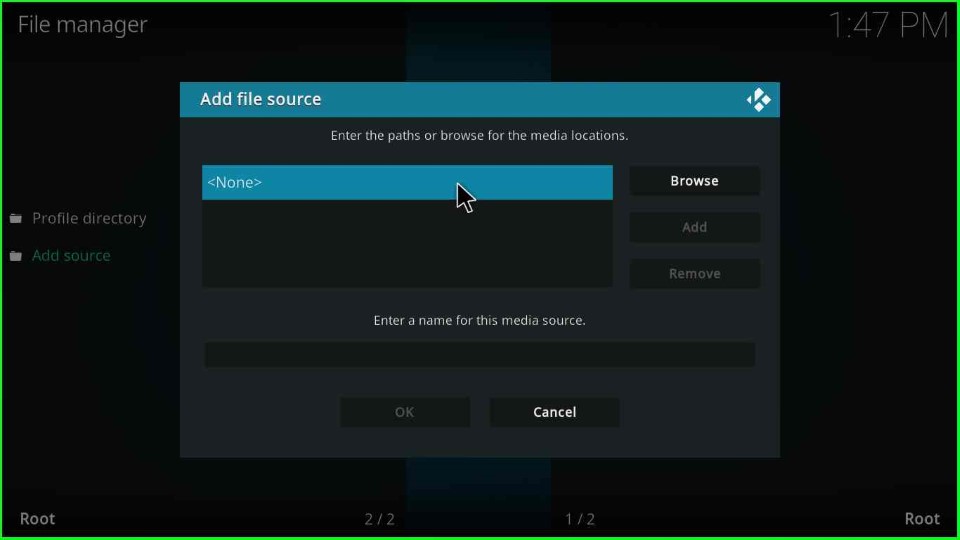
Click on the blue highlighted option <None>.
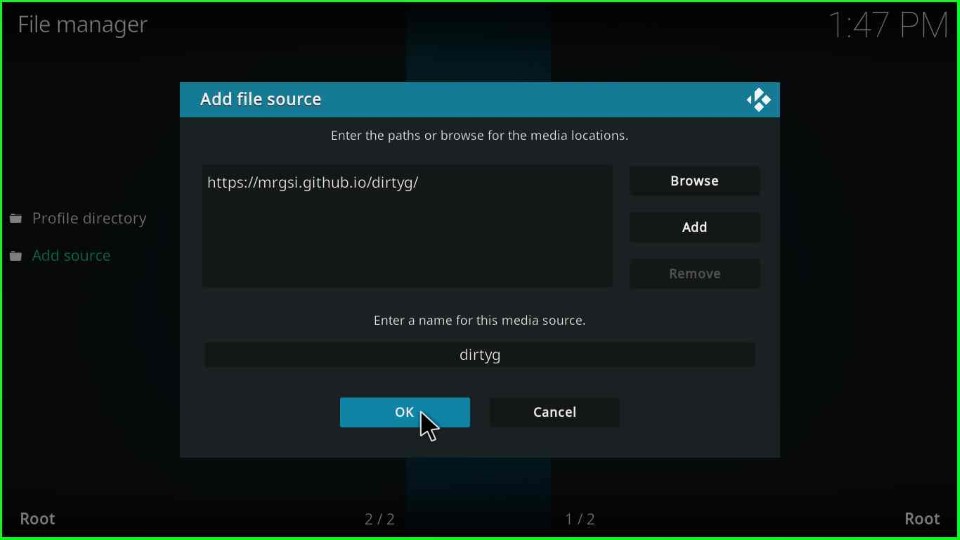
Give the repository name https://mrgsi.github.io/dirtyg/ and hit the OK button.
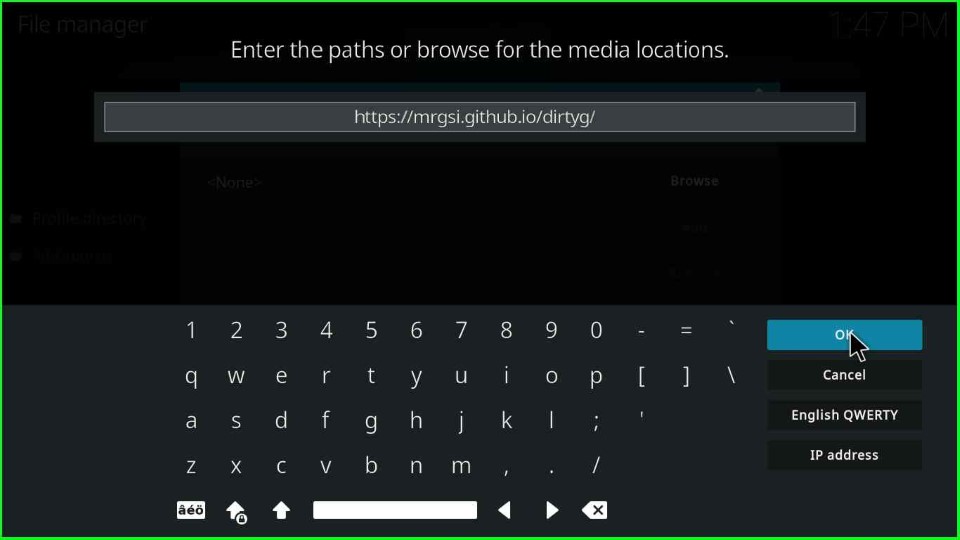
Remain with the media source name dirtyg as before, recheck the media URL and source name carefully, and finally click on the OK button.
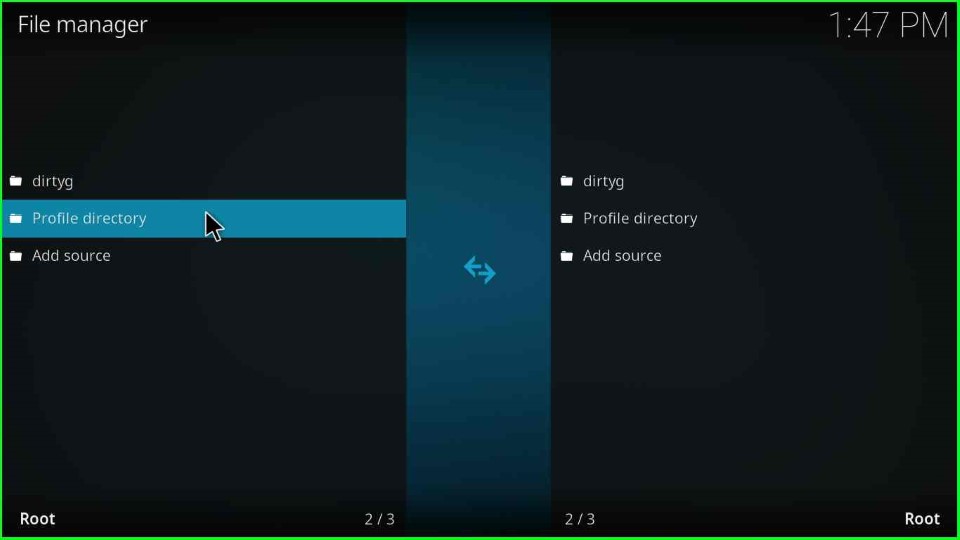
dirtyg media source file added on the File Manager screen.
Install from Zip File
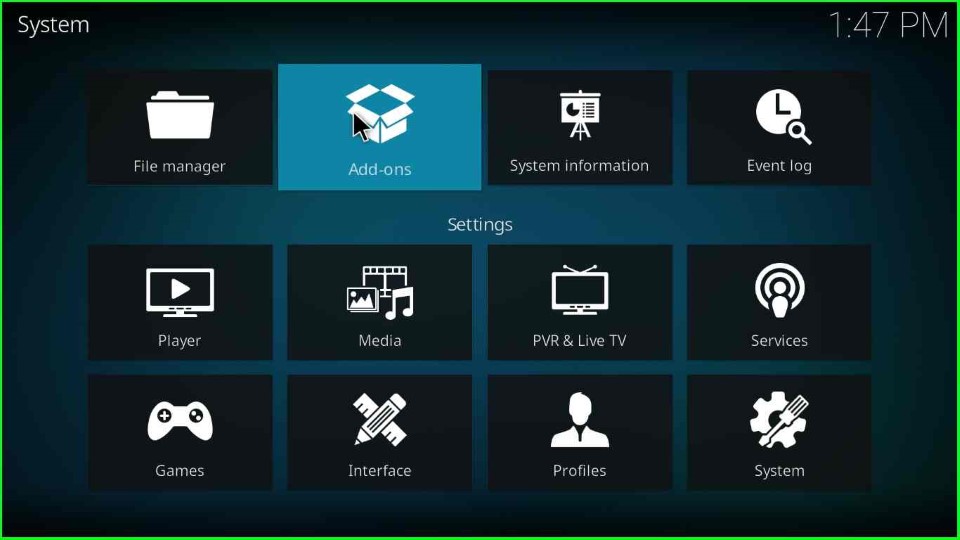
Return to the Kodi home screen and click on the Add-ons tab.
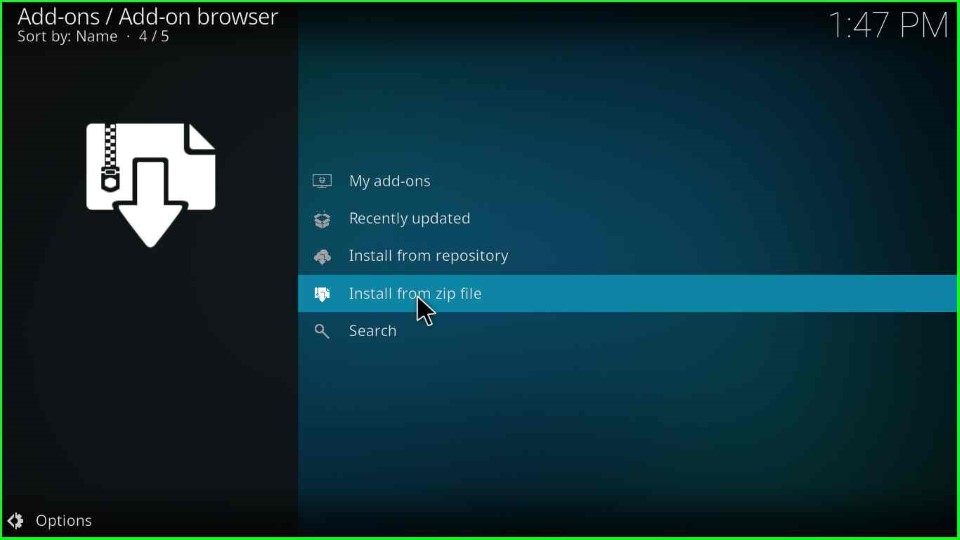
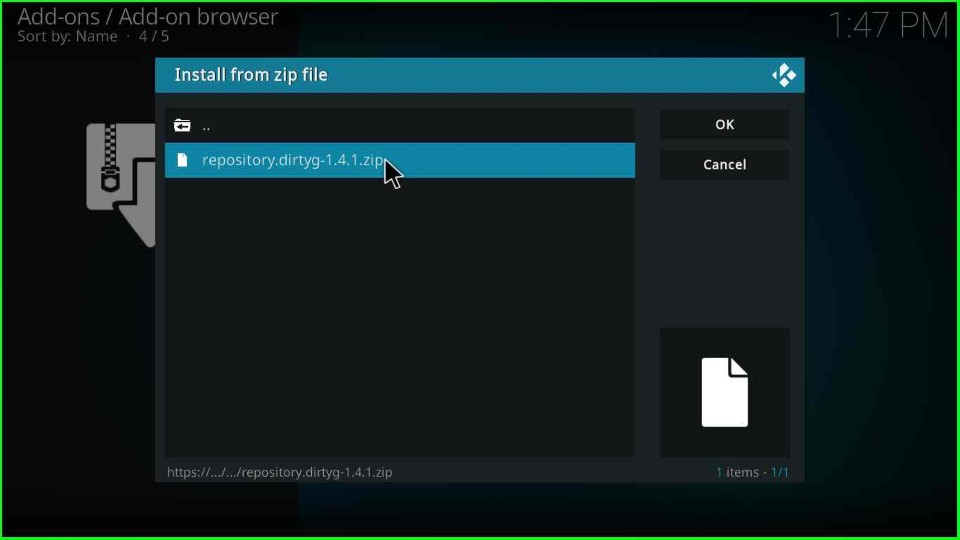
Choose the Install from Zip File option.
Find and click on the repository source dirtyg you added.

Choose the VideoDevil addon zip file repository.dirtyg-x.x.x.zip.
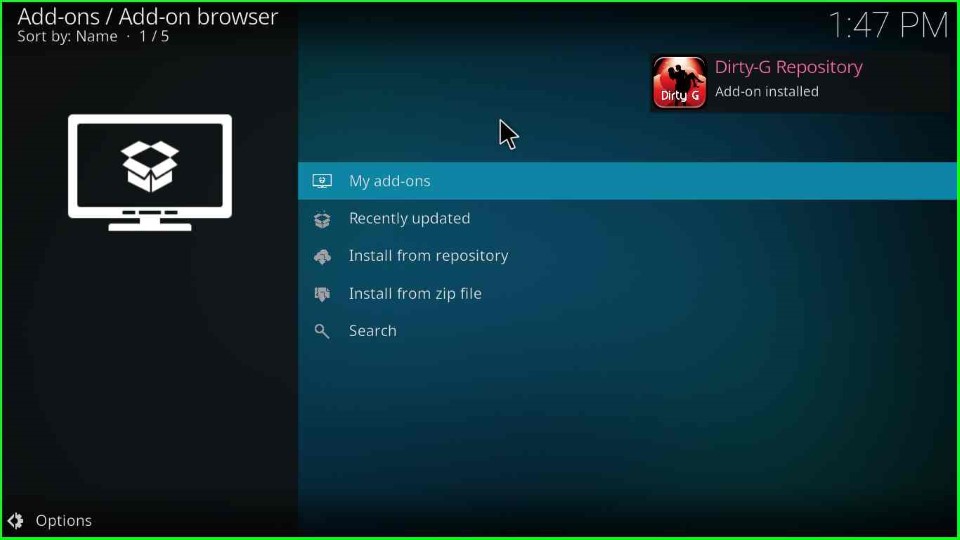
Wait for the installation message Dirty-G Repository addon installed on the Add-ons page.
Install from Repository
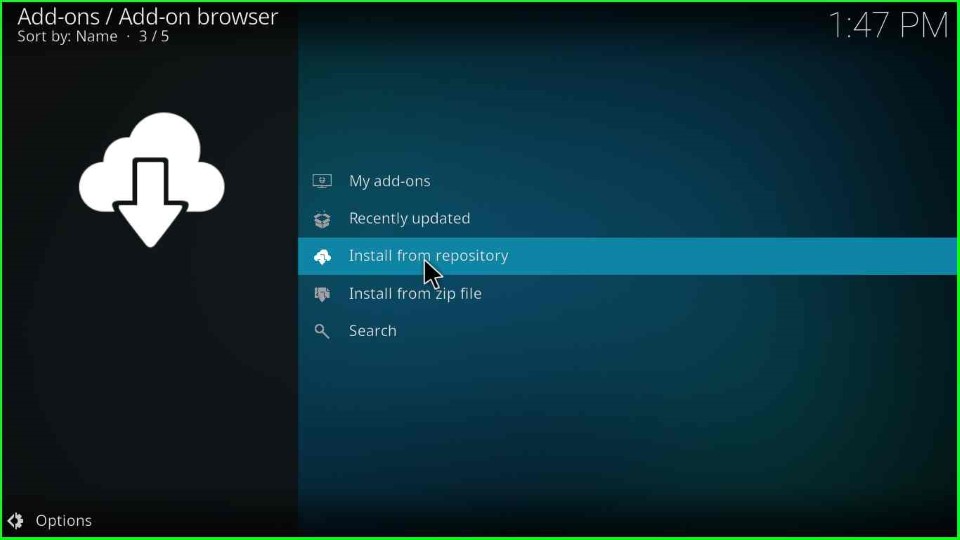
Click on the Install from Repository tab.
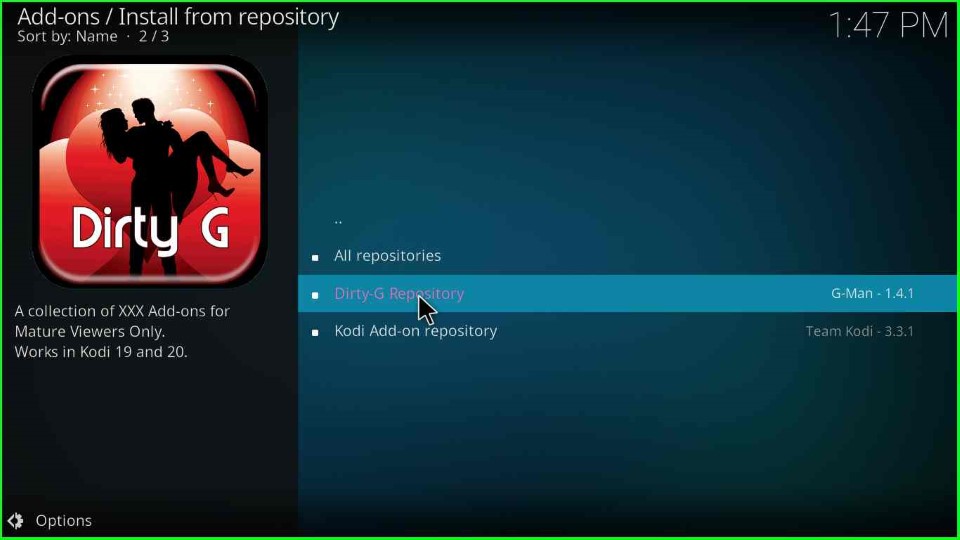
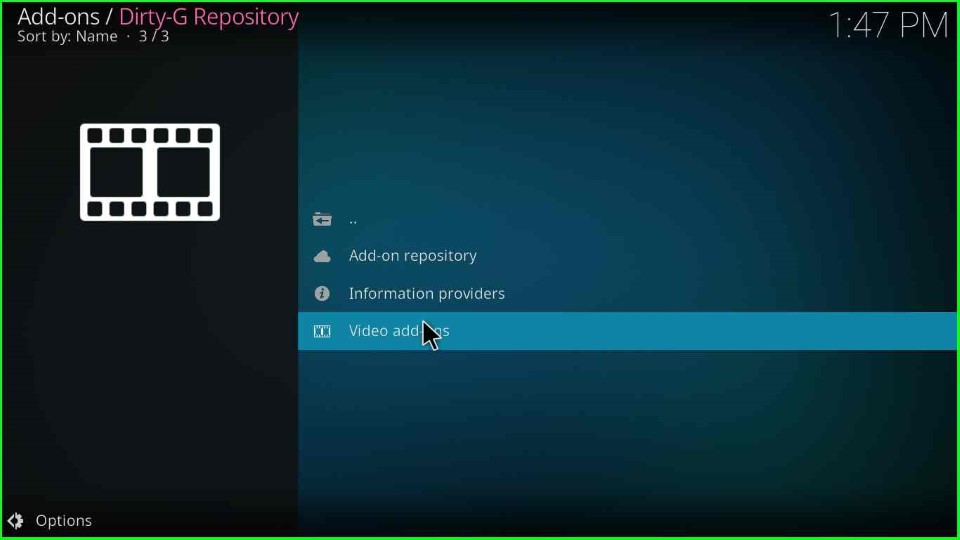
Here, choose the recently installed Dirty-G Repository.
Install VideoDevil Addon
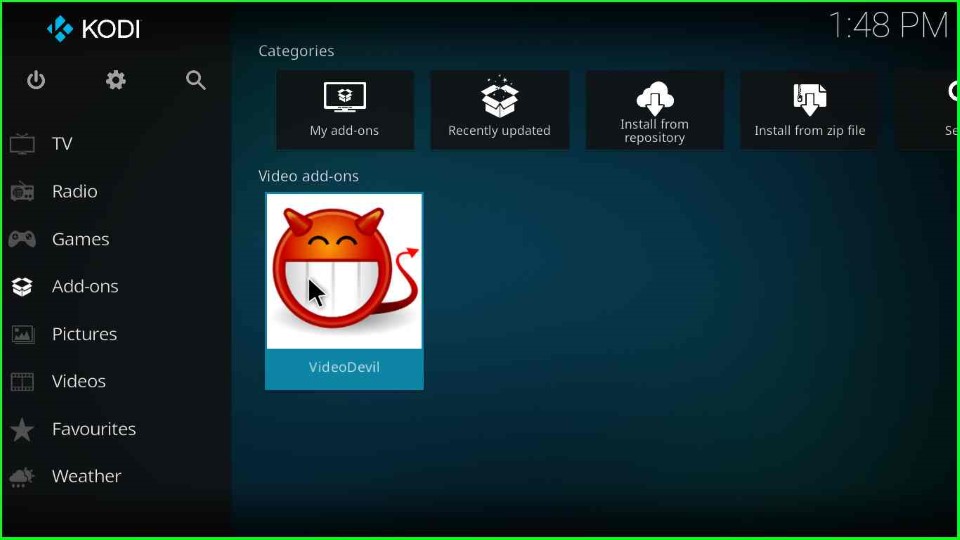
Go to the Video add-ons.
Choose the VideoDevil addon.
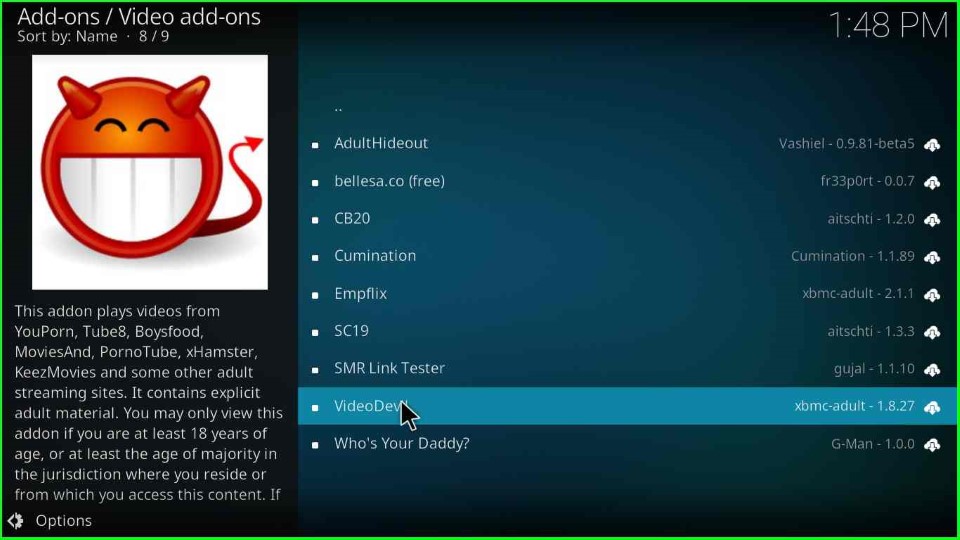
Press the Install key.
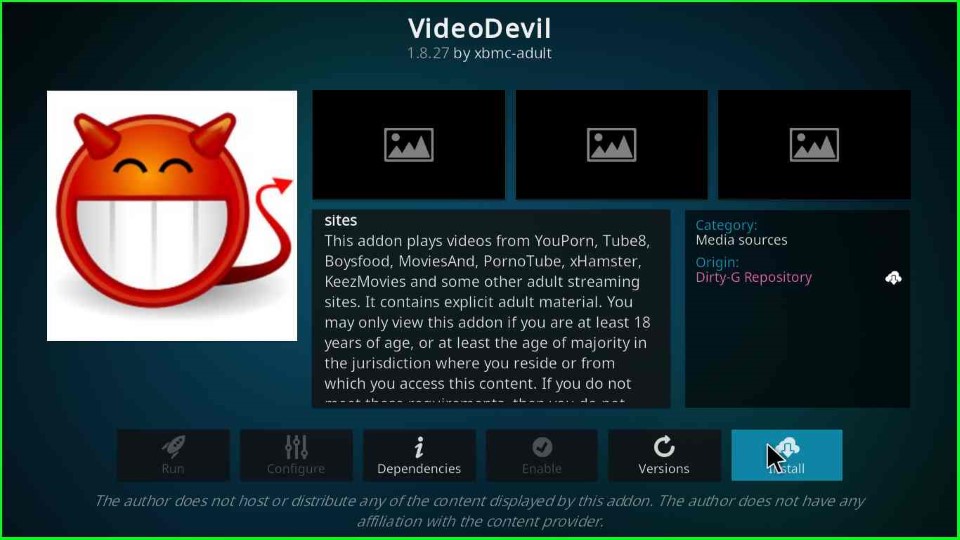
The VideoDevil addon starts installing. Wait for its completion.
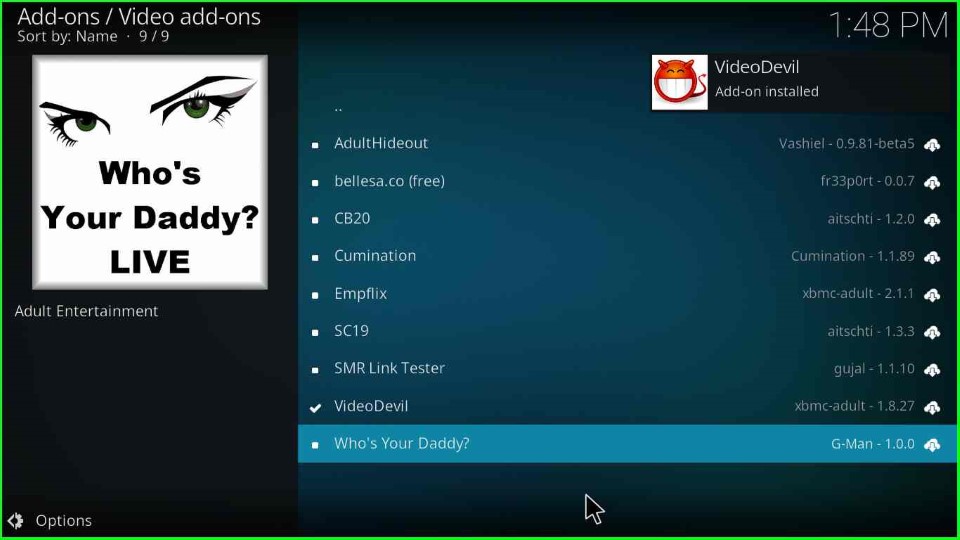
On the Kodi Home screen, the VideoDevil addon was successfully added.
Final Words
So, we have discussed the VideoDevil Kodi addon and its installation steps. You can try to install this add-on on your device like Android, iOS, macOS, Raspberry Pi, Windows, Linux, etc.
