In this post, we will discuss the steps to install the WatchNixtoons2 Kodi addon on Firestick 4K, Lite, Fire TV Cube, Raspberry Pi, Chromecast, Android TV Box, etc.
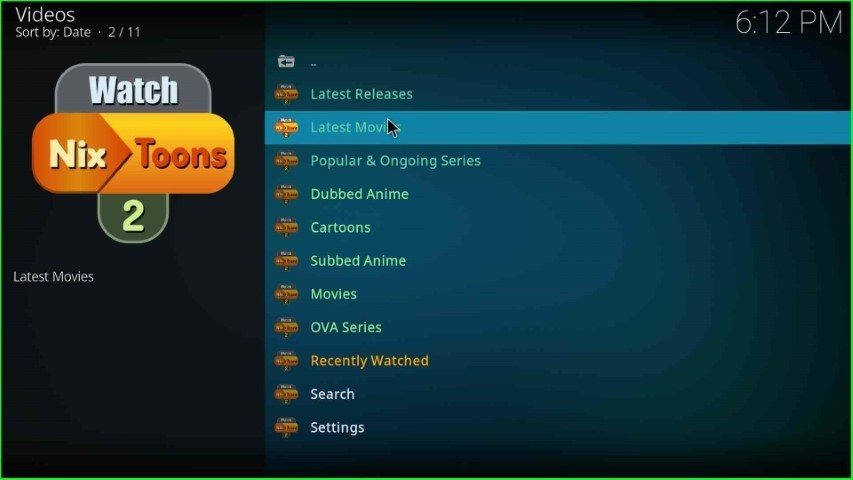
WatchNixtoons2 is one of the top anime add-ons for streaming anime and cartoons. On the homepage of this addon, you can find different sections, i.e., Popular & Ongoing Series, OVA Series, Latest Movies, Cartoons, Latest Releases, Dubbed Anime, Subbed Anime, Movies, Search, and Settings.
In addition, the add-ons provide most of the content in Japanese with English subtitles (subbed and dubbed versions). Moreover, you can download the add-on easily from the Crew repository.
Installation Steps
Enable Unknown Sources
Open the Kodi app and select the Settings icon.

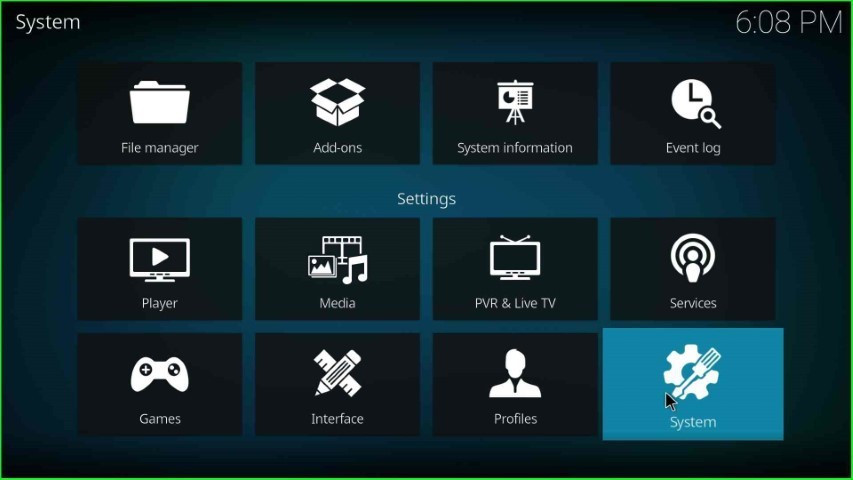
Hit the System tab from the group of icons.
Select the Add-ons tab from the left side of the screen.

In this step, slide right to the Unknown sources tab.

Click on the Yes option appearing on the warning popup.

Add Media Source and Repository URL
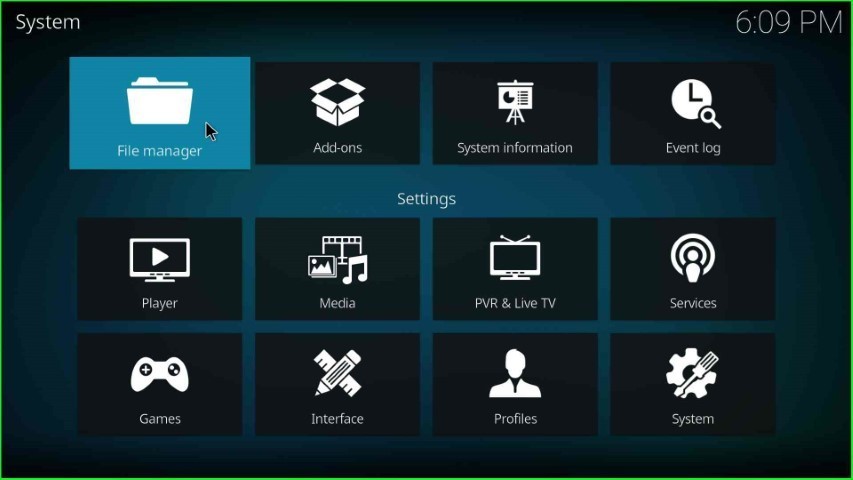
Go back to the System screen and open the File manager sign.
Select the Add source option as shown on the screen.

Tap on <None> as it appears on the Add file source window.

Here, you have to enter the path for the media location.

Write the media path as https://team-crew.github.io/, and click on the OK key.

Now, tap on Enter a name for this media source text box.

Give a unique name to the media source as crew and press the OK sign.

Check the Crew repository path and source name carefully and hit the OK button.

You can see the added crew media source on the File Manager page.

Install from Zip File
Again, return to the System Settings and tap the Add-ons sign.

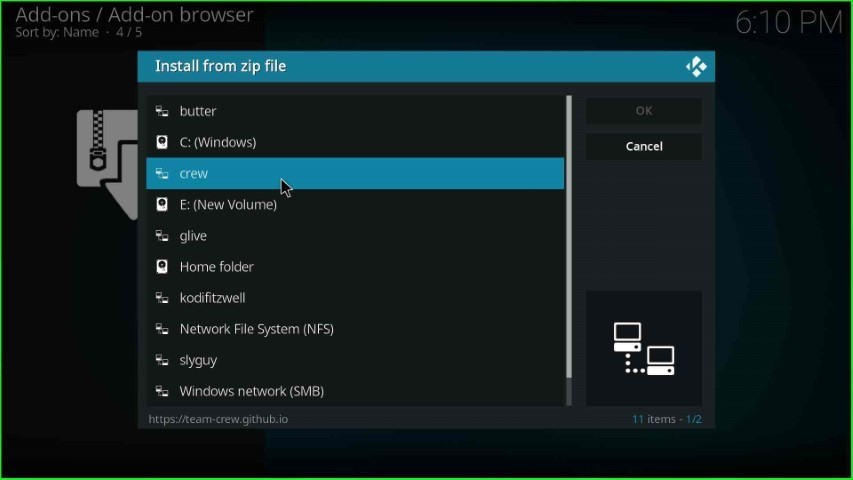
Select the Install from zip file tab.

Click on the crew media source.
Select the repository.thecrew-x.x.x.zip file.

Wait until The Crew Repo add-on installed message appears on the screen.

Install from Repository
Go to the next option, Install from repository.

Click on The Crew Repo option.

Install WatchNixtoons2 Addon
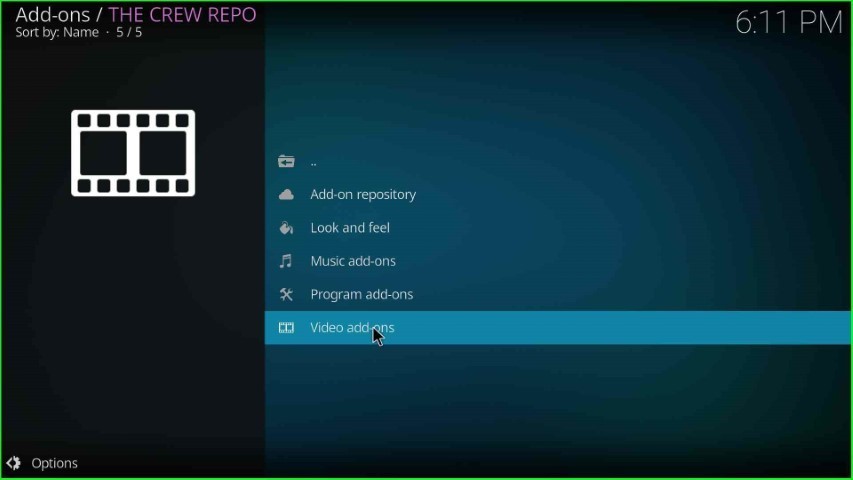
Hit the Video add-ons option.
Choose the WatchNixtoons2 addon.

Press the Install key.

Wait for the notification that the WatchNixtoons2 Add-on installed on the page.

Launch WatchNixtoons2 Addon
Click on the WatchNixtoons2 addon again.

Hit the Open button.

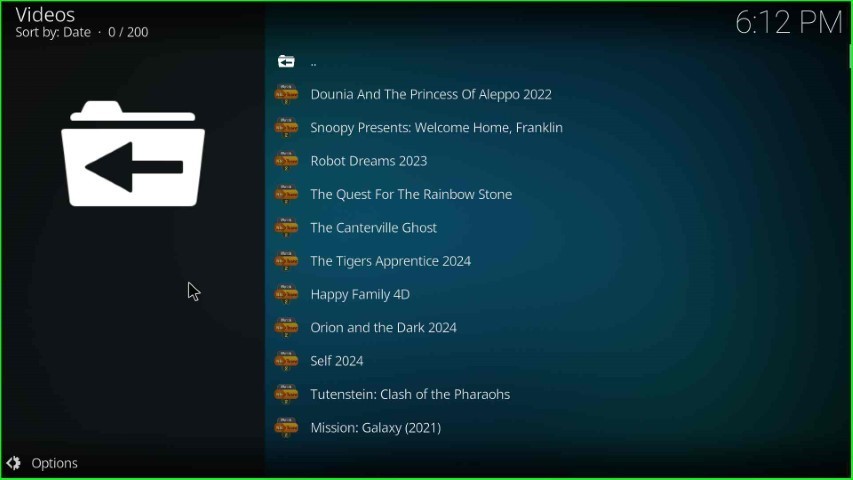
The WatchNixtoons2 screen appears now; select the Latest Movies option from here.
The page displayed a list of all the latest movies. Choose your favorite movie and enjoy it.
Final Words
Finally, we have discussed steps to install the WatchNixtoons2 Kodi addon on Kodi devices like Firestick and Android TV boxes. Each step is included with a screenshot for a better understanding. Drop a comment below if you face any errors during the installation.
